filmov
tv
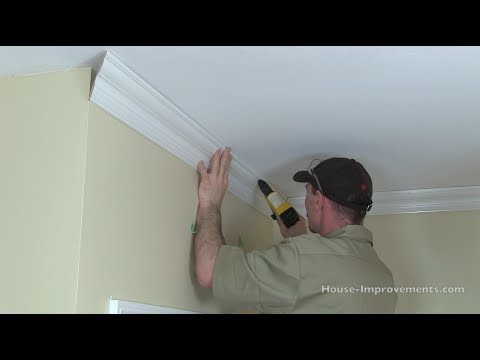
How to Install Crown Moulding

Показать описание
A full length video explaining in detail the method of installing crown moulding, or cornice as some others call it. Let me know if you have any questions and thanks for watching!
BECOME A MEMBER OF FINISH CARPENTRY TV:
#crown #cornice #installation
*VIDEO/CAMERA GEAR*
BECOME A MEMBER OF FINISH CARPENTRY TV:
#crown #cornice #installation
*VIDEO/CAMERA GEAR*
 0:03:09
How to Cut Crown Molding In 3 Min
 0:25:59
'Upside down and backwards???' How to install crown molding
 0:08:59
How to Install Wood Crown Molding | Ask This Old House
 0:10:01
How To Install CROWN MOLDING using a SAWSET PROTRACTOR. #AMAZON #crown molding #miter #bevel
 0:07:36
How to Install Wood Crown Molding Like a Pro
 0:34:47
How To Cut & Install Crown Moulding
 0:06:56
How To Install Crown Molding With Mitered Corners - Easy Install Tips!
 0:06:55
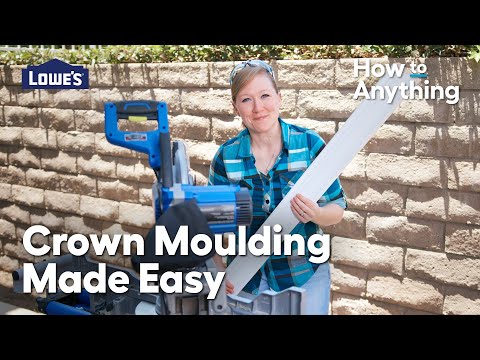
How to Cut and Install Crown Moulding | How To Anything
 0:57:53
Parametric Architecture Moulding Design Grasshopper Rhino Tutorial Design Programming Automation
 1:07:47
How to Install Crown Moulding
 0:13:51
Installing CABINET CROWN for BEGINNERS - A Simpler Method
 0:00:44
Become a Crown Molding Expert: Step-by-Step Install Master Class
 0:01:22
Tips on Installing Crown Molding
 0:08:25
How to Install Crown Molding on Kitchen Cabinets
 0:02:42
How to Install Custom Crown Moulding
 0:10:34
EASY DIY CROWN MOULDING NO ANGLED CUTS // diy ceiling trim
 0:31:50
How To Cut and Install Crown Molding - WOOD magazine
 0:23:28
How to Cut and Install Crown Moulding
 0:25:08
Install Crown Molding On Cabinets - 2 EASY DIY Cutting Methods
 0:00:59
HOW-TO: EASILY Install Crown Molding with our Home Hacks!!
 0:18:05
Crown Molding Fundamentals: The Simple Key to Crown Molding Success
 0:51:00
How To Install Crown Molding (actually installing miters)
 0:00:59
Coping Crown Molding on Inside Corners
 0:00:37
Add Blocking for Easy Crown Molding Installation
Комментарии