filmov
tv
Gage Block Introduction - How To Use and Calibrate Gage Blocks

Показать описание
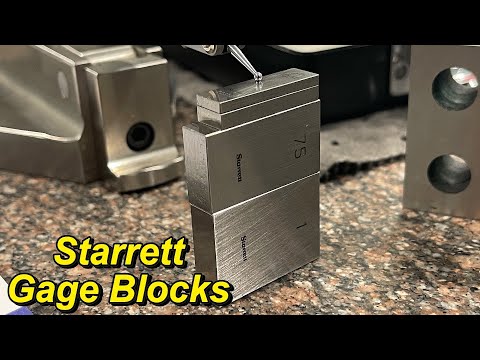
In this episode of the Metrology Training Lab series by Mitutoyo, we learn how to calibrate gage blocks, stacking or wringing gage blocks and a brief history. These simple little blocks are something special. Each one with their flat and parallel surfaces and with an accuracy of just a few millionths of an inch. We’ve used gage blocks in previous metrology lab calibration episodes, but in this episode, we get to understand them better and appreciate their role as a premier measurement standard.
Gage block faces are very flat and very smooth. The reason for this is that allows the gage blocks to wring together. Without using any adhesive, gage blocks can be brought together and the flat smooth surfaces will adhere to each other without causing any damage. And they can be broken apart and reused over and over. And when done properly, the gap between wrung gage blocks is somewhere around one millionth of an inch. And any flat smooth surfaces will wring together. Steel to steel, ceramic to ceramic, steel to ceramic, and even gage block to optical flats.
Video thumbnails referenced in this video:
#Mitutoyo #Metrology #GageBlocks
Комментарии
 0:17:00
 0:02:00
 0:03:06
 0:00:44
 0:08:02
 0:02:20
 0:02:19
 0:03:33
 0:03:10
 0:13:01
 0:06:50
 0:03:07
 0:03:15
 0:06:45
 0:12:14
 0:02:05
 0:03:53
 0:01:45
 0:04:27
 0:05:56
 0:00:59
 0:02:37
 0:20:19
 0:45:08