filmov
tv
How to Make a Soda Can Stove - Old vs Improved Design

Показать описание
This video has a comparison between two different soda can stove designs with build video of the improved version. I was looking for one to take on short day trip hikes and landed on a design by Tetkoba.
The version that is built in the video utilizes an inner wall with capillary action, it gets to operation temperature much quicker.
Also the fuel is methyl hydrate or denatured alcohol.
See how to build a stand for the stove here:
Reference:
Original Model:
tetkoba's Alcohol Stove Addict channel:
Music:
Licensed under Creative Commons: By Attribution 3.0
 0:07:26
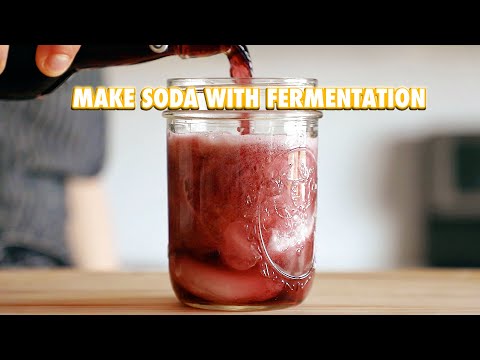
Make a Soda Out of Anything With Fermentation
 0:00:42
Homemade Cola Is 10x Better
 0:00:37
The secret to turning any juice into a natural probiotic soda 🫧 #ad
 0:00:26
How to make Soda at home
 0:00:31
HOMEMADE SPRITE?!?!?
 0:00:28
How to make soda at home
 0:00:09
How to make the best SODA for your sibling?😎❤️🥤| CHEFKOUDY
 0:00:44
DIY Probiotic Soda with Ginger Bug
 0:10:47
How to make Rainbow Ice Cream with Orbeez & Cement, Big Soda, Fanta, Pepsi, Coca Cola and Mentos
 0:02:37
How to make carbonated drinks at home!
 0:03:38
How to make Sprite - lemon lime soda from scratch
 0:00:08
How to make the most refreshing MELON soda for dad?😅❤️🍉| CHEFKOUDY
 0:00:49
Making soda with pine needles and sugar water
 0:03:53
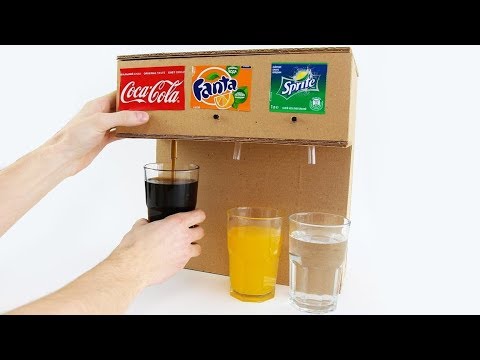
How to Make Coca Cola Soda Fountain Machine with 3 Different Drinks at Home
 0:00:44
Turning liquid Coca Cola into a slushy in SECONDS!
 0:00:08
How to make the most REFRESHING SODA for your sibling?😅❤️🥤| CHEFKOUDY
 0:04:32
Fruit Soda pang Negosyo
 0:08:56
How to Make Homemade Soda + 5 Easy Caffeine-Free Homemade Soda Recipes | A Sweet Pea Chef
 0:00:50
DIY Probiotic Soda with Ginger Bug #shortsfeed #probioticdrink #guthealth
 0:00:48
Homemade grape soda 🍇
 0:00:49
I made Healthier Fanta
 0:00:22
Infinite Bottled Seltzer Water at home
 0:00:15
Fresh Soda Lime | soda lime recipe | Lime soda
 0:00:25
Homemade Soda 🥤
Комментарии