filmov
tv
Ultimate Quilt Binding Tutorial - Part 2 - Inside my process + an amazing HACK you'll love! 😮❤

Показать описание
I'm answering the most common questions I get - all about machine quilt binding! In this three part tutorial series, me and my new Baby Lock Ballad sewing machine are diving deep into quilt binding, answering your questions and sharing invaluable tips and tricks. Whether you're a seasoned quilter looking to elevate your skills or a curious beginner ready to embark on a stitching adventure, I've got you covered. From the commonly asked questions, to my personal binding process (start to finish) to exploring thicker thread and decorative stitches, we'll explore it all. Get ready to master joined binding ends, mitered corners, and pro-level finishes that'll leave your quilts looking gallery-worthy. So, grab your fabric and sewing machine, hit that play button, and let the quilt-binding magic begin! If you're a quilting enthusiast seeking answers and inspiration, you're in for a treat. Don't forget to like, subscribe, and join us in stitching up sensational stories with every thread. 🌈🧵✨
🎉☕ Do you like tutorials like this? Join our Quiltcademy Community Membership for exclusive patterns, video tutorials, resources and more!
⭐ BLOG ARTICLE ABOUT MACHINE QUILTING WITH HEAVIER THREAD WEIGHTS:
HELPFUL PRODUCTS FOR THE PERFECT BINDING 🛒
🧵 BE A PART OF OUR QUILTY COMMUNITY🧵
LET'S BE QUILTY FRIENDS!
Affiliate Disclosure Policy: Products mentioned here may contain affiliate links and I may earn a small commission if you purchase through these links. Please note that I’ve linked to these products purely because I recommend them and they are from companies I trust. There is no additional cost to you.
00:00 Introduction
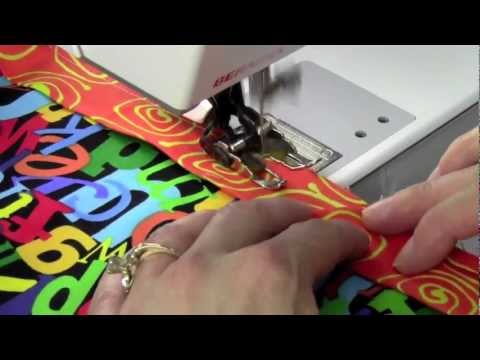
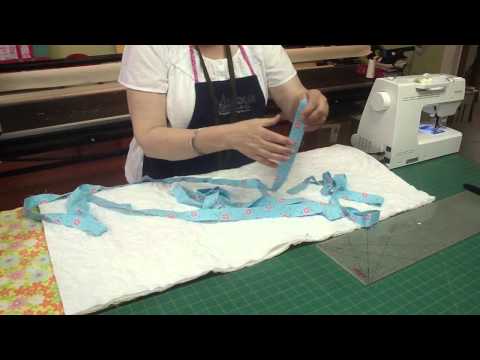
01:46 Preparing binding strips
14:55 Attaching to the back of the quilt
29:37 Joining the binding ends
35:57 Attaching to the front of the quilt
46:07 Finishing the binding
🎉☕ Do you like tutorials like this? Join our Quiltcademy Community Membership for exclusive patterns, video tutorials, resources and more!
⭐ BLOG ARTICLE ABOUT MACHINE QUILTING WITH HEAVIER THREAD WEIGHTS:
HELPFUL PRODUCTS FOR THE PERFECT BINDING 🛒
🧵 BE A PART OF OUR QUILTY COMMUNITY🧵
LET'S BE QUILTY FRIENDS!
Affiliate Disclosure Policy: Products mentioned here may contain affiliate links and I may earn a small commission if you purchase through these links. Please note that I’ve linked to these products purely because I recommend them and they are from companies I trust. There is no additional cost to you.
00:00 Introduction
01:46 Preparing binding strips
14:55 Attaching to the back of the quilt
29:37 Joining the binding ends
35:57 Attaching to the front of the quilt
46:07 Finishing the binding
 0:48:35
Ultimate Quilt Binding Tutorial - Part 1 - Answering your burning questions 🔥
 0:31:13
The Ultimate Machine Binding Tutorial for Perfectly Finished Quilts
 0:56:34
Ultimate Quilt Binding Tutorial - Part 2 - Inside my process + an amazing HACK you'll love! 😮❤...
 0:22:49
Ultimate Quilt Binding Tutorial -Part 3 - Make your binding special with these touches ⭐😎
 0:06:57
How to Bind a Quilt - 6 Simple Steps
 0:04:25
How to Join Binding Ends with No Overlap or Bulk
 0:13:08
How To Bind a Quilt on a Sewing Machine with Jenny Doan of Missouri Star (Instructional Video)
 0:56:58
AQ Live: The Ultimate Quilt Binding Tutorial
 1:06:10
Sew What? Episode 251: Halloween Potions & Place Settings
 0:19:05
NEVER Seen Before Binding Technique | Episode 59
 0:13:11
HOW TO BIND A QUILT - BINDING HACK TO YOU NEED TO HAVE
 0:09:26
💥 HOW TO BIND YOUR QUILT ON A SEWING MACHINE BINDING 3 METHODS
 0:08:28
ULTIMATE Continuous Bias Binding Tutorial - only 2 seams and a rotary cutter
 0:18:45
Let's Cheat and Finish the Binding an Easy Way
 0:01:40
Best Quilt Binding Hack for Quilters
 0:05:09
Binding for Beginners- Easy Way to Finish Your Quilt Projects
 0:45:02
ULTIMATE QUILT VIDEO - Make a Quilt from beginning to end. ALL the details.
 0:00:57
Brilliant Last Binding Join For Your Quilt
 0:10:02
The Best Machine Binding Method Part 1
 0:41:08
Ultimate Beginners guide to making a Quilt | Step by step tutorial
 0:23:19
The BEST Machine Binding Method Part 2
 0:00:49
🍓 Simply The Best Quilt Binding Technique #quilttube #thesewingchannel #scrapberryginghamquilt
 0:53:25
Learn How to Make a Quilt - How to Hand Bind Your Quilt | Fat Quarter Shop
 0:11:08
How to Machine Bind a Quilt - Best Quilt Binding Tutorial
Комментарии