filmov
tv
DIY Macrame Heart Coaster (NO-FRINGE TECHNIQUE!)

Показать описание
Welcome to Bochiknot, your go-to destination for Macramé inspiration. Whether you're a skilled enthusiast or just starting, our channel provides a range of tools, tutorials, and a supportive community to guide you on your Macramé adventure.
Join us in the fascinating world of Macramé at Bochiknot, where creativity knows no bounds, and each knot tells a unique story.
***************************************
In this easy-to-follow video, I'll walk you through 16 simple steps to create a beginner-friendly macrame heart coaster using two basic knots and a special NO FRINGE knotting technique. You can easily clean up the edges of any project with this fringe-less technique!
Materials used:
Special tools: you'll need a weaving needle/sewing needle or crochet hook
I've tagged the products used in the video, so check them out if you're interested!
Size of completed project: 6.5" width and 6" length
Once you've gathered your materials, the fun begins! Have fun knotting!
***************************************
New to Macramé and eager to get started? Check out these helpful resources.
🧶 Tangled Threads Tribe:
***************************************
★☆★ SHOP ★☆★
***************************************
★☆★ SOCIAL MEDIA ★☆★
***************************************
★☆★ TIME STAMPS ★☆★
00:00 - Intro
00:27 - Getting Started
02:15 - Cords & Materials
03:15 - Step #1 : Pin or tape down 4 x 50 cm cords and make a Square knot 2" down.
04:07 - Step #2 : Add 4 more cords to the left for 2 diagonal Square knots to the left.
05:16 - Step #3 : Repeat the same pattern on the left-side mirroring the right-side.
06:39 - Step #4 : With the middle 4 cords, make an Alternating Square knot.
07:08 - Step #5 : Add another 4 x 50 cm cords on the right and left sides and make an individual Square knot on both sides as well.
08:28 - Step #6 : Add alternating Square knots on both sides.
09:16 - Step #7 : Add a group of 4 x 40 cm cords on the right and left sides and add 2 diagonal Square knots on both sides.
11:20 - Step #8 : Fill in the middle section with Square knots.
12:53 - Step #9 : Starting with the far-left 4 cords, make a Square knot, then continue with Square knots until a V-shaped pattern is formed.
18:46 - Step #10 : Using a 50 cm cord as an anchor cord, make a Double Half Hitch ("DHH") knot with the Middle-right working cord. Then include the working cord with the anchor cord for the next DHH knot.
19:47 - Step #11 : Cut off the second anchor cord and repeat.
20:36 - Step #12 : Once the last DHH knot is made, do not cut off the second anchor cord.
21:37 - Step #13 : Repeat the same pattern on the other side.
23:34 - Step #14 : Use 2 cords on the right-side as the anchor cord and one cord on the left as the working cord for a diagonal DHH knot.
24:26 - Step #15 : Bring the top cords to the back and make a DHH knot.
25:14 - Step #16 : Weave the cord ends through the Square knots at the back and then trim off excess cords.
26:33 - Outro
***************************************
#bochiknot #macrame #macrametutorial #macramepatterns #macramewallhanging #macrameplanthangers #macrameforbeginners #macrameknots #valentinesday #valentinesdaygift #valentinecrafts #valentinesdaycraftideas #diycoasters #diycoaster
--------------------------------------------------------------
Intellectual Property and Copyright Notice
Please be informed that the copyright for this pattern belongs to Bochiknot Inc. All rights and intellectual property are exclusively held by Bochiknot Inc. You are allowed to view and create the finished pattern. However, the pattern may not be sold or redistributed for commercial purposes.
 0:28:02
DIY Macrame Heart Coaster (NO-FRINGE TECHNIQUE!)
 0:08:47
DIY Macramé Heart Coaster
 0:20:05
DIY Macrame Heart Coaster with contrasting contour • Makramee Untersetzer in Herzform
 0:30:59
DIY Macrame Heart Coaster
 0:13:07
MACRAME HEART COASTERS TUTORIAL #macrame #macramecoaster #macrameheart
 0:09:43
Macrame Heart Coaster Tutorial | How to make macrame coaster | Valentine's Day gift | DIY coast...
 0:00:08
No Fringe Knotting Technique
 0:11:46
How To make macrame heart coaster-coaster tutorial step by step-macrame coaster kaise banaye#diy
 0:11:57
DIY Macrame Coaster | Round Macrame Coaster | How To Make Them Flat
 0:05:43
macrame tutorial #macrametutorial
 0:17:24
How To Make Macrame Coasters
 0:26:51
DIY Macrame Coaster, Macrame Round Coaster with 2 hearts Tutorial, Valentines Tutorial
 0:00:11
Macrame Heart Shape Tea Coaster /DIY /Easy Macrame Coaster /The Macramatic Hub
 0:21:52
Sottobicchiere a forma di cuore in Macramé | DIY MACRAMÉ HEART COASTER TUTORIAL
 0:01:00
#macrame heart coaster
 0:24:47
Macrame Heart Coaster / Begginer Friendly / DIY / Step-by-step Tutorial
 0:11:15
Macrame heart tutorial | Valentine day gift ideas
 0:28:37
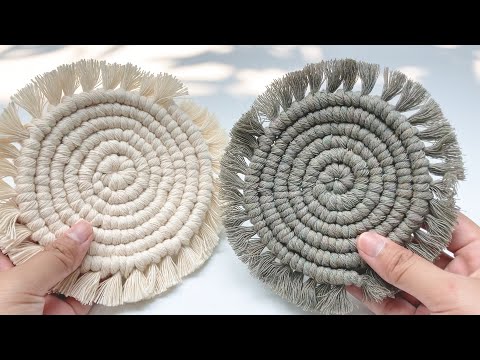
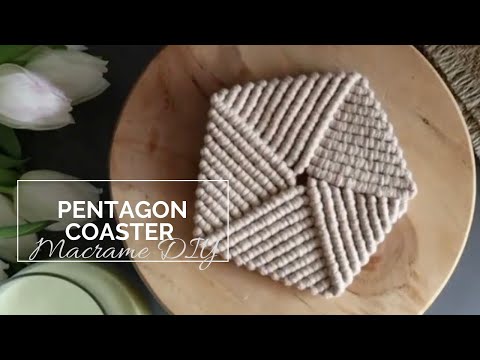
DIY Macramé Coaster. New Design macramé coaster. Pentagon Macrame Coaster Tutorial
 0:15:20
Macrame Coaster Tutorial
 0:09:32
Macrame Heart Coaster
 0:16:13
Macrame Coaster | DIY Macrame Flower Coaster Tutorial
 0:00:19
Falling in love with these macrame coasters by @Why Knot 🥰❤️ #shorts
 0:28:19
How to Make a Boho Macrame Heart Wall Hanging 💖 Beginner-Friendly DIY
 0:00:33
🫣DIY Macrame Coaster😱#shorts #youtubeshorts #diy #macramecoaster
Комментарии