filmov
tv
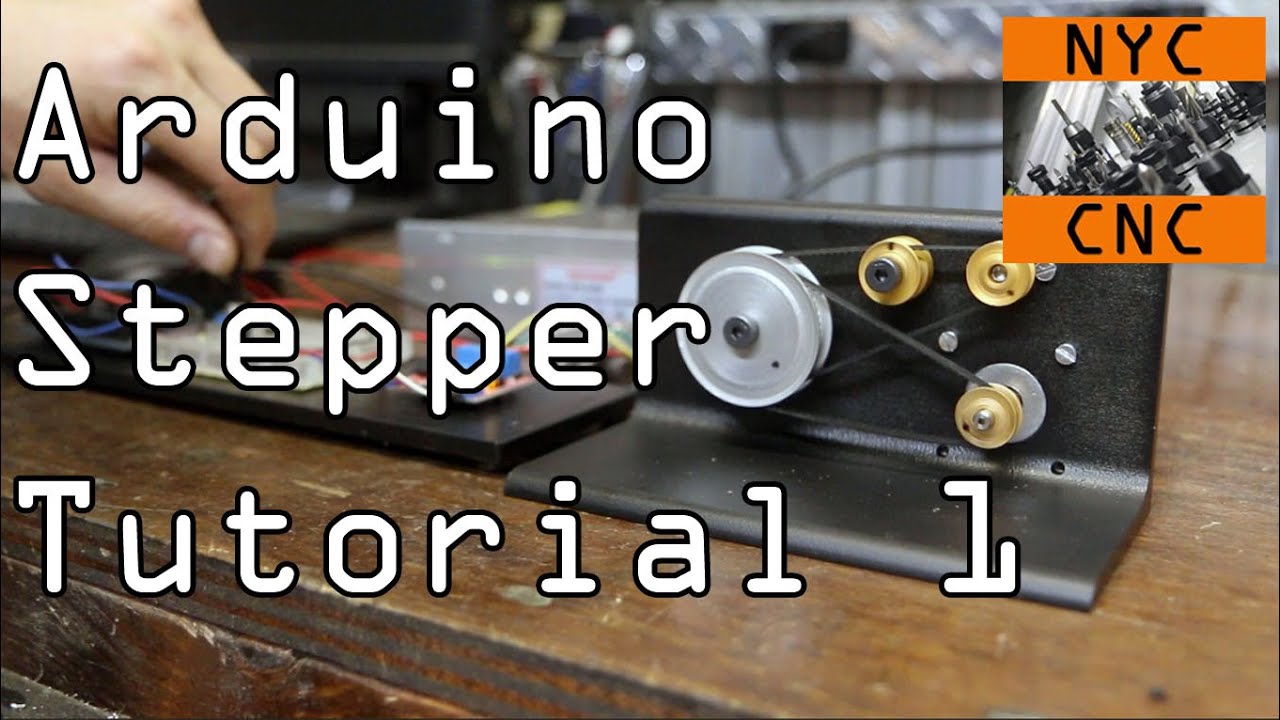
Arduino Stepper Motor Tutorial! Widget46
Показать описание
Stepper Motors, Arduino and CNC'd parts - three of my favorite things! We get a lot of questions about how to control motors - thus this is the start of a series on that exact topic!
This video covers 5 topics:
1) Arduino Stepper Setup
2) Stepper Full Rotation (360 degrees)
3) Speed control with potentiometer
4) Button control to both start/stop and run-while-hold
5) Speed issues with Steppers in Arduino Code
Purchase Links:
I'm REALLY excited for this series! We've going to cover DC gearmotors, rotary encoders, more positional tracking and advanced Arduino motor control and programming!
~~~~~~~~~~~~~~~~~~~~~~~~~~~~
Reach us / CNC Info:
 0:15:53
Arduino Stepper Motor Tutorial! Widget46
 0:04:29
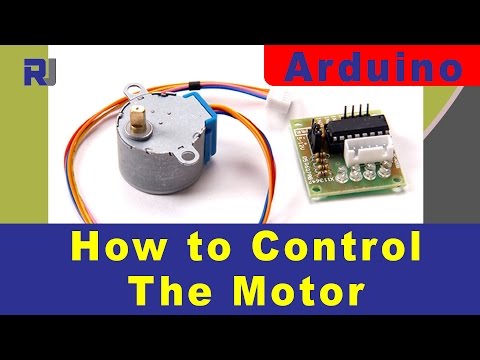
28BYJ-48 stepper motor and ULN2003 Arduino (Quick tutorial for beginners)
 0:13:44
Control a Stepper Motor using an Arduino and a Rotary Encoder - Tutorial - Part 1
 0:09:34
How To Control a Stepper Motor with A4988 Driver and Arduino
 0:20:55
Arduino Stepper Motors Control: BiPolar and UniPolar stepper motors position and speed control
 0:07:23
Arduino - Homing Stepper Motors using the AccelStepper Library - Tutorial
 0:04:45
Arduino - Stepper Motor Control via Bluetooth
 0:14:35
How To Wire It! Stepper Motors
 0:03:47
How to control speed of Stepper motor by potentiometer + arduino + A4988 Tutorial
 0:27:05
Arduino BIG Stepper Motor control. Rotary Axis for milling machine.
 0:19:26
Arduino Stepper & Servo Sorting Machine! Video on Design, Functionality and Arduino Code!
 0:01:30
Stepper motor with Limit switch Arduino basic usage
 0:03:07
How to Run Stepper Motor with Arduino using L298N Driver Module
 0:10:27
Control Stepper motor 28BYJ-48 with ULN2003 for Arduino
 0:04:56
Arduino Control Stepper motor from Old CD-ROM
 0:11:02
Build an optic encoded HIGH precision step motor
 0:17:26
Stepper Motor Drivers with Arduino CODE - DRV8825
 0:00:10
Arduino step control with linear step speed ramp up/down
 0:06:49
All the stepper motor drivers I use for stop motion control, REVIEW
 0:08:21
Stepper motor precise synchronization Using Arduino
 0:03:39
TB6600 5A Stepper motor driver and Arduino
 0:18:53
How a stepper motor works and how to control one
 0:05:01
Arduino 3: Controlling Stepper Motor Using Arduino | Unipoloar and Bipolar Stepper Motor #arduino
 0:02:03
Arduino, Stepper motor and servo motor controlled semi-automatic Robotic machine
Комментарии