filmov
tv
How to Make an EASY Busted Canvas| Step by Step Beginner Tutorial

Показать описание
The busted canvas craft trend is SO much fun and can be a great way to recycle old greeting/Christmas cards in the process! 🎨 Here is a step by step tutorial how I made this snowman busted canvas ☃️ This craft has unlimited possibilities...no two bust-out canvases are exactly alike!
#easycrafts #diyideas #bustedcanvas #tutorial #artsandcrafts
What you will need:
2 canvases- 1 canvas board and 1 stretch canvas
An old greeting card with a fun picture
2 contrasting patterns of paper *Note: you could also paint the canvas!
Iron or heat press
Ribbon for edges (optional)
Decorations- I used polyester stuffing for "snow"
*As an Amazon Associate I earn from qualifying purchases
==================================================
Craft Steps:
1. Coat board with ModPodge: 00:35
2. Attach pattern: 1:06
3. Attach recycled greeting card: 1:12
4. Coat back side of stretch canvas with ModPodge: 1:34
5. Attach contrasting pattern: 1:51
6. Coat front side of stretch canvas with ModPodge: 2:05
7. Attach first pattern: 2:05
8. Poke hole in stretch canvas:2:35
9. Cut triangle sections around hole: 2:56
10. Glue section down: 3:33
11. Glue "busted canvas" over top of canvas board: 4:23
12. Decorate canvas edges with ribbon or paint: 4:33
13. Decorate with 3d elements (optional): 4:44
===============================================
Helpful tips and tricks for making a "busted canvas":
1.You can find 8x10 canvases at the dollar store so don't worry about busting up your good canvases! You could also recycle any old canvases or paintings you don't want anymore for this project.
2. Napkins are much thinner than scrapbook paper. If you are worried about cutting through the canvas using a fun napkin pattern is much easier than cutting through multiple layers of cardstock. If you do use napkins though make sure you separate the plys!
3. I mentioned this in the video, but don't start cutting your canvas in the center. Start your cuts over top of the focal point of your design...this makes the project more dynamic.
4. Try cutting the triangle sections all different sides and lengths. Doing this and also gluing them down in all different directions gives the project a more "busted" look.
5. Keep it simple. You can add many different decorations, but sometimes less is more!
=========================================================
My goal is to simplify painting and crafting techniques for beginner artists!
For more tutorials and tips follow us on:
 0:01:51
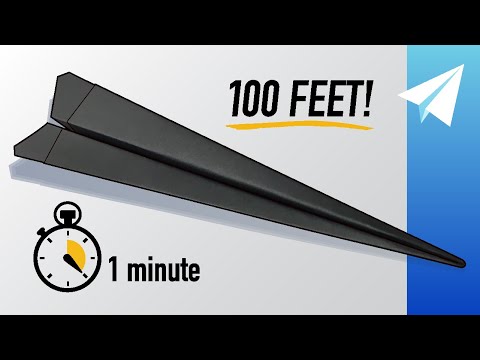
How to Make an Easy Paper Airplane in 1 Minute! (60 Seconds) Competition Winner — Flies 100+ Feet!
 0:02:59
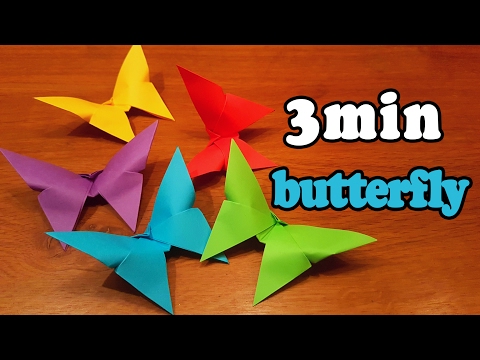
How To Make an Easy Origami Butterfly (in 3 MINUTES!)
 0:00:11
WHISTLE ORIGAMI EASY CRAFT TUTORIAL | HOW TO WHISTLE | DIY WHISTLE ORIGAMI PAPER FOLDING INSTRUCTION
 0:00:31
How To Make Easy Caramel Sauce | Eitan Bernath
 0:00:26
Nutella Soufflé Recipe #shorts
 0:00:23
2-Ingredient Truffles! tutorial #Shorts
 0:00:23
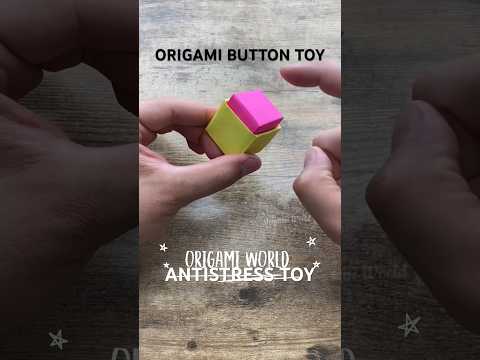
EASY PAPER ORIGAMI BUTTON TOY ANTISTRESS POPIT GAME TUTORIAL | STRESS RELIEF TOY ORIGAMI INSTRUCTION
 0:00:27
How to make Paper Whistle | Easy PaperWhistle tutorial #shorts #youtubeshorts #papercraft #trending
 0:03:53
DIY Paper Basket | How to make easy paper basket for kids
 0:00:29
NO GLUE SLIME Recipes That ACTUALLY WORK! 😱🤫 *How to Make Slime WITHOUT Glue and Activator DIY*...
 0:00:59
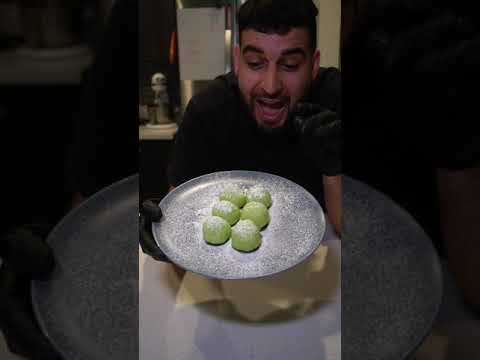
2 Ingredient Mochi Ball (Easy Method)
 0:00:20
easy paper game#shorts
 0:02:51
How to Make a PAPER AIRPLANE!! - (Easy for Kids!)
 0:03:52
Making CHURROS at Home is so EASY and simply so DELICIOUS!
 0:00:47
Honey Butter Fried Chicken (too easy to make) #shorts #friedchicken #honey #butter #easyrecipe
 0:00:37
HOW TO MAKE CAKE POPS|EASY RECIPE
 0:00:23
EASY PINCERS ORIGAMI TUTORIAL | AHOW TO MAKE COOL PINCERS ORIGAMI STEP BY STEP | PAPERCRAFT IDEAS
 0:00:15
How to make pen gun very easy | how to make mini gun at home #shorts #pengun #invention
 0:00:41
How to Make Easy Coleslaw Dressing | Dressing Recipes | Allrecipes
 0:12:47
27 Quick And Easy Crafts To Make At Home
 0:00:51
These Craft Supplies Make EASY DIY Christmas Cards!🎄 ASMR Crafting #asmr #asmrsounds #craft
 0:01:00
How to make easy paper mouse 🐭 / paper crafts for kids/ paper craft #shorts (1-minute video)
 0:01:24
How to make paper Hat, origami paper hat,simple and easy paper crafts,
 0:00:59
How To Make Super Easy and Cute Keychain At Home - Life Hacks and DIY Projects #shorts
Комментарии