8 Airbrush Regrets I WISH SOMEONE TOLD ME | Miniature Painting

preview_player
Показать описание

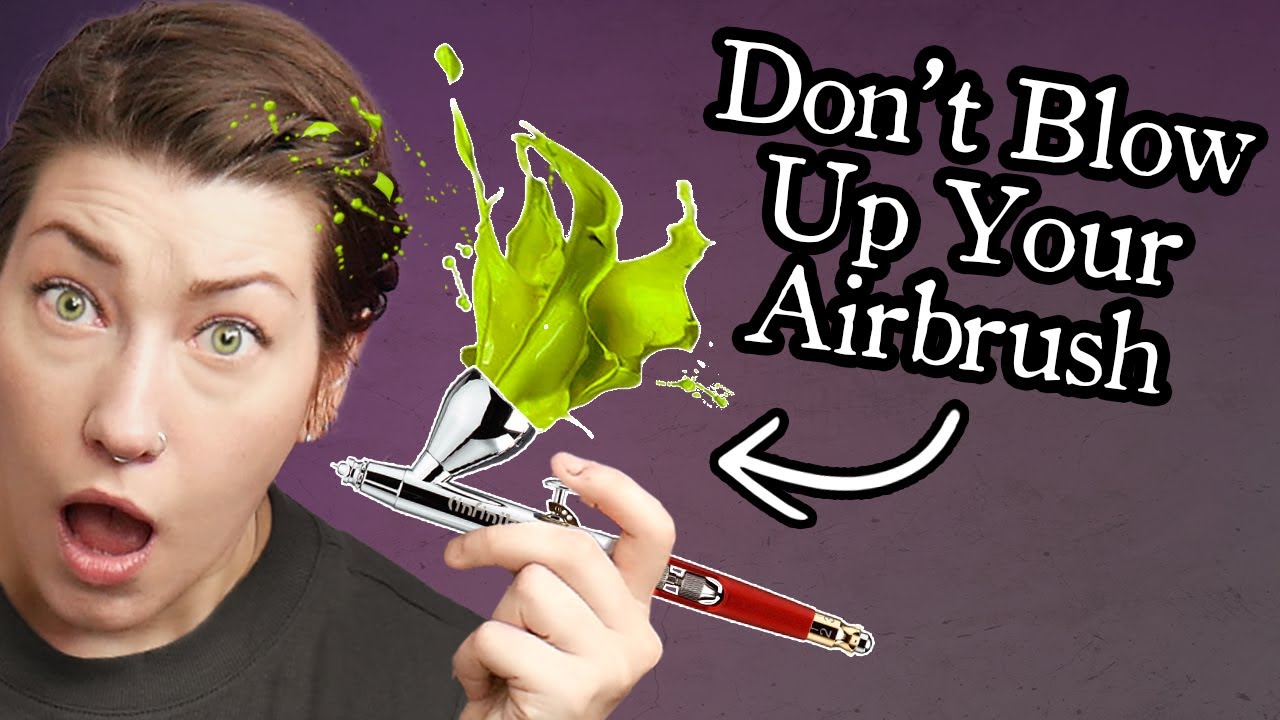
This week I am talking about beginner and advanced airbrush regrets to avoid when painting miniatures! I recently bought a brand new Harder and Steenbeck infinity and paint exploded out of the cup. In this video, I solve that problem as well as a bunch of others that will help you use your airbrush better and faster!
________________________________
Gear (Some of these may be affiliate links):
Popular Videos:
________________________________

Lyla Mev The Mini Witch creates beginner miniature painting tutorials and easy-to-understand guides for Warhammer, dungeons & dragons, and more. My favorite things to paint are sisters of battle, display quality miniatures, and focusing on having fun.

00:00 Intro
00:33 Don't Pull the Needle
2:22 The Proper Way To Move Your Airbrush
3:46 Get Those Details
4:40 A Cause of Dry Tip
5:55 Don't Be Silly. Use Putty
6:31 Avoid Paint Explosions
7:55 Save Yourself the Headache (Bonus Tip)
8:27 Work on your aim, baby.
9:10 When in doubt, get a box.
Рекомендации по теме
Комментарии
Автор

I discovered your youtube channel a couple weeks ago and am just starting miniature painting coming over from almost 6 decades of building plastic models (ya, I'm probably old enough to be your gandpa.) Overall I have enjoyed your videos and have learned a few things.
As a spray gun and airbrush user since the 1960's, I have a few problems with some of your recommendations:
1. The needle should Only be removed through the rear and then only to clean or replace the needle. Your airbrush (or spray gun) should be cleaned and empty of all paint and cleaning fluid. Many of the airbrushes have screw in nozzles that Should Never Be Removed unless absolutely necessary as they are very easy to cross thread or break off at the threads and can be very hard to get to seal properly giving you more problems.
In #6 guess what, this problem is caused because you are disassembling the airbrush, breaking the factory seals and when you reassemble it have air leaks most likely between the nozzle and body (see my #1 above.) Put a small amount of Bee's Wax on the threads of the parts and on the outside of the rear of a drop in nozzle to fix this problem. You can get a nice easy to apply tube of Bee's wax in the Iwata cleaning kit which I highly recommend any airbrusher to get.
Get your self a QD or quick connect hose adapter. You'll wonder why you never did before.
Bonus tip, Never Ever mix your paint in the airbrush cup-no mater Whos says to do so. Just invites clogging and inconsistent mixing. Mix your airbrush paint in a small, cheap cup and poor int the airbrush cup.

REKlaus
Автор

Another tip, always put your thinner in before you put your paint in. Learned this one from Vince V. This makes it so there isnt a risk of paint running down the needle before you get a chance to mix in the cup. Helps prevent clogs from forming because you know the only paint running through is paint that has been thinned. Worst case, a little thinner goes through first which wont contribute to clogs. Im also a big fan of Badgers Regdab needle juice. Every once in a while oil the airbrush inside and out and it will help keep it clean and prevent clogs from forming.

Love the idea of pulling the needle through the front though, will have to try that out. Been having issues with my H&S Chameleon getting paint into the gun, so this will likely help fix that.

diplomatNSTAR
Автор

@4:31 - Always use quick release adapters! They're not just for swapping guns, but they allow you to remove a gun and keep the hose 'closed'.

Some-Guy-
Автор

To answer the question at the start, my biggest fail was with my cheap airbrush, I overtightened the nozzle and snapped it off within 2 weeks of owning it

JaceTheInsane
Автор

I have a bottle with a 50/50 alcohol/water mix that I run through mine when I'm done and cleaning is really quick with a qtip. I never have to take my nozzle off. I also use a retarder medium along with thinner when mixing and never get dry tip. Honestly I can't recommend Marco Frisone s airbrushing videos enough. I was having a lot of trouble before I watched those and truly haven't had an issue since. Hope this helps some of you all.

lucasthomas
Автор

You don't have to move the trigger back forward slowly, you can "slam it" forward if you want, as long as you keep the air on you'll be fine as it will blow off any residue on the needle tip (which is what causes that little spurt of paint as you let the air flow again).

treborrrrr
Автор

My airbrush fail:

Loaded the paint, put the cap on the container, pulled the trigger and now I have two blue dots on my all white kitchen ceiling (ala paint explosion)

Now I know about getting a new seal I'll definitely try that :)

Grr.
Автор

Great video. Solid advice on each topic. I especially like the mention of number 6. I've been airbrushing for about 5 years now and only recently contacted the manufacturer (Iwata) of a problem. Not only did they provide me with solid advice on their gun but they also have a repair system that works amazingly. Ship it off, give it a week or so, comes back like new.

shogunmage
Автор

I have never done blowbacking or pulling needles when cleaning out paint if im changing paint colors. Imho, i never really take it apart even for a clean, you dont have to if you clean properly and maintain it good. Also, my airbrush is technically never "dry" even when stored or not in use. Regardless of what every YTber say or suggest.

polgarath
Автор

I like to use the cosmetic wedges for closing the front to blow back into the cup to mix and clean. They are also helpful for cleaning the tip and adsorbing any extra splatter when I get distracted and lubing various things around my hobby space.

iamsobanned
Автор

These are all great airbrush tips! I also like to use the quick disconnects and another tip I just figured out was put your thinner or flow improver first in the cut before paint. I used to get clogs all the time but not anymore.

And for a non airbrush tip, or caution rather, never sit your silly putty down on a silicone mat. You’ll never get it all off 😬 learned that the hard way

scooteroo
Автор

H&S Airbrushes: that seal is a problem, it is a good idea to spray water first as suggested, then if it bubbles back, remove head set, check that seal is in place, then screw the head set back as far as it goes but only finger tight, then unscrew by a quarter turn, then spray water again. What is happening is that the Teflon nozzle washer/seal is being crushed, this causes air not to flow out of the front of the device and this blow back forces water or paint back into the cup. Now I learned this yonks ago, I am surprised the Harder and Steenbeck did not tell you this. A Neoprene O-ring would indeed be better but the industry standard these days is Teflon which is not as forgiving.

ernestjunior
Автор

The H&S nylon seals will compress over time and if the brand new airbrush has sat for any extended time, the seal will be compressed. I have swapped out the seal, fixed the problem and when it happened again, I put the old seal back in and it was fine because it had expanded back to shape.
I spent 10 years pulling the needle out the back, and the trick is just have it mostly clean before you pull it to the taper. Some airbrushes this is the only option. If you are dragging paint into your seals before you get to the taper, you have bad seals and you need new ones.
You should replace all the seals a lot more often than you think you should.
I think both my infinity airbrushes needed new fluid nozzle seals out of the box. This is not an H&S exclusive problem. It is all airbrushes.
Nice video. Good info.

ajosepi
Автор

I’d just like to add. What Layla got there in the part where she talks about pulling the needle is a self cantering airbrush which is a different kind of seal and can for the most part be disassembled from the front and reassembled without much problem. On the other end is the classic airbrush nozzle which has the tiny screw on tip. That is quite different and it is not recommended to disassemble the front unless absolutely necessary as they’re adding a small Teflon seal on the thread. This gets worn away every time the tip is screwed off and on. After about two to three disassemblies and reassemblies is completely worn off and needs replacement- hence the backdraft, bubbles in the reservoir and eventual explosion. This airbrush should be cleaned from the back. First the reservoir needs to be cleaned with water and cleaner and when it’s only water coming through it is possible to remove the needle from the back and clean it.

TLDR:
Self centering tip- pull needle from the front in whichever step of the cleaning.

Classic tip- pull needle through the back as a last step in cleaning.

RoyalGuardNo
Автор

As a newbie to airbrushing, I’d like to thank you for your tips.and I love how your style and personality comes over 👍😎

daveypotful
Автор

to add to what she said here: DO NOT use abrasives to clean inside the nozzle, nozzle seat or any of the fittings, it will destroy their seal and then you will have issues with escaping air. when cleaning the nozzle tip, do not shove the needle intot he nozzle tip because you will bell the tip and it will have to be replaced unless you just fancy spattering and air in the cup.


I have the same airbrush Lyla, how has yours been treating you?

FenrirFrostborn
Автор

I am new to airbrushing I've gone online for some airbrush cleaning tips how to mix paints air pressures all sorts of things but the best tip so far is yours pulling the needle forward instead of backwards to clean it that's a great tip thanks for that

mauricehauss
Автор

Great video! I once mixed up thinner and cleaner. Spraying paint and cleaner mixed is not good. Keep the cleaner well away when you are painting! lol

Geekeric
Автор

That’s helpful stuff!!! Something I’d add to the very last part about making sure to steady your hand, don’t be afraid to use surfaces to help, and remember to steady the rest of yourself behind your hand as well! It’s so easy to focus so hard on what you’re doing with your hands and not realize how the rest of your posture and position isn’t helping us to be anchored! I’ve been making art for decades and I’ve still gotta make that part of my mental checklist while working. And everyone please remember your frequent stretching!!! Can’t make good art if your back and hands are fighting ye at it.

capnskustomworks
Автор

I was cleaning the airbrush and dropped the back nut. I looked on the floor for an hour before finding it in the coil of the air hose!

cjcottell
welcome to shbcf.ru