filmov
tv
How To Easily Remove A Double Chin In Photoshop

Показать описание
--------------------------------------------------------
In this quick Photoshop tutorial, you'll learn how to remove a double chin from a portrait photo using a couple basic selections and the warp tool. By first creating a selection around the chin to simulate a new jawline, you can warp the double chin to be hidden behind your top face layer. This gives a quick and beginner-friendly option to remove a double chin from any headshots or portrait photos you're working with. It's not an exaggeration when this is one of the most requested edits from all the headshot photographers I know and their clients! Hope you enjoy the video :)
--------------------------------------------------------------
--------------------------------------------------------------
Timestamps
0:00 Creating A Path Around The Chin
1:08 Separating The Chin & Neck
1:54 Warping The Chin
2:50 Dealing With More Complicated Backgrounds
 0:00:12
How to easily REMOVE A STUCK RING from your finger AT HOME!
 0:00:29
How to easily remove ring from swollen finger simply with a thread #howto #shorts
 0:00:20
How to easily remove a t-post from the ground.
 0:00:14
How to easily remove a sticker #howto #diy
 0:00:09
How to easily remove a fish hook 🪝
 0:05:30
How To Remove Contact Lenses Easily - Best Tips For Beginners
 0:02:15
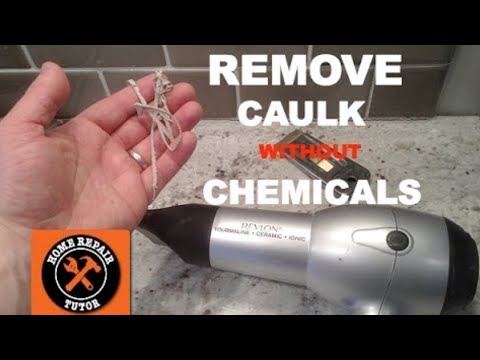
How to Easily Remove Silicone Caulk Without Using Chemicals
 0:00:25
How to remove a rotten fence post. The easy way.
 0:00:14
EASY! REMOVE A SNAPCHAT SHORTCUT 2025
 0:01:14
How To Easily Remove A Security Tag Clothes Sensor!
 0:01:01
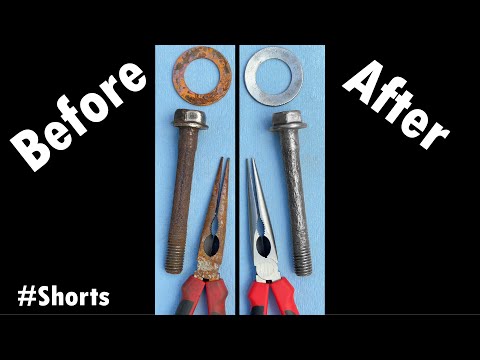
How to EASILY Remove Rust DIY (Vinegar and Ketchup) #Shorts
 0:00:12
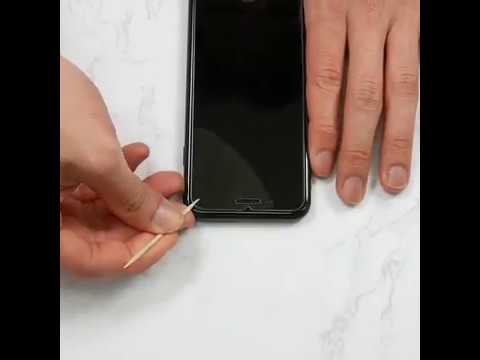
Quick Tip to Easily Remove Glass Screen Protectors!
 0:02:22
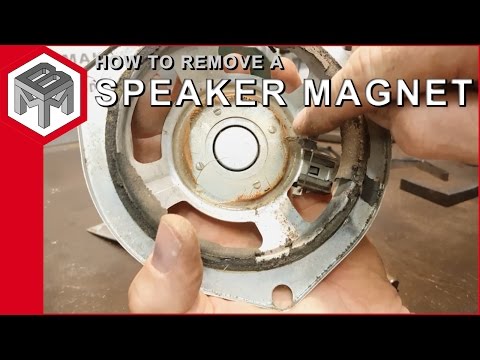
How to remove a speaker magnet the quick and easy way
 0:00:09
👍🔥How can you easily remove a wall plug! #shorts #tips #lifehack
 0:00:16
Easily remove the background from your video in seconds using just your phone #capcut #videoediting
 0:02:13
How to Remove a Small Tree Without Machinery | Easy DIY Garden Tip
 0:00:17
Discover the Quick and Easy Way to Remove a Snap Off Case Back
 0:00:57
The easy way to remove a tree stump #shorts #tree #asmr #satisfying #viralchannel #diylovers #foryou
 0:00:48
How To Easily Remove Old Fence Post
 0:00:14
#Let's try this viral and easy hack to remove nose pin #youtubeshorts
 0:00:20
Easy trick to remove a stuck oil filter with a ratchet strap #mechanic #farmequipment #homestead
 0:00:17
How to Easily Remove a Tinsley FX Temporary Tattoo
 0:00:40
How to Easily Remove a Stuck Axle Nut! 🔧 #mechanic
 0:00:32
The Easy Way To Remove Hard Water Stains From Glass
Комментарии