filmov
tv
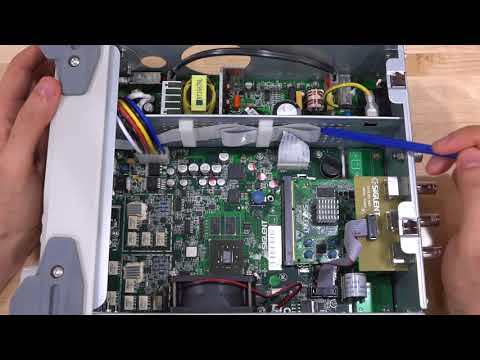
TSP #90 - Teardown & Analysis of an Anritsu MN9610B Variable Optical Attenuator

Показать описание
In this short episode Shahriar takes a detailed look at an Anritsu variable optical attenuator operating in the L- and C-Bands. The mechanical attenuator is defective and provides an opportunity for complete disassembly and examination of the free-space optics, mechanical components and electronics.
The electronics drive a pair of DC motors with potentiometer decoders in feedback along with operational amplifiers and a DAC. This allows the microprocessor to set the exact position of the motors based on calibrated values stored on EPROM. The free-space optics consists of two back-to-back disks with radial metal coatings. Depending on the position of each wheel, the coating limits the transmission of the light through the wheel causing attenuation. The entire housing is hermetically sealed to prevent degradation of the disks.
The Signal Path
 0:20:15
TSP #90 - Teardown & Analysis of an Anritsu MN9610B Variable Optical Attenuator
 0:24:45
TSP #92 - Teardown & Analysis of Microwave (26.5GHz) Electro-Mechanical Step Attenuators
 0:51:38
TSP #99 - Deepace KC901V 6.8GHz Handheld Network Analyzer Review, Teardown & Experiments
 0:26:48
TSP #229 - Stanford Research DS360 Ultra-Low Distortion Function Gen. Repair, Teardown & Experim...
 0:38:31
TSP #185 - ITECH IT9121 Digital Power Meter (600V, 20A) Review, Teardown and Experiments
 0:28:01
TSP #98 - Teardown & Experiments with an HP 83475B 500MHz Lightwave Analyzer / Oscilloscope
 0:17:55
TSP #93 - Teardown & Repair of a BK Precision 879B Handheld LCR Meter
 0:25:01
TSP #191 - Teardown, Repair & Experiments with a GW-Instek APS-1102 Programmable AC/DC Power Sou...
 0:21:21
TSP #221 - Anritsu MS46121A 6GHz USB Vector Network Analyzer Teardown & Reverse Engineering
 0:38:18
TSP #199 - Digilent Analog Discovery Pro 3000 Series (ADP3450) Review, Teardown & Experiments
 0:54:35
TSP #113 - Teardown, Repair & Analysis of an Agilent E4443A 3Hz - 6.7GHz PSA Spectrum Analyzer
 0:47:51
TSP #24 - Experiments and Teardown of an Agilent 11896A Polarization Controller
 1:01:32
TSP #60 - National Instruments VirtualBench Review, Teardown & Experiments
 1:11:56
TSP #123 - Siglent SDG6000X Series Arbitrary Waveform Generator Review, Teardown & Experiments
 0:23:37
TSP #189 - Teardown, Salvage & Experiments with an Agilent 8515A 26.5GHz S-Parameter Test Set
 0:16:36
TSP #179 - Teardown & Experiment with a Keysight M9505A AXIe Chassis & M8190A Dual 12GS/s 12...
 0:31:31
TSP #233 - How good is an $85, 10GHz Power Sensor? Detailed Teardown, Analysis & Experiments
 0:48:41
TSP #122 - Teardown, Repair & Upgrade of an Agilent 3458A 8.5 Digit Digital Multimeter (April 20...
 0:26:44
TSP #142 - Teardown & Repair of an Agilent N9020A MXA 10Hz - 8.4GHz Spectrum Analyzer (Jan. 19 -...
 0:19:32
TSP #235 - Stanford Research SR650 Dual Programmable Filter HP/LP Repair, Teardown & Experiments
 0:25:37
TSP #88 - Teardown, Experiments & Calibration of an Ist-Rees Laser Spectrum Analyzer
 1:05:12
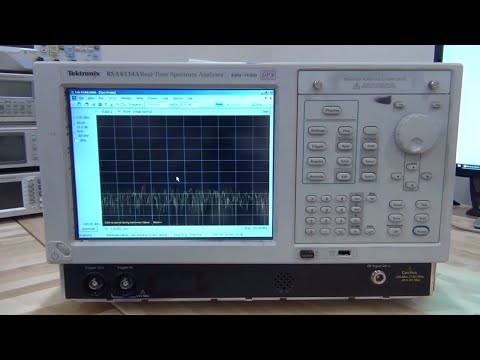
TSP #89 - Teardown, Repair and Experiments with a Tektronix RSA 6114A Real-Time Spectrum Analyzer
 0:40:10
TSP #237 - Rohde & Schwarz LCX200 Precision 10MHz LCR Meter Review, Tutorial, Teardown & Exp...
 0:50:15
TSP #152 - Teardown & Experiments with Agilent mm-Wave W-Band (75 - 110GHz) T/R Module & Con...
Комментарии