filmov
tv
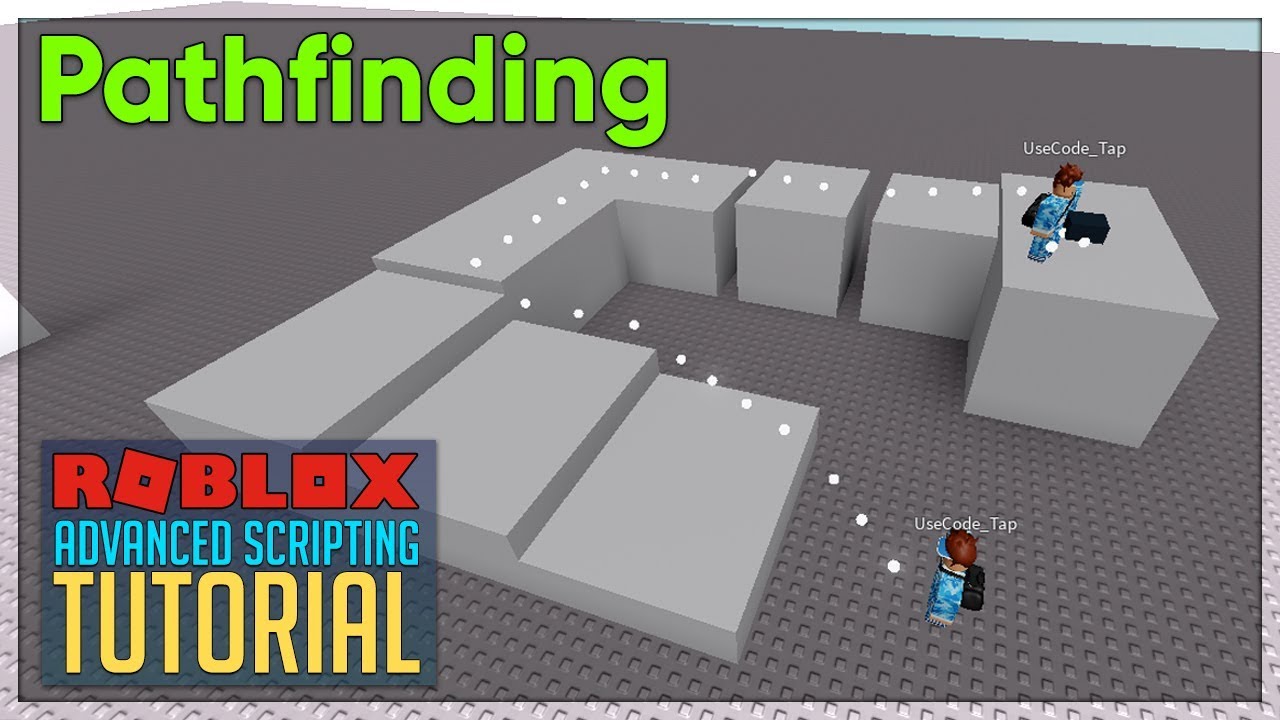
Advanced Roblox Scripting Tutorial #21 - Pathfinding (Beginner to Pro 2019)
Показать описание
Advanced Roblox Scripting Tutorial #21 - Pathfinding (Beginner to Pro 2019)
Hey guys! Welcome back to a brand new roblox scripting tutorial. In today's video I am going to be teaching you about pathfinding / pathfinding service. This is an insanely fun but important topic and I'm so excited to show you guys! If you have any questions like always leave them in the comments. Enjoy :)
-- Join my Discord Server to learn and meet other developers!--
Link to Beginner's Tutorial Series:
--What is this series about and who is it for?
So this series is meant for people who really want to learn exactly how to script, if that is you then I promise by the time you watch this whole series you will know exactly how to script on roblox. Anyways be sure to subscribe to see whenever I release a new tutorial and I will see you guys in the next one. Peace!
 0:22:22
Advanced Roblox Scripting Tutorial #21 - Pathfinding (Beginner to Pro 2019)
 0:00:38
How to PATHFIND in Roblox 2024 #robloxdeveloper #robloxcoding #pathfinding #roblox
 0:00:46
How To Copy Any Roblox Game With Chat GPT
 0:00:31
The WORST Programming Languages EVER #shorts
 0:13:37
Introduction to ADVANCED Roblox Studio Scripting: Roblox Studio ADVANCED Scripting tutorial
 0:01:17
Roblox Lua in 100 Seconds
 0:00:32
ADVANCED Click To Move 💀
 0:35:28
Gamepasses (One-Time Robux Pass & DataStore Receipt) - Roblox Advanced Scripting #21 (2024)
 0:02:04
RIVALS SCRIPT 2024 WORKING (Roblox Rivals)
 0:13:06
Advanced Roblox Scripting Tutorial #1 - Tools (Beginner to Pro 2019)
 0:14:13
Roblox Beginners Scripting Tutorial 21 - Local Variables
 0:23:18
Advanced Roblox Scripting Tutorial #14 - Animation (Beginner to Pro 2019)
 0:26:55
Server Client Communication: Roblox Studio ADVANCED Scripting Tutorial
 0:17:54
Roblox Lua for Beginners - Learn Lua in 20 Minutes
 0:05:38
Advanced Roblox Scripting Tutorial #35 - Tick() (Beginner to Pro 2020)
 0:23:57
Advanced Roblox Scripting Tutorial #8 - Remote Events & Remote Functions (Beginner to Pro 2019)
 0:00:16
Now vs. Then Animating | Breaking Roblox #shorts#viral#trend#trending#roblox#animation#Nowvsthen
 0:15:59
Advanced Roblox Scripting Tutorial #6 - UserInputService (Beginner to Pro 2019)
 0:00:17
Good Mirage Island Stock #bloxfruits #roblox
 0:10:56
Roblox Scripting Tutorial #21: Math Functions
 0:00:57
HOW TO GET INSANE GRAPHICS ON ROBLOX!!!!
 0:10:42
Advanced Roblox Scripting Tutorial #5 - Mouse (Beginner to Pro 2019)
 0:01:00
Using Roblox's AI Code Generator
 0:19:00
Task Functions (wait(), spawn(), delay()) - Roblox Advanced Scripting #4 (2023)
Комментарии