filmov
tv
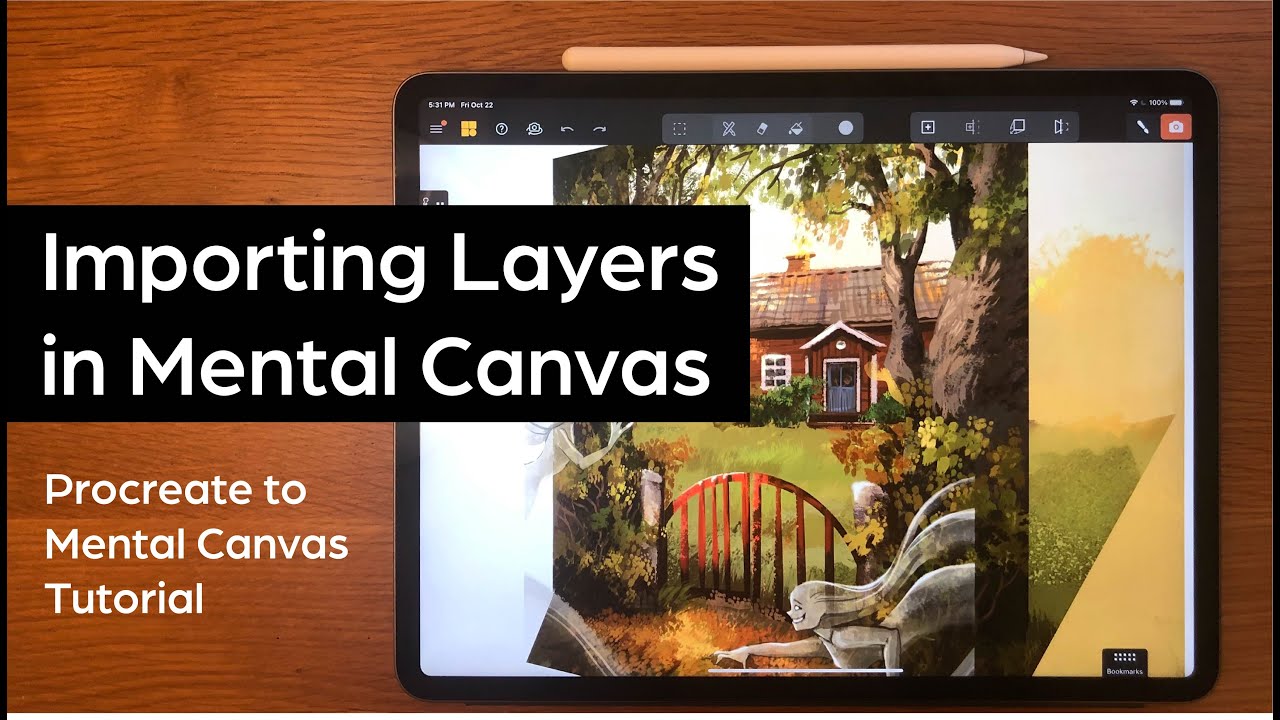
Importing Layers in Mental Canvas
Показать описание
This tutorial shows the process of importing a layers stack into Mental Canvas and using the projection tools to turn it into a spatial scene. This is featuring the newest update on iOS which enables group image import. We hope you’ll give it a try & enjoy!
This was shown using Procreate, but the process applies regardless of the software you use to create the layers: first you will export the layers as PNGs and then import them into Mental Canvas.
Thank you to Kamila Stankiewicz for illustrating this beautiful piece and sharing it with us for the tutorial!
Notes:
This is a new feature and it varies by OS:
iOS13 = limits to 1 image import at a time
iOS14 = New group import feature but it’s not ordered
iOS15 = New group import feature that allows the layers to be ordered
*Note there is an Apple Bug with iOS 15.1+ see below
If your images are coming in opaque rather than transparent, there are a couple things to check:
1) First, confirm that they have transparency in the photos album by tapping on them in the photos library (see 00:30). The background should turn black if they are transparent. If they are not transparent in the photos library, the issue could be due to the way you’re exporting the layers, or the Apple Photo library converting PNGs to JPG. In Procreate, make sure you have the background layer turned off to export with transparency. In your Photo Setting, make sure "Download and Keep Originals" is enabled.
Timestamps:
00:00 Intro & Exporting PNGs
00:47 Open Mental Canvas File
01:15 Import PNGs
02:13 Save Bookmark view
03:19 Hinge the Ground
04:50 Project Layers
07:00 Save Bookmarks to create the fly through
08:11 Additional Edits: Hinging the gate open
09:55 Exporting the Video & Notes
 0:10:55
Importing Layers in Mental Canvas
 0:12:39
Mental Canvas | How to import and edit layers / illustrations
 0:03:43
Working with Layers
 0:06:01
Importing and Editing Images
 0:02:08
MENTAL CANVAS - 002- IMPORT
 0:00:20
Drawing an imagined scene from Mistborn in Procreate and Mental Canvas✨
 0:00:28
How to use the Fill tool and layer opacity in Mental Canvas ✨ Scene by Abby Carter ✨
 0:01:00
Projecting an Image with Mental Canvas
 0:00:56
AI generated images presented through Mental Canvas
 0:00:26
How To Use Mental Canvas for Beginners 👍 #procreate #mentalcanvas #shorts #procreatehack
 0:07:24
Mental Canvas | How To Scenes #mentalcanvas #digitaldrawing
 0:00:15
Mental Canvas on Ipad Pro (Artemis on a new adventure) 🖌️ #shorts
 0:00:42
Mental Canvas Intro Video
 0:00:17
We love Abhisek’s comic made entirely in #MentalCanvas 💥💬
 0:00:11
Great depth and spatial sketching by Victor in #MentalCanvas 🌟
 0:00:33
Mental Canvas: everything you need to know
 0:01:07
'mental canvas' test importing illustration
 0:00:23
Experimental work on Mental Canvas and RoughAnimator #mentalcanvas #animation
 0:30:45
Mental Canvas Tutorial - Create Three-Dimensional (3D) Drawings and Create Amazing Videos from Them
 0:00:09
3D ARTWORK #procreate #mentalcanvas #art
 0:00:39
How to Make Right Angles in Mental Canvas 📐
 0:00:19
Comics like you’ve never seen them before! 🔥👏🦇 Drawing in Mental Canvas by @ambareesh1000 ✨...
 0:00:54
Belajar Mental Canvas dalam waktu 1 Jam
 0:19:04
Mental Canvas Tutorial
Комментарии