filmov
tv
How to Install Wainscoting on Angles (Staircase Renovation Episode 1)

Показать описание
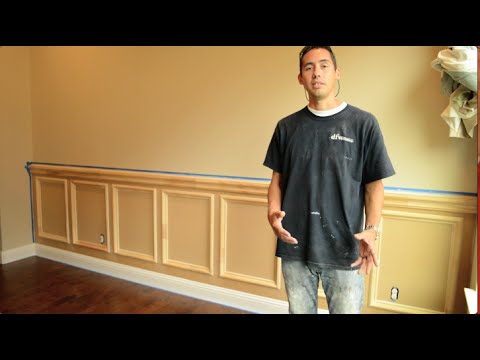
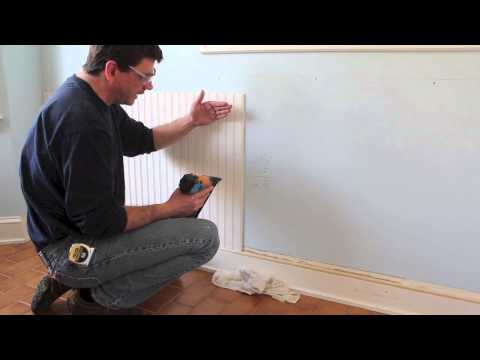
The process of installing wainscoting starts with selecting the material. I've used 1/2 inch material for the frames and 1/4 inch material for the panels. The inside of the wainscoting panels is trimmed out with panel mould.
I install the wainscoting frames first, which defines the shape of the space. I then cut a panel to fit loose inside the frames. Once the panel is in place, I sketch out a drawing of the wainscoting panels so I can write down all the measurements. This is a time saver as I can take the drawing into the woodshop and cut all the parts in a batch.
The most challenging angles to cut are the ones that are more than 45 degrees as most miter saws can only cut 45 degrees. To overcome this, I cut a 45 degree panel to use as an auxiliary fence. I then do the math to subtract 45 degrees from the angle I need and set the miter saw (e.g., to cut 66 degrees, subtract 45, which is 21 - set the saw to 21 degrees). This can be a dangerous cut if not clamping down the parts, especially if the panel mould is wide material, so ensure you're trained and comfortable with this type of saw operation to avoid an injury.
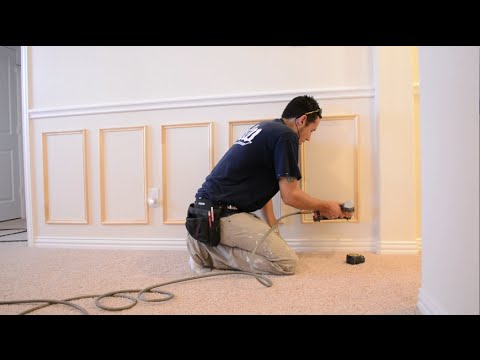
Once the parts are mitered to length, I test fit them and trim them where needed. I install the panel mould with a brad nailer and glue the miters to keep them tight. I then fill the nail holes, sand them, and prime the wood to prep it for paint.
This description contains affiliate links, which provide our channel with funds for producing more videos for our viewers.
#wainscoting
 0:08:34
How to Install Wainscoting | DIY Board and Batten
 0:08:28
How to Install Beadboard or Wainscoting
 0:03:44
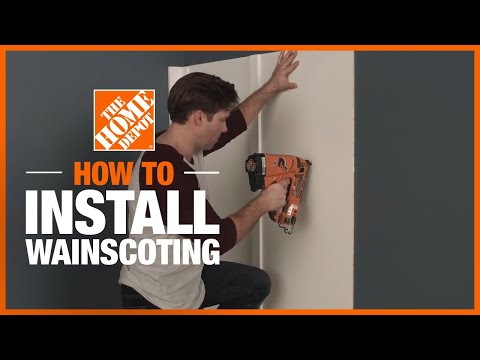
How To Install Wainscoting (PRO TIPS FOR BEGINNERS)
 0:03:47
How to Install New Wood Wainscoting | This Old House
 0:04:14
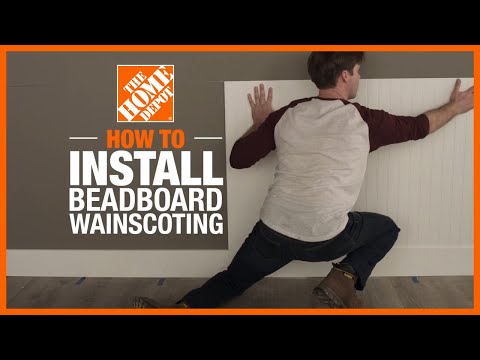
How to Install Beadboard Wainscoting | Wall Ideas & Projects | The Home Depot
 0:16:33
How to Install Wainscoting | Easy DIY Wainscoting + Tips | Elegant Dining Room Transformation
 0:03:56
How to Install Easy DIY Wainscoting | The Home Depot
 0:05:53
How To Layout, Cut And Install Wainscoting On Stairs #wainscoting #miter #bevel
 0:00:30
Easy DIY wainscoting to add some class to this dining room. #diy #wainscoting #moulding #diyprojects
 0:07:02
Easy DIY Board and Batten Wall | How to Install Wainscoting
 0:24:26
How To Install Wainscoting | DIY Wainscoting Step By Step Guide | Wall Trim
 0:05:00
DEAD simple DIY Wainscoting Accent Wall (Don't Overthink It)
 0:02:55
How to Install Wainscoting Yourself - DIY Wainscoting - Bunnings Warehouse
 0:06:50
DIY WAINSCOTING for HALF THE COST 💵
 0:14:32
DIY Dining Room Wainscoting & Chair Rail
 0:20:52
Recessed Panel Wainscoting Installation - How to Install
 0:07:05
How to Design and install Chair Rail + bead board / wainscoting
 0:01:33
How to Install Wainscoting | Skill School | Better Homes and Gardens
 0:16:08
Fast Efficient Wainscoting - Value Engineered Wainscoting Details
 0:13:31
How to Install Chair Rail and Picture Frame Moulding
 0:08:30
How to Install Wainscoting and Wallpaper
 0:08:31
How to Install Wainscoting on Angles (Staircase Renovation Episode 1)
 0:26:46
How to build upscale wainscoting
 0:12:57
Wainscot Cap and Base
Комментарии