filmov
tv
Inventor 101: Circular Pattern
Показать описание
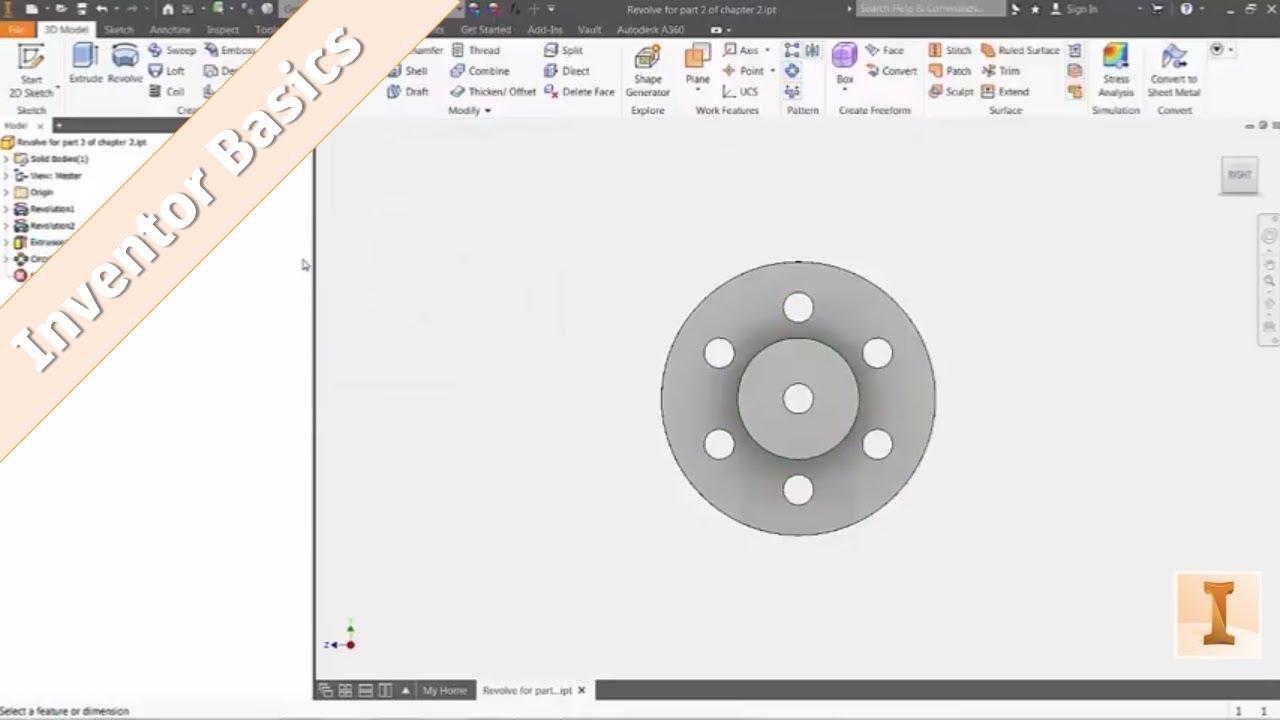
In part 4 of this Autodesk Inventor 101: The Basics series, I'll show you the various options available when using the circular pattern command on an existing feature.
 0:01:38
Inventor 101: Circular Pattern
 0:02:25
Inventor How To Circular Pattern
 0:02:42
Circular Pattern Demo Inventor
 0:01:30
Inventor How To Circular Pattern Skip Instances
 0:01:22
Inventor How To Circular Pattern Drawing
 0:01:00
Create circular patterns in Autodesk Inventor
 0:01:37
Inventor How To Circular Hole Pattern
 0:01:29
Inventor How To Assembly Circular Pattern
 0:01:35
Inventor How To Break Circular Pattern
 0:05:07
Inventor Circular Pattern
 0:04:16
Circular Pattern Autodesk Inventor
 0:02:01
Inventor How To Circular Pattern Dimension
 0:02:32
Creating Circular pattern in Autodesk inventor 2023
 0:05:33
Using Circular Pattern on Inventor
 0:03:45
Autodesk Inventor Tutorial 15, Circular Pattern
 0:01:22
Inventor How To Edit Circular Pattern Sketch
 0:02:37
Inventor - Part - Circular Pattern
 0:00:59
Inventor - Circular Pattern Tool
 0:05:37
Noblin Inventor Tutorial 016 - Modeling Circular Pattern Holes
 0:11:00
Inventor using revolve and circular pattern
 0:01:09
Inventor: Circular Pattern Tool
 0:02:02
Circular Pattern Tool in Autodesk Inventor
 0:01:44
Inventor 101: Rectangular Pattern
 0:01:03
4.3 circular pattern inventor 2023
Комментарии