filmov
tv
Live Edge EPOXY RESIN 'Reverse River' Table 💧 Woodworking How-To

Показать описание
📦 Materials Used On The Epoxy Resin Table (affiliate):
🛠 Tools Used On The Epoxy Resin Table (affiliate):
📲 FOLLOW CRAFTED WORKSHOP!
 0:20:30
Live Edge EPOXY RESIN 'Reverse River' Table 💧 Woodworking How-To
 0:15:09
Reverse River Table with Copper Metallic Resin
 0:10:04
Reverse River Table Part 1
 0:04:56
The Beginners Guide To Expert Epoxy Tables!
 0:00:25
Incredible waterfall coffee tables made from wood and epoxy! 🤯🤯 #woodworking #interiordesign
 0:00:48
Building a 75” round epoxy mold #epoxytable #wood #rivertable #woodworking
 0:15:35
Reverse River Table Part 3
 0:13:55
Walnut & Resin Bar Top (Reverse River Table Top)
 0:12:46
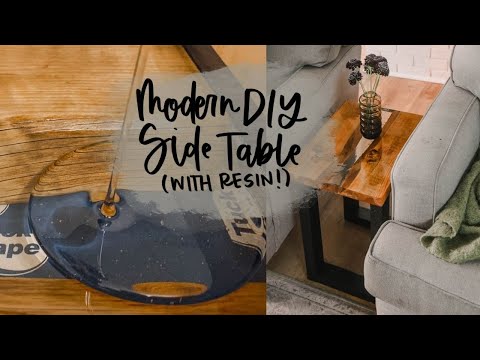
Modern DIY Epoxy Table | Live Edge with Resin River
 0:05:59
Reverse River Table Part 2
 0:05:54
DIY Live Edge River Art
 0:11:55
DIY Epoxy Resin Live Edge Table | Epoxy Resin Ocean Dinning Table
 0:00:11
Reverse, live edge, waterfall table by Wood Furniture Artist, Peter Erdei 
 0:00:15
Epoxy river pour on maple. Live edge, river table, wood slab, custom table
 0:00:15
DIY Model Cars Table with Epoxy Resin
 0:10:02
How To Make An Epoxy Table
 0:09:07
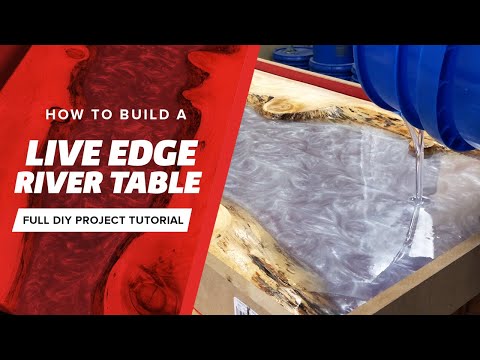
How to make a live edge river table with epoxy resin
 0:01:01
Round molds , to pour epoxy. 2 tables, 2 big clocks. Check it out !!!!
 0:00:19
Amazing Trick For Leak-Proof Epoxy Pours! #Woodworking
 0:08:03
How to Make a Live-Edge and Epoxy Table | Timber Cast Epoxy Kit
 0:01:00
DIY $600 3D Ocean Tray #shorts #woodworking
 0:17:05
HUGE 60L Epoxy Live Edge River Table!
 0:03:04
One of My Favourite Tables That We've Ever Built!!
 0:00:27
The Blue River Coffee Table #diy #woodworking #epoxy #table
Комментарии