Double RAW Processing in Affinity Photo 2
preview_player
Показать описание
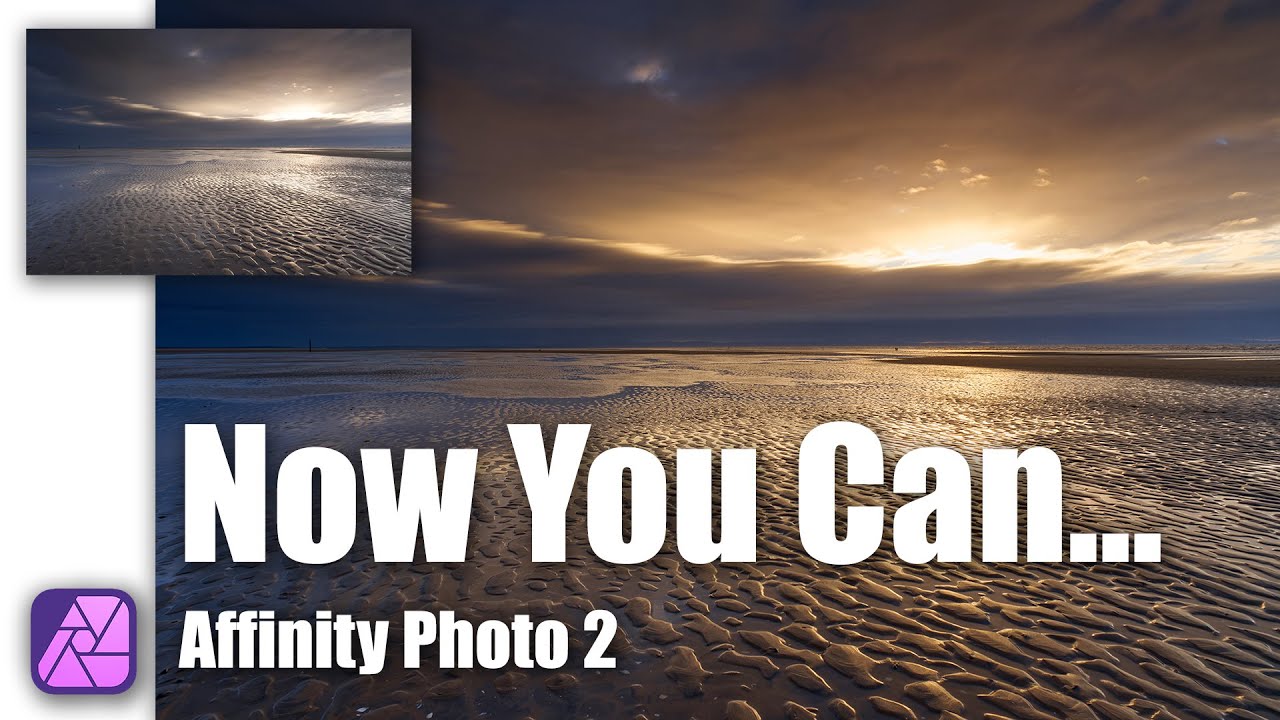
Last week, Affinity Photo 2 was released. In this video, I share a photo editing technique made possible by the new features in version 2.

The new non-destructive RAW file editing allows you to embed RAW data into an image layer. This is used to preserve your editing adjustments after you leave the Affinity Develop Persona. You can then return to adjust these settings at any time to change the image. In the previous version of Affinity Photo, this wasn’t possible. The Develop Persona adjustments became fixed in the pixel layer it produced.

With this new feature of Affinity Photo 2, it’s possible to duplicate a RAW layer to produce different versions of the image from the same RAW file. You can then blend these different versions together using masks.

In the example in this video, two copies of the RAW layer are produced using different colour settings. The new Hue Range Mask feature is then used to blend the two together. This is just one example of how the new features can be used to achieve results not possible in the previous version of Affinity Photo.

AFFINITY PHOTO BOOKS

PHOTOGRAPHY & PHOTO EDITING BOOKS

FREE BOOK

#robinwhalley #lenscraft #lenscraftphotography
Рекомендации по теме
Комментарии
Автор

Morning Robin. You are my first port of call for anything AffinityPhoto. Thank you.

markgilder
Автор

Great video - many thanks! That is a very useful new technique you've identified in AP2.

tonygreenwoodN
Автор

Although I have owned Affinity Photo 1 (AF1) from its beginning, I didn't invest much time in mastering it because Photoshop was available and at least the early versions of AF1 didn't seem to offer much. However, the new Affinity suite has me intrigued, especially given your videos. My initial criticism of AP2 was its very limited raw demosaicing, including minimal lens corrections, along with no way to attach a DCP profile. However, I already use DxO Photolab for most of my raw processing. So, I tried invoking PL6 from LR, did extensive edits, then exported it to AF2 as a DNG. AF2 seems to avoid the weird color shifts I have encountered between PL6 DNG and LR. Once final edits are done in AP2, it is trivial to import the result back into LR; in fact, you can export it as a PSD and layers are preserved for Photoshop. Admittedly, this seems like an awkward workflow, especially given that each product has an associated cost, but using the "best of breed" tool for each stage has advantages. It seems like there is a lot of potential here. This could seem to turn LR into little more than a very robust photo content manager.

kemerthomson
Автор

As someone who'd simply adjust the blues and yellows with ACR/Lightroom's hue slider, I appreciate seeing this elaborate workaround for perspective. I've been exploring my copy of Affinity Photo 2 in the wake of a recent Adobe Suite price hike. I'll hope for some batch workflow tools in Affinity version 3 and sign up for the Photo subset of the Adobe suite.

bjnslc
Автор

Great video Robin, thanks. Hopefully this question is straightforward - I'm a little confused with the Develop Persona, both in its previous and current forms - what actually gets transferred to the Photo Persona when you hit the Develop button? Is it a slimmed down version of the RAW file with the amendments made? Is that why people have wanted to be able to "go back" and re-Develop? If not, why bother going back when all the filters/adjustments are in the Photo Persona anyway....

stephencoyle
Автор

Very interesting! It seems that with these new two masking tools and degradate filter, it is not been necessary anymore optical degradated filters (so far I do not own those, and I think it never will take place...)

javiervvgarcia
Автор

At first when I got Affinity Photo it was just a fleeing form the Adobe Cartel, and I thought that I would be happy if it could do most of what PS can do...but now I realize that it is really flexible and I have to think this technique is not available in PS. There are always more than one way to skin the cat! Affinity has some small issues but it also has many new tools!

bransoncarlton
Автор

Heya there people got a difficult question to ask about Affinity photo 2 you know where the layer bar is? How do I put adjustments there???

it's at the bottom of it currently I need it to be right by layers, channels and brushes

hope people can help me out

hellssurprise
Автор

Interesting video Robin. I do most of my processing in Photolab 6 and only use Affinity 2 for a minority of photos. I would usually attempt the processing you did in this video in Photolab using local adjustments. How much better would the results be in Affinity?

stefanmarch
Автор

Around 2:23 he says "I can open the duplicate in the Photo Persona" but it appears to me to be in the Raw processing because the "Develop" button is still there, and then of course he continues to adjust the raw settings. I'm assuming he just misspoke, yes?

harvardkarbodie
Автор

What I would like is tk be able to batch process raw easily. Like: do a bunch of minor edits on a selection of similar photos, apply the preset to a list of raw files and let the computer handle the processing. Right now it looks like I need to create the preset then apply it to every individual raw file. It is slow...

jd
Автор

How close in quality does the raw developer come compared to Lightroom/photoshop and capture one for digital processing and printing?

CloudStrife