filmov
tv
How to Update HTML When a Button is Clicked

Показать описание
Learn how to easily change images in your HTML using JavaScript when buttons are clicked. A step-by-step guide for beginners!
---
Visit these links for original content and any more details, such as alternate solutions, latest updates/developments on topic, comments, revision history etc. For example, the original title of the Question was: How do I update the HTML when a button is clicked (change image when button is clicked)?
If anything seems off to you, please feel free to write me at vlogize [AT] gmail [DOT] com.
---
How to Update HTML When a Button is Clicked: A Simple Guide
If you’ve ever wanted to make your web pages more interactive, changing images with button clicks is a great place to start. Unfortunately, it can be a bit tricky if you're not familiar with JavaScript. Let’s break down how to update HTML dynamically with simple code, so you can finally get that image slider working!
The Problem
Imagine you have a webpage that needs to update an image each time a button is clicked. You might have a slider that shows different images of vehicles, but when you click the buttons, nothing seems to happen.
Common Issues:
The image doesn't change when the button is clicked.
You only see the initial image, regardless of button presses.
Changes appear not to be reflected in the HTML.
These are all frustrations that can be resolved with a clearer understanding of JavaScript functionality!
Understanding the Solution
To achieve the functionality of changing the image displayed when buttons are clicked, you need to ensure two things:
Correctly set the image source within the button click functionality.
Reference existing elements instead of trying to recreate them.
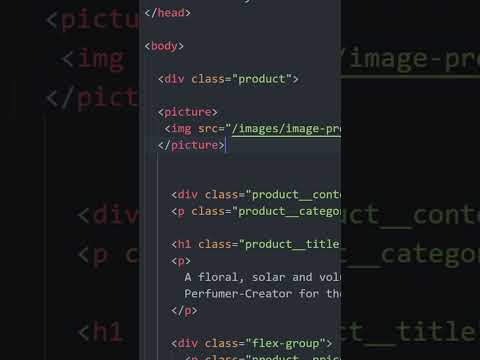
Step 1: Set Up Your HTML
First, you’ll want to ensure you have a basic HTML structure in place:
[[See Video to Reveal this Text or Code Snippet]]
Step 2: Define Images and Script
Next, you'll need to keep a list of the images and set up your JavaScript:
[[See Video to Reveal this Text or Code Snippet]]
Step 3: Explanation of Code Components
Image Array: Store the URLs of the images you want to cycle through in an array.
Current Index: Use a variable to track which image is currently displayed.
Event Listeners: Attach click event listeners to your buttons:
Next Button: Increases the index; if it exceeds the last image, it resets to the first.
Previous Button: Decreases the index; if it goes below zero, it resets to the last image.
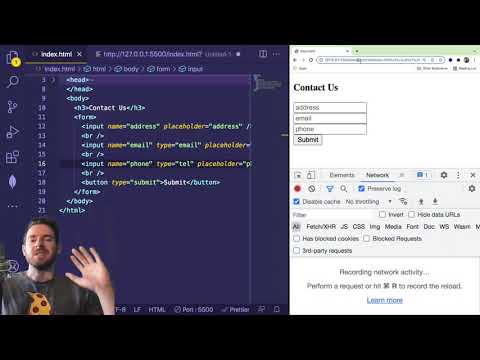
Step 4: Test Your Code
Once your HTML and JavaScript are set up and linked properly:
Open your HTML page in a browser.
Click the buttons to see the images change dynamically.
Conclusion
Now you've successfully created a simple yet effective image slider that responds to user input! By understanding how to manipulate the DOM with JavaScript, you can create countless interactive features for your web applications.
For more interactive elements and web enhancements, keep experimenting with other JavaScript functionalities. Happy coding!
---
Visit these links for original content and any more details, such as alternate solutions, latest updates/developments on topic, comments, revision history etc. For example, the original title of the Question was: How do I update the HTML when a button is clicked (change image when button is clicked)?
If anything seems off to you, please feel free to write me at vlogize [AT] gmail [DOT] com.
---
How to Update HTML When a Button is Clicked: A Simple Guide
If you’ve ever wanted to make your web pages more interactive, changing images with button clicks is a great place to start. Unfortunately, it can be a bit tricky if you're not familiar with JavaScript. Let’s break down how to update HTML dynamically with simple code, so you can finally get that image slider working!
The Problem
Imagine you have a webpage that needs to update an image each time a button is clicked. You might have a slider that shows different images of vehicles, but when you click the buttons, nothing seems to happen.
Common Issues:
The image doesn't change when the button is clicked.
You only see the initial image, regardless of button presses.
Changes appear not to be reflected in the HTML.
These are all frustrations that can be resolved with a clearer understanding of JavaScript functionality!
Understanding the Solution
To achieve the functionality of changing the image displayed when buttons are clicked, you need to ensure two things:
Correctly set the image source within the button click functionality.
Reference existing elements instead of trying to recreate them.
Step 1: Set Up Your HTML
First, you’ll want to ensure you have a basic HTML structure in place:
[[See Video to Reveal this Text or Code Snippet]]
Step 2: Define Images and Script
Next, you'll need to keep a list of the images and set up your JavaScript:
[[See Video to Reveal this Text or Code Snippet]]
Step 3: Explanation of Code Components
Image Array: Store the URLs of the images you want to cycle through in an array.
Current Index: Use a variable to track which image is currently displayed.
Event Listeners: Attach click event listeners to your buttons:
Next Button: Increases the index; if it exceeds the last image, it resets to the first.
Previous Button: Decreases the index; if it goes below zero, it resets to the last image.
Step 4: Test Your Code
Once your HTML and JavaScript are set up and linked properly:
Open your HTML page in a browser.
Click the buttons to see the images change dynamically.
Conclusion
Now you've successfully created a simple yet effective image slider that responds to user input! By understanding how to manipulate the DOM with JavaScript, you can create countless interactive features for your web applications.
For more interactive elements and web enhancements, keep experimenting with other JavaScript functionalities. Happy coding!
 0:00:30
 0:01:33
 0:00:19
 0:00:48
 0:01:00
 0:00:05
 0:00:52
 0:00:57
 0:00:44
 0:01:51
 0:10:46
 0:17:02
 0:00:15
 0:02:25
 0:00:25
 0:00:49
 0:00:15
 0:01:00
 0:01:19
 0:00:43
 0:05:50
 0:00:15
 0:00:16
 0:00:54