filmov
tv
Introduction to Engineering Drawing or Engineering Graphics

Показать описание
INTRODUCTION TO ENGINEERING DRAWING
In this video we will discuss, Drawing, Engineering drawing, Applications of engineering drawing, Instruments Used in Engineering Drawing and Different types of lines used in engineering drawing.
DRAWING
Drawing is a graphical language that communicates ideas and information from one mind to another.
A drawing can be prepared either using a free hand or using engineering instruments or using a computer program.
ENGINEERING DRAWING
An Engineering Drawing is a type of technical drawing, used to fully and clearly define requirements, and capture all the geometric features of a product, such as dimensions for engineering products.
APPLICATIONS OF ENGINEERING DRAWING
Drawing is used in manufacturing of all automobiles.
Drawing is used in constructions.
Drawing plays a vital role in engineering and it is essential to our daily life.
For example, construction of space jets, rockets, missiles, ACs, etc, initially, they should need drawing to come out as a final output.
INSTRUMENTS USED IN ENGINEERING DRAWING
The instruments used in engineering drawing are:
Drawing board
Drawing sheet
Mini drafter
T square
Compass
Divider
Set squares
Protractor
French curves
Pencils
Eraser
Let us describe each and every drawing instrument.
DRAWING BOARD
Drawing board is generally made of softwood and it is in a rectangular shape. It is used to support the drawing sheet, so, the size of the board is made according to the size of the drawing sheet.
DRAWING SHEET
Drawing sheet is a white paper on which an object is drawn which is available in various sizes.
To fix the drawing sheet to the board, clamps, plasters, paper holders are used.
MINI DRAFTER
Mini drafter is an instrument used for multiple functions in drawing.
It contains two arms which are adjustable to required angle and at the end of the lower arm a scale set is attached.
This instrument is fixed to the drawing board at one edge with the help of screw provided for the drafter.
T-SQUARE
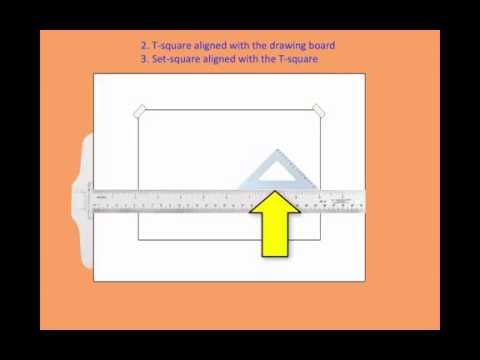
T square is used to draw horizontal and vertical lines on a drawing sheet.
The edge of the head is uniform level and attached to the edge of the board.
The working edge is used to draw lines anywhere on the sheet by moving the instrument top to bottom.
COMPASS
Compass is used to draw an arc or circle with known dimensions on engineering drawing.
DIVIDER
The divider looks like a compass, but the difference is the two legs of the divider are provided with needles.
This is used to divide a line or curve into equal parts. It is also used to check the measurements.
SET SQUARES
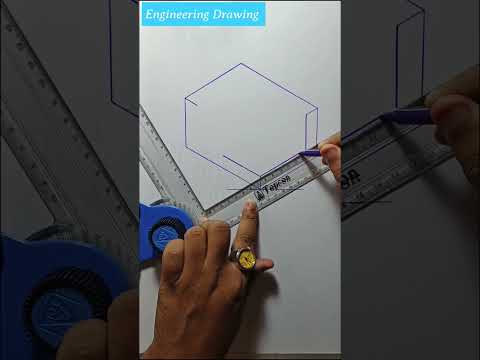
Set squares are used to draw lines with an angle between them. In most of the structures, 30, 45, 60 and 90-degree lines are most common. So, set squares make the work easier for this type of drawing.
Generally, set squares are of two types. One is a 45 degree set square and another one is called a 30 – 60 degree set square.
PROTRACTOR
Protractor is used to draw and measure the angles of lines in the drawing.
It is in the shape of a semicircle, and the edge of the semi-circle part consists of reading with one-degree accuracy.
The bottom line joins the 0o to the 180o.
FRENCH CURVES
French curves are made of plastic and they are in irregular shapes.
Sometimes the drawing requires irregular curves or shapes or arcs which cannot be drawn using compass. In that case French curves are suitable.
PENCILS
Pencil is used to draw on paper. Any type of pencil is not suitable for drawing. There are some limitations, the drawing appearance should be very neat and understandable.
Every line of the drawing should indicate its importance.
The following pencils are used in engineering drawings.
Grade of Pencil Used to Draw
3H Construction lines
2H Dimension lines, center lines, sectional lines, hidden lines
H Object lines, lettering
HB Dimensioning, boundary lines
ERASER
Eraser is used to remove the lines or spots which are drawn by mistake or with wrong measurements.
Next we will see different types of lines used in drawing, to indicate different parts of an object.
DIFFERENT TYPES OF LINES
Continuous thick line
This line is used to display outlines and edges of the main drawing.
Continuous thin line
This line is used for dimension, extensions, projections, hatching, leader etc.
Continuous thin free hand line
This line is used to show short break, irregular boundaries.
Thin line with zig zags
This line is used to show a long break.
Dash line
This line is used to show hidden edges of the main object.
Chain thin line
This line is used to represent central lines for circles and arcs.
Chain thin line with thick at the ends
This line is used to represent the location of a cutting plane.
Комментарии
 0:06:56
 0:06:21
 0:19:31
 0:25:50
 0:05:45
 0:22:34
 0:10:04
 0:04:51
 0:04:25
 0:07:05
 0:09:16
 0:06:13
 0:00:24
 0:03:31
 0:05:40
 0:22:00
 0:01:30
 0:15:05
 0:18:16
 0:09:11
 0:12:34
 0:29:19
 0:04:36
 0:07:45