Get Incredible Accuracy on ANY CNC Machine! | Pierson Workholding
preview_player
Показать описание
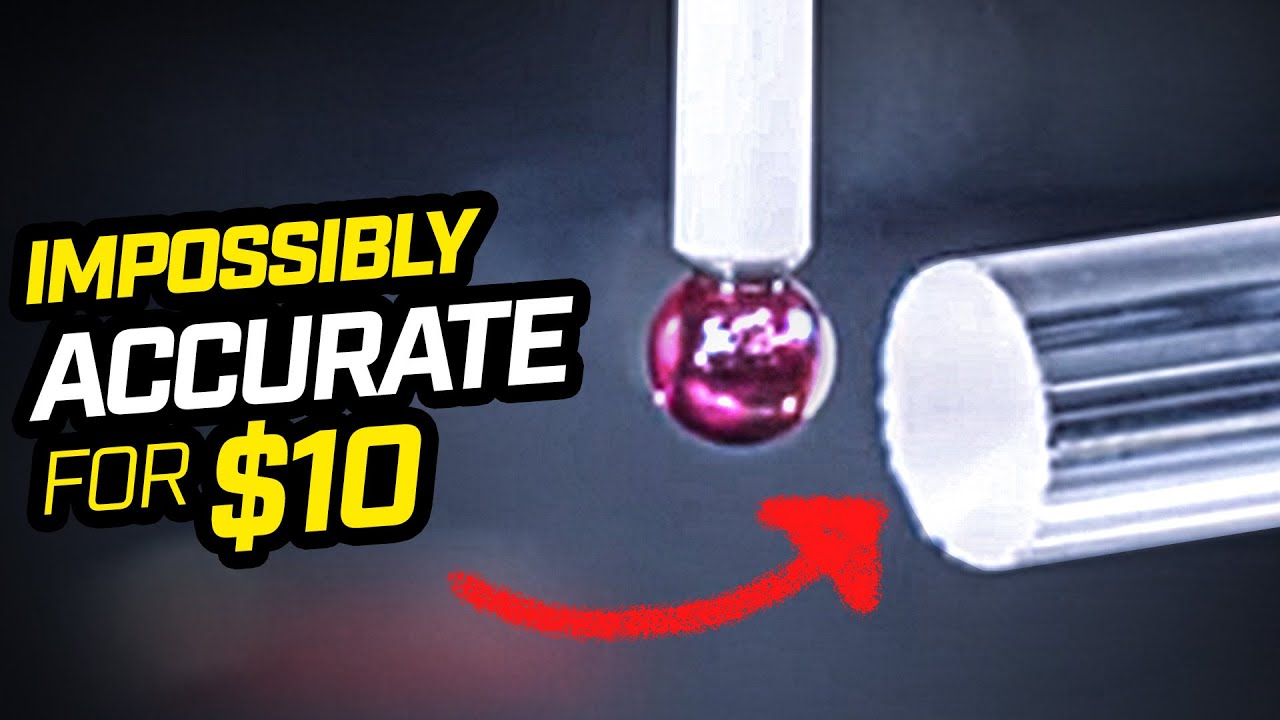
Today we’re going to look at a tool we made in-house with quartz glass that allows you to get incredible accuracy on any CNC machine!

When it comes to machining, there are lots of factors that can throw off the accuracy of any machine. Now, there's also lots of technology that can help correct those accuracy problems. But in this video, I'm going to show you how how a little device that we created in-house helps you achieve what us machinists call “dead nuts accurate”. Let's look at how YOU can get incredible accuracy on any CNC machine!
---------------------------------------------------------
Follow Pierson Workholding!
---------------------------------------------------------
**Videos We Recommend**

Fixture Friday Series:
THIS is the playlist to watch if you want to learn about designing fixtures.

Our new Move Series:
What is it like working through the process of buying your own property and also setting up a CNC Machine Shop that has lean principles in mind?
---------------------------------------------------------
McMaster Carr part numbers: 1357T154 and 4376A24
---------------------------------------------------------
00:00 One little tool that can make ANY machine super accurate
00:30 Glass quartz rod
01:15 3D Printed Parts
01:45 How does this work & how was it made?
06:18 Going through the code for probing
12:10 Wrapping things up
#CNC #CNCMachine #CNCMachineAccuracy
Рекомендации по теме
Комментарии
Автор

To address repeated comments, the glass rod only needs to be positioned parallel to the axis by .050" end to end. Any angular variation under this .060" positioning is smaller than the .0001" resolution of the probe and is a moot point. We easily achieve parallelism of the rod by positioning the orange supports flush to the edge of the table. If an operator can't position it within .060" of flush, I'd have larger concerns for them.

No, we don't want to make stops on the supports because it would limit use of the device to only the X axis on other machines.

"The material Zerodur has better CTE characteristics." - The CTE of quartz glass is far less than the margin of accuracy of the probe so any better performing material is overkill. Also, it's impossible to buy a single piece of Zerodur for $10 and have it arrive the same day from a supplier.

PiersonWorkholding
Автор

I have added quartz encoder scales to my manual mill... I get the thermal accuracy of the quartz measurement system independent of the machine temperature errors. It also serves to provide direct positional feedback regardless of backlash because the scales are measuring the actual table position rather than motor shaft location.

JustPlaneAround
Автор

RAMTIC parts-production concept was developed by Renishaw in the 1990's. They used a similar method but probed a master part, then applied scaling. I really like your approach Jay Pierson and plan to try your method in our tool and die shop.

ryanherold
Автор

I think I've done something relatively similar on the z axis just without a "known reference" so its all relative. We have some parts that required countersink diameters that were plus minus .01 but the surfaces were usually warped and we couldn't face them either. What we did first was split the countersink cycles up and go back and forth between the probe, drill and countersink which hurt our cycle times. What I was able to do was probe all the hole locations beforehand and store the Z deviation in macro variables for each location and compensate depths inside the countersink cycle all at once. Saved a lot of time!

hectordominguez
Автор

How do you keep the rod parallel to the axes? What about measuring the angle of the rod and correcting the result by the cosine?
Another suggestion would be wrapping the rod in an insulator (styrofoam) and keeping it in a tempered box. If put in the machine for a short while it won't have enough time to change its dimensions due to the insulation.

akosbuzogany
Автор

G103 P1 Limits look ahead to one line at a time. This prevents macro variables from being read before their correct value is calculated in a previous line.

thaddeusstevensmachine
Автор

We make some large (3'x2'+) aluminum aerospace frames with <=0.005" true position callouts and I think this is going to be a lifesaver, especially considering the machines these parts run on are also Haas machines without chillers. Sometimes we pull it off, but sometimes isn't good enough when your expected output is 4-5 parts per shift. Also, I don't think it's unlikely to see significant temperature deltas in the summer. I just did the math on this (I'll take any excuse to screw around in excel) and I'm seriously wondering if I got a decimal place wrong somewhere. Working backwards: If your datum and measurement location are a foot apart and for the sake of argument we'll say Y is perfect (lol) you're in trouble at just a 16 degree temperature delta.

Other thoughts:
- Can I trust G51 for parts with complex geometry? No offense to Haas, but this seems like solving the problem with a hammer.
- Is a coordinate specified or implied when the scaling factor is applied? Guess I could give the applications guy a call or do my own research. Or just buy a damn coolant chiller. At least now I have a way to justify it. Saving just a few of these parts from the scrap bin would justify the cost quite quickly. Maybe we could apply the scaling factor automatically (After calibration with the quartz rod, of course) with a temperature probe.
- Do you qualify Y as well? Might be a useful data point.

fbexpunge
Автор

I love this, it may not be a $_$ calibration tool but it does not need to be a $_$ calibration tool either. Keep up the good work Jay!

MakeItWithCalvin
Автор

I worked for Ellenef in the 90s. We built wings and structure for f-14s. Used lead hammer, dial indicator, Allen key and a steel block with a known value, placed on the fixture sled--to set the cutter height and check for runout. Did not seem very high tech but it was good enough for them.

jkgkjgkijk
Автор

That looks quite cool but wouldn't the tool not being perfectly parallel to the table on the machine introduce some variance?

FNmey
Автор

Seems like a great idea! Only issue I see is that when you place the device on the table, does it matter that it isn't perfectly parallel and perpendicular with the machine axes?

jamescerven
Автор

. . . Wow. . . haha such a simple concept that could make a huge difference to those who can only afford, well, affordable machines! Learn to think outside the box a tad, and it can take you far! Sweet idea, simple to execute.

adriand.
Автор

have not used a glass rod. however have used same material gauge blocks that have fill table of temp and size.

Master-lsop
Автор

2 questions I have with the 3d printed supports are whether they bend enough under the probing force, (will make the measurements appear small) and whether the supports are over-constraining the rod kinematically (may result in poor repeatability between mountings)? These effects might not be negligible in this application. High accuracy is achievable with the right tools and knowledge. Really cool idea! Thanks for sharing!

joshuafurner
Автор

Great Idea - need to build one soon. I see its main use as verification to confirm your machine is operating within parameters rather than scaling. I believe if the temperature is far enough out that there is a significant scale factor the material itself (aluminum, steel, etc) will have its own thermal expansion issues. The part will be machined accurately but at the current temperature of the material. With an accurate temperature of the material this could be compensated. The temperature of the coolant may dominate with flood coolant and a long enough cycle time

davidknight
Автор

I like this idea. Would have helped me on some projects.

An added suggestion on a machine like a Haas is to run the finish passes for whatever your critical features are in the shortest amount of time after probing as possible. If you have a long cycle some of these machines may be .001-.002 off 30mins after you probe your zero.

snyphilis
Автор

Great tip! It's also possible to adjust servo scaling in the Haas control, but it requires a key to access on newer machines - have you tried this Jay?

michaelkelly
Автор

Do you have the supports placed near the Bessel points? Measuring something in the vertical and then laying it horizontal can affect the length. Have you performed the same measuring cycle in the Y axis as well to see if there's any discrepancy? I'd be curious if you got similar results.

thefahj-
Автор

Awesome Video! I love learning tips like this! Two questions. I know the probe is extremely sensitive but is it possible it could move the rod slightly if it is just free floating in the 3D printed stand? Is there a clamp or screw to keep the rod firmly in place within the 3D printed stand?

briank
Автор

Thanks, … this is powerful …. Thanks for being so selfless and sharing so much of your knowledge it is shaving a decade at least off my learning curve as i prepaid to start a shop, thanks

offuttjr