filmov
tv
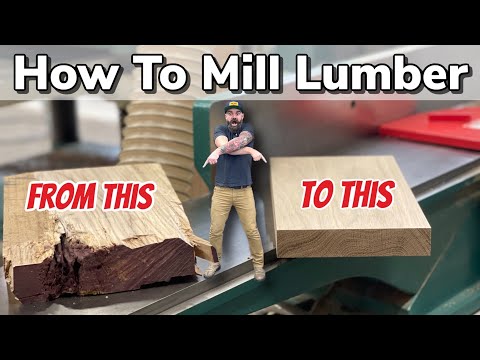
How To Milling Lumber That Stays Flat

Показать описание
Mill lumber that doesn't stay flat? This video is about how to mill lumber that stays flat, straight, and square!
Tools I used (affiliate links):
Blades (affiliate links):
///////MY LINKS
#woodworking #roughlumber #milling
Tools I used (affiliate links):
Blades (affiliate links):
///////MY LINKS
#woodworking #roughlumber #milling
 0:16:15
How To Make Your Own Lumber The Correct Way, Proper Saw-Milling
 0:21:06
How to Mill Wood || Become a Better Woodworker
 0:11:40
Mastering the Art of Lumber Milling Without a Jointer - A NO BS Guide
 0:11:49
Mill and Process Lumber Like a Pro - Woodworking Essentials
 0:15:34
How To Milling Lumber That Stays Flat
 0:06:17
How to Mill Your Own Lumber
 0:19:11
Milling Rough Lumber Without a Jointer Using a Few Simple Jigs
 0:05:27
How to Mill Lumber Flat and Square
 0:25:40
Milling your own lumber complete tutorial (Woodland mills HM126)
 0:09:25
Milling Rough Lumber: Surface 4 Sides S4S
 0:10:05
How To Mill Lumber With No Jointer
 0:05:57
Why Milling Dry Wood SUCKS!
 0:07:14
HOW WE GET RID OF SLAB WOOD: the mill’s main waste product
 0:21:04
Milling Lumber: 101
 0:09:19
Milling Two Beautiful Hardwoods on the Woodmizer LT40
 0:06:29
Mill Free Timber from Logs using your Table Saw
 0:05:42
HOW WE MAKE MONEY $$ FROM SAWDUST: a byproduct of the mill
 0:07:54
Why I Quit Milling Lumber - It’s Not Worth it on My Woodmizer LT15 Sawmill
 0:09:09
Milling Wood Using a Bandsaw - Logs to Live Edge Lumber
 0:08:29
How to mill lumber with a band saw
 0:33:41
♻️ Logs into Perfect Boards: 10 Years of Perfecting Chainsaw Milling!
 0:20:56
The Dark Side Of Milling Your Own Lumber
 0:08:43
Milling MASSIVE Custom Beam on a Homeowner’s Sawmill
 0:19:33
Milling Your Own Lumber - Part 6: Drying & Stacking Lumber
Комментарии