filmov
tv
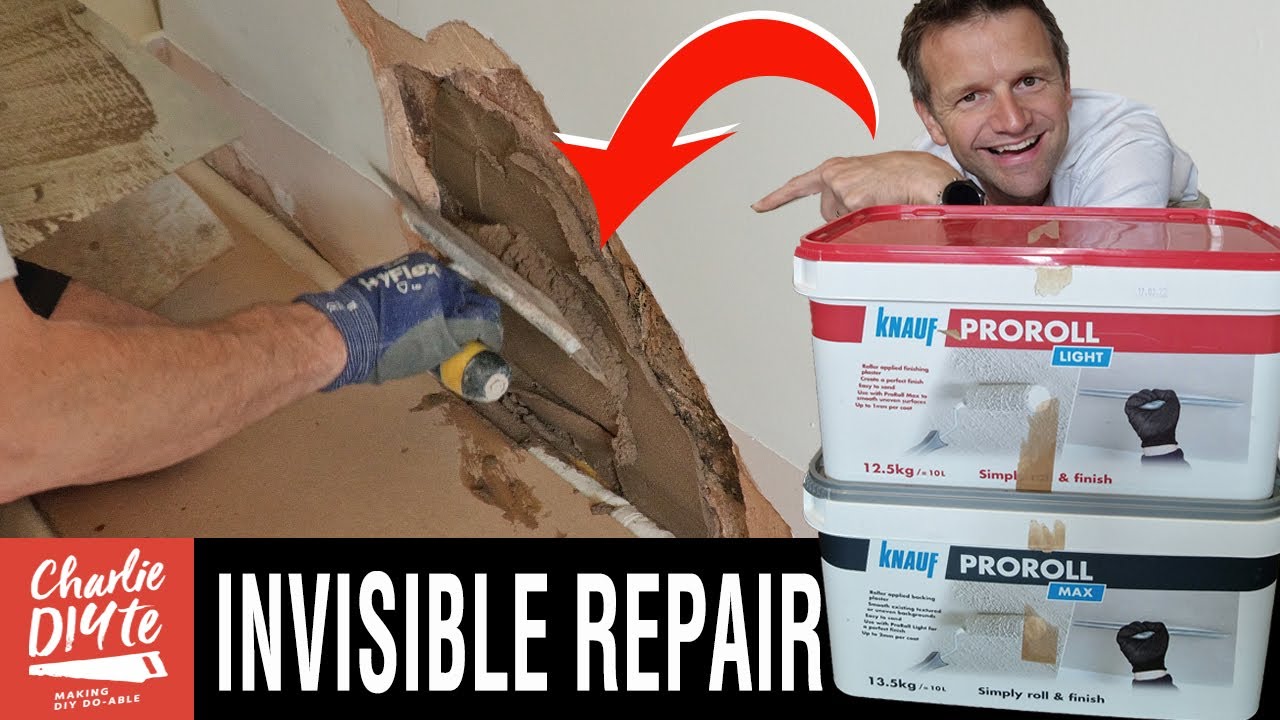
How to DIY Repair a Damaged Wall
Показать описание
How to DIY Repair a Damaged Wall for an invisible repair using a render base and then an unbiased review of Knauf ProRoll Plaster.
BRAND AMBASSADORSHIP
I'm currently partnering with Ansell whose gloves I've been using for over a year now. Bottom line, I've loved using them long before our tie up so this is a great collaboration that helps support my channel. You can see the gloves I've worn in this video here:
0:00 Introduction
0:13 Background
0:56 Damage Limitation
1:54 Render Repair Options
2:49 Mixing Sand & Cement
3:25 Applying the Render
6:08 Hairline Crack Fix
6:53 Proroll Max Plaster
11:42 Proroll Light Plaster
15:15 Conclusions
18:03 Product Links
18:15 Subscribe to Me!
You can become a Charlie DIYte Patron here
TODAY'S TOOLKIT:
- guaging trowel
* The Amazon links above are affiliate links. It doesn't cost you anything to click on them but I do earn a small commission if you do.
And here's the legal bit I have to state: As an Amazon Associate I earn from qualifying purchases.
LET'S CONNECT!
Charlie DIYte
#wall #repair #DIY
 0:09:39
How To Fix Loose Or Damaged Drywall Anchors Like New! | DIY Wall Plug Repair!
 0:27:43
How to Repair a DEEP SCRATCH in Car Paint (DIY)
 0:00:49
How To Repair A Chip On Concrete. #handyman #concreterepair #howto #diy #driveway
 0:31:15
How to Repair and Remove Dents from your Car (DIY)
 0:04:06
DIY Bumper Crack Repair
 0:05:21
How to DIY Repair a Damaged Garden Hose (4 Easy Ways) | GOT2LEARN
 0:06:19
How To Repair Cracked Dashboard - DIY Tutorial Using Sugru Glue
 0:03:17
DIY: How to repair a rust spot on a car?
 0:00:07
Zeit für den Frühjahrscheck! #machine #workshop #diy #cnc #automobile #repair #frühling #handwerk...
 0:16:22
DIY Bumper Repair
 0:08:11
Bumper DIY Crack Repair. Fix all types!
 0:00:34
DIY Tire Repair in 30 Seconds – No Professional Help Needed!
 0:01:36
DIY Bathtub Repair
 0:13:01
How to fix a crack in a wall or ceiling - DIY
 0:00:28
Easy $1 Emergency Car Tire Repair Hack
 0:06:27
DIY Kayak Fix: How To Repair A Hole In Your Kayak With Plastic Welding
 0:04:15
How to Fix a Crack in Concrete | A DIY Guide
 0:13:59
How to repair a fiberglass bathtub crack | DIY Fiberglass Resin Crack Repair with Foam | DP TUBS
 0:14:29
DIY How To Bondo Auto Body Repair (Tips and Tricks) To Prevent Common Problems with Body Filler
 0:06:36
Pro Tips — Sakrete Best DIY Method to Level and Repair an Uneven Concrete Slab
 0:01:00
Cleaning and Fixing DUSTY PLAYSTATION 🔥 #shorts #moneytalkswireless #playstation #fyp #repair #fix...
 0:11:20
DIY: Repair a Denso starter solenoid from a Toyota
 0:14:15
How to repair a scratch in a plastic bumper.#diy auto body #garage noise
 0:00:41
DIY Tire Fix Emergency Puncture Repair for Only $1
Комментарии