filmov
tv
How To Install Vinyl Plank Flooring(Start to Finish)

Показать описание
A quick guide on how to install Vinyl Plank Flooring.
These are affiliate links a great way to support the channel:)
The Vinyl Plank flooring used was Home Decorator (Grey Fig) from the Home Depot.
Thanks for watching!
These are affiliate links a great way to support the channel:)
The Vinyl Plank flooring used was Home Decorator (Grey Fig) from the Home Depot.
Thanks for watching!
 0:10:10
How to Install Vinyl Plank Flooring as a Beginner | Home Renovation
 0:04:45
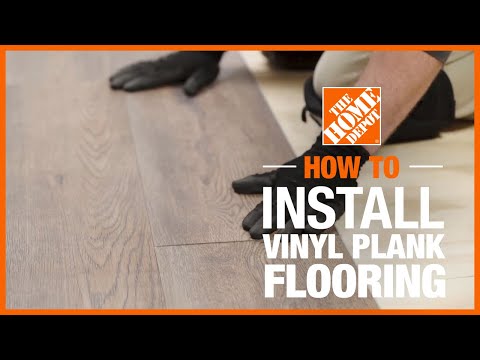
How to Install Vinyl Plank Flooring | The Home Depot
 0:09:37
How To Install Vinyl Plank Flooring(Start to Finish)
 1:39:18
How To Install Vinyl Plank Flooring Like a Pro
 0:06:25
How To Install Vinyl Plank Flooring - DIY At Bunnings
 0:14:57
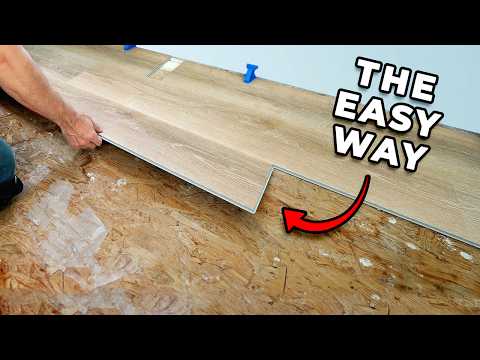
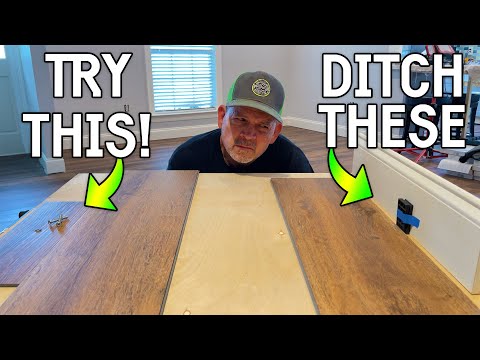
20 Tips for a Great Vinyl Plank Flooring Installation
 0:05:46
Starting a Vinyl Plank or Laminate Installation | Here's the BEST way
 0:04:04
How to Install Luxury Vinyl Plank Flooring
 0:10:09
How To Install Vinyl Plank Flooring For Beginners Made Easy! | Easy Home Renovation
 0:00:29
5 Pro Tips for Installing Vinyl Plank Flooring
 0:08:50
How to Install Vinyl Plank Flooring | Ask This Old House
 0:12:11
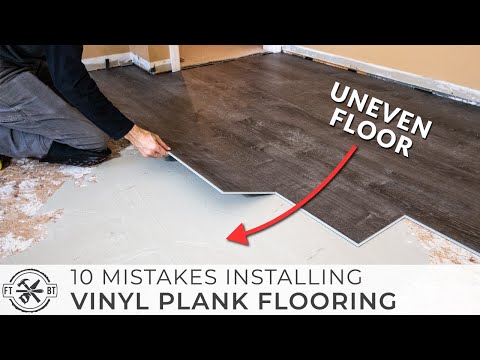
10 Beginner Mistakes Installing Vinyl Plank Flooring
 0:27:13
How To Install Vinyl Plank Flooring - Lifeproof Over Concrete
 0:14:27
Beginner's Guide - How To Install Vinyl Plank Flooring - Anika's DIY Life
 0:14:20
The MOST CLEVER Way to Start the First Rows | Vinyl Plank Installation
 0:14:07
Install Vinyl Plank Like A PRO
 0:31:20
Full House Luxury Vinyl Plank Flooring Install with No Transitions | LVP 'How To'
 0:09:40
How to Install Vinyl Plank Flooring
 0:05:49
How to Install Vinyl Plank Flooring | How To Anything
 0:26:51
Vinyl Plank Installation Tips for Doorways, Halls, Walls and Closets
 0:09:04
How To Install Peel-and-Stick Vinyl Flooring Over Existing Flooring
 0:34:04
How to Install Vinyl Plank Flooring | Lifeproof LVP
 0:30:01
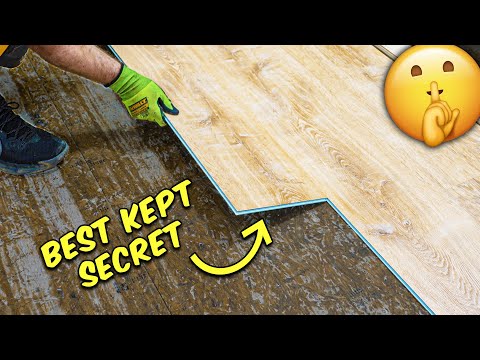
The ULTIMATE FLOORING HACK! | Installing Vinyl Plank Flooring
 0:14:12
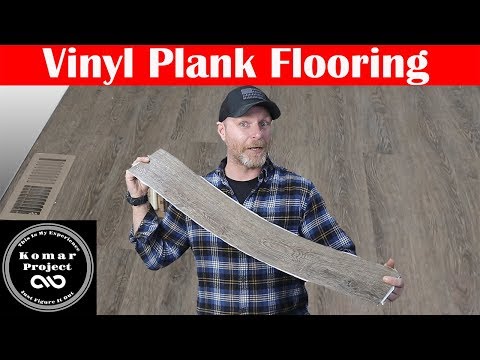
Why this Vinyl Plank is the EASIEST Flooring I've Ever Installed
Комментарии