filmov
tv
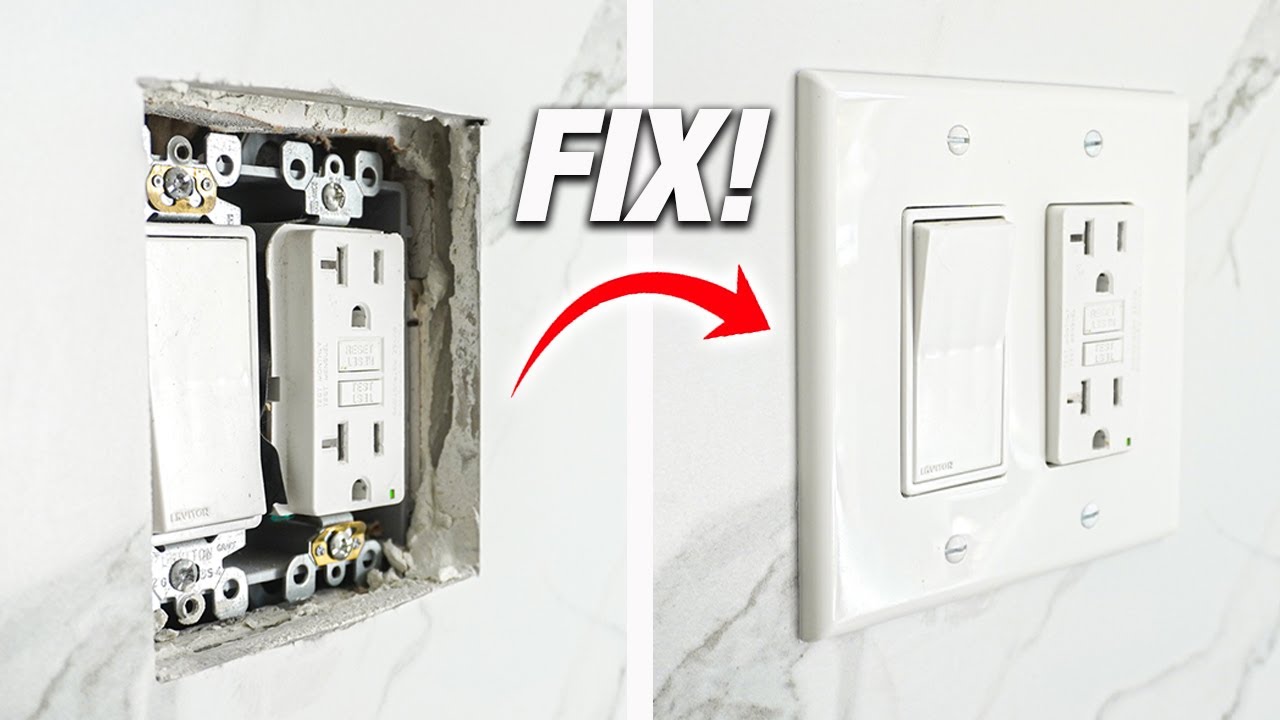
How To Fix A Sunken Electrical Outlet Box In Your Wall! DIY
Показать описание
ITEMS I USED ON THIS VIDEO:
Join this channel to get access to perks:
☕️ Buy me a coffee 🙏🏽! This will greatly help support this channel and will allow me to help more People by creating more helpful and useful How To, DIY & Product Review videos! :
On this video I will be showing you How To Fix A Sunken Electrical Outlet Box In Your Wall! DIY
FOR BUSINESS INQUIRES SEND TO:
FIX THIS HOUSE
P.O. BOX 2511
BREMERTON, WA 98310
UNITED STATES
FOR BUSINESS INQUIRES EMAIL ME AT:
DO YOU HAVE QUESTIONS ON YOUR HOME REPAIR OR DIY PROJECT? GET TIPS, ADVICE AND ANSWERS! BECOME A FIX THIS HOUSE MEMBER!
DISCLAIMER:
This video is meant for informational, educational, and entertainment purposes only! To better your knowledge on the concepts of electricity, electrical circuitry, entertainment component circuitry and all other wiring methods. Electrical codes in my area may be different from yours so always make sure you follow and stay current with your local code. With different codes around the world constantly changing standards, regulations and rules, it is the sole responsibility of the viewer to educate themselves on their local requirements before undertaking any sort of project. That being said Fix This House cannot claim liability with all applicable laws, rules, codes and regulation for a project. DO NOT ATTEMPT ANY WIRING OF ANY KIND if you lack the knowledge and understanding required. Otherwise, personal injury and/or death as well as property damage or loss could occur. Your safety is your own responsibility, including proper use of equipment and safety gear, and determining whether you have adequate skill and experience. If you are a younger person or are inexperienced with electrical devices, ask for help from a parent, teacher or a licensed professional.
WARNING- Electricity is dangerous and can cause personal injury or DEATH as well as other property loss or damage if not used or constructed properly. If you have any doubts whatsoever about performing do-it-yourself electrical work, PLEASE do the smart thing and hire a qualified and licensed electrician to perform the work for you.NEVER WORK WITH LIVE VOLTAGE. Always disconnect the power source before working with electrical circuits.When performing electrical work, ALWAYS READ AND FOLLOW THE MANUFACTURERS INSTRUCTIONS AND SAFETY GUIDELINES. Always follow your local electrical code and requirements which are specific to local areas.By utilizing this video and the information given, YOU are expressly holding "FIX THIS HOUSE" HARMLESS FOR ANY PROPERTY DAMAGE, PERSONAL INJURY AND/OR DEATH, OR ANY OTHER LOSS OR DAMAGE THAT MAY RESULT FROM YOUR ACTIONS. Viewers must be aware by doing projects on their homes they are doing it at their own risk and Fix This House cannot be held liable if they cause any damage to their homes. Fix This House and all parties associated with it ARE NOT responsible for the use and results of this information by any party, especially those lacking sufficient skill or knowledge to perform these steps safely and ANY HAZARD CREATED IS THE SOLE RESPONSIBILITY OF THE USER.
DISCLAIMER: This video contains affiliate links, which means that if you click on one of the product links, I’ll receive a small commission.
#electrical #outlet #diy
 0:03:56
How to Repair Sinking Patio Pavers
 0:08:47
How To Fix A Sunken Concrete Pathway | DIY Sidewalk Slab Repair Project
 0:07:36
How to Repair/Fix Sunken Block Paving with This SUPER Simple DIY Method!
 0:06:03
How To Fix A Sunken Sidewalk With Spray Foam
 0:04:13
Raise Sunken Patio Pavers!
 0:05:19
How to Fix a Sunken Sidewalk DIY
 0:06:49
How to Fix a Sinking Driveway Drainage System | Ask This Old House
 0:05:26
Lifting a Sunken Concrete Driveway Slab DIY
 1:27:31
ANTI-AGING EXERCISES FOR SAGGY CHEEKS, SAGGING SKIN, JOWLS, LAUGH LINES, FOREHEAD LINES, FROWN LINES
 0:03:16
How to repair sunken concrete in a day
 0:02:43
Fixing a Sunken Outlet: Safe, Easy Method
 0:12:31
Fix a Sunken Slab with Expanding Spray Foam
 0:03:07
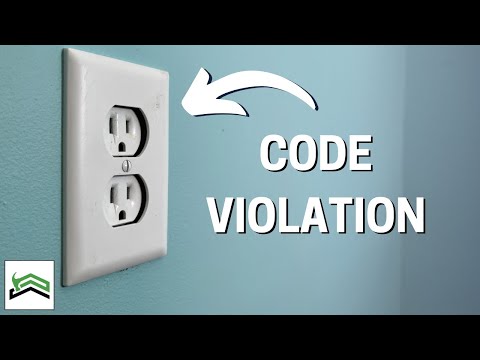
How To Fix a Sunken Electrical Outlet | Why The Easy Way Is Illegal
 0:10:17
How To Fix Sunken Outlet | 2 Easy Options
 0:04:37
Raise a Sunken Sidewalk for Free
 0:08:53
How to Raise a Sunken Concrete Step
 0:00:45
Fixing a Sunken Garage Floor with Foam Concrete Lifting
 0:04:03
How to fix your sunken lawn in 6 simple steps
 0:06:29
HOW TO FIX A SUNKEN CAKE
 0:05:02
How to Fix a Sunken Outlet (DIY)
 0:03:00
How to fix a Sunken Outlet
 0:03:10
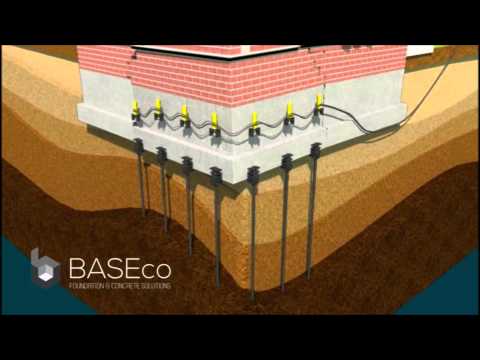
Foundation Repair with Helical Piers and Push Piers
 0:13:34
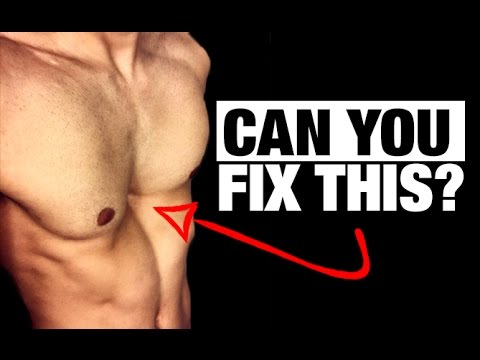
How to Fix a Sunken Chest! (PECTUS EXCAVATUM)
 0:00:45
Get rid of hollow + sunken eyes || subliminal
Комментарии