filmov
tv
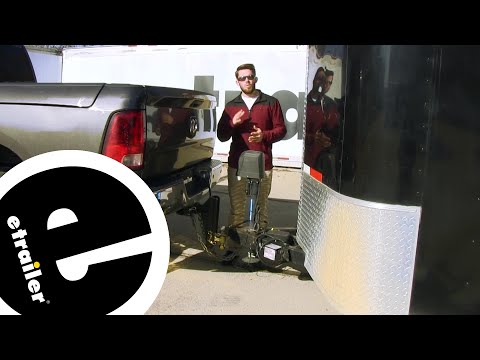
etrailer | Breaking Down the OptiMate 7 Select Smart Battery Charger

Показать описание
Click for more info and reviews of this OptiMate Battery Charger:
Check out some similar Battery Charger options:
Don’t forget to subscribe!
So if you're someone who wants to make sure you get it right when it comes to charging your battery backup and making sure it performs at optimum performance, this is what you would go with. With this being the OptiMate 7, this is actually gonna be great for your larger batteries. So if you have, let's say larger trailers, you got a big, old motorhome, let's say you have a big truck, even for light aircraft, this is gonna work out. Now in our case here, we have a smaller application. We have our popup camper, and this has been sitting in storage all winter.
Now that it's starting to warm up, we're trying to see if the battery is still good. We do have a solar panel on top, but we need to pretty much repair our battery. So that's where this comes in handy. So I took the battery out of our case, and we're gonna bring it inside and get to work. So this is gonna be the largest of the OptiMate series.
So if you are storing this on your vehicle or in your vehicle, let's take some measurements to see how much space it takes up. So in terms of length, it's gonna be about nine inches long. And in terms of width, it's gonna be about five inches wide. We even have these holes on the top and the bottom where you can put your cable ties through to secure it. And if you're not sure how the charger works, you have pretty much all the information you need printed on the charger itself.
So you have the types of batteries that this works with. You have your different selection for voltage. You can see how this is a 12-volt battery charger, and then you have 10 amps of capacity for charging. So in fact, I already went through the process of charging our battery, so let's take a look at that. First thing we're gonna do is we're just gonna plug this right in, and then you can see that our charger lights up. Now I do not recommend using extension cords, but plugging it straight into the wall if possible. So once you found a good spot to plug in, you're then gonna connect it to your battery. So I actually took out the battery and just brought it here just to make it easier for us to take a look at how everything works. So we have two options here. We can either use our crocodile clamps, and these just go onto your battery. Great for quick and easy solutions. If you want to keep this on your trailer for long-term, you can put these ring terminal attachments on there, and that's gonna stay on there and make it for easy access. That way, you just plug it in when you need to plug it in. Since we have our battery out and we're not permanently installing this charger, I'm gonna use the clamps. So we're just gonna connect it to our battery. Remember, the red is positive, the black is negative. Notice how small those clamps are though So if you do have a setup like this, it might be easier for you to use the ring terminals, but we're just gonna clamp this around. So as you can see, our battery has really good health. We actually skipped through our first couple sets or steps, and we're already have a light on this bar up top where you have the three bars lit up, showing that we've moved forward. Now let's go recap the steps that our OptiMate 7 goes through. So step number one with your OptiMate 7 Select is to select your voltage. So you have two options here. You have 14.4 volts or 14.7 volts. If you need that 14.7, go ahead and select that. If you're not sure, go ahead with 14.4. Now the moment you set up your battery or connect your battery, it's gonna go to step two and that's gonna be protection. And that means that if you, let's say reverse polarity, that's gonna set that off. If you blow a fuse, you're gonna find that out right away. You can have those warning lights light up. After you've corrected your issue, just go ahead and push, then release the select push button. It'll restart it, and you'll know everything's good once the green goes on. So then your next step is gonna be step three, and that's preparing to charge. So if there are no issues, your battery charger will start preparin
 0:10:43
 0:07:17
 0:03:27
 0:03:54
 0:01:19
 0:03:03
 0:05:33
 0:01:19
 0:01:00
 0:05:33
 0:11:44
 0:01:44
 0:03:39
 0:00:37
 0:01:12
 0:03:12
 0:00:53
 0:05:43
 0:02:24
 0:02:56
 0:03:02
 0:01:20
 0:01:30
 0:02:28