filmov
tv
7 Foot Long Solid Wood Floating Shelves | How to Build and Install

Показать описание
Thanks to Moosehead Breweries for partnering with me on this project! Moosehead is on a mission to inspire and motivate Canadians to cross a task off their to-do lists - and earn a Beer With Your Name On It. I received a lot of submissions for what I could help you build (and get YOUR Beer With Your Name On It!). In this DIY woodworking video, I’ll show you how to build solid wood floating shelves and how to install floating shelves using floating shelf hardware. Long floating shelves can be a successful DIY project using the right hardware!
There are a lot of shelf support brackets available on the market and it’s hard to know what to choose. I chose these ones for a few key reasons: weight capacity 100lbs+ (each extra brackets adds more capacity), you can anchor each support independently into your studs, and they are designed for a shelf thickness of 1-⅛ to 1-¼ inch.
►MATERIALS USED (affiliate links):
· 8/4 rough sawn ash wood
►TOOLS USED (affiliate links):
►ALL MY TOOLS & GEAR
►PLANS & ONLINE STORE
►Sign up for my NEWSLETTER: project updates, plans, woodworking book of the month and more!
►SUPPORT ME ON PATREON
►Follow me on SOCIAL MEDIA
►CHAPTERS
0:00 Intro
0:50 Building the shelves from rough lumber
1:04 Milling process
4:04 Glue-up
4:50 Cut to final size
5:25 Apply finish (Osmo)
6:00 Install floating shelf hardware on wall
9:23 Drill holes for mounting brackets into shelf
11:44 Mount the shelves on the wall
13:18 Final result
►MUSIC
 0:13:46
7 Foot Long Solid Wood Floating Shelves | How to Build and Install
 0:01:31
Expanding Circular Dining Table in Walnut
 0:12:21
99% of Beginners Don't Know These 5 Mistakes Ruin Wood!
 0:10:47
How to build and finish a desk top / DIY Table top
 0:19:53
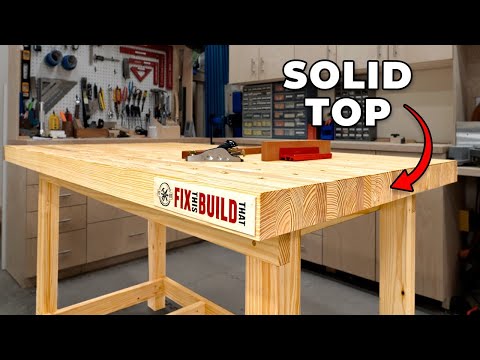
Building a Sturdy Workbench with Cheap Wood
 0:18:35
How To Build An Oak Dining Table That Last Generations . Plans Available
 0:10:04
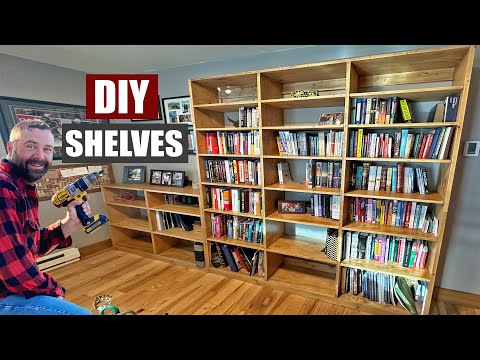
Building Long Bookshelves That Don’t Sag
 0:01:03
Solid wood kitchens: k7 kitchen | TEAM 7
 0:01:00
How To Fold Wood // Woodworking #carpentry #diy #woodworker #maker #woodworking #wood #handmade
 0:09:19
How to make a very simple wooden frame
 0:04:04
Möbel aus reinem Naturholz / Pure solid wood furniture | TEAM 7
 0:11:52
I don't get why people still do this
 0:26:44
BEST DINING TABLES - What to Look for and Where to Buy! | Julie Khuu
 0:08:58
Making a Tall Storage Cabinet
 0:00:32
New Arrival L-shaped 3 Fold Sofa Cumbed With Storage in Suede Fabric By Wood Planet Interior
 0:00:34
Sofa Cum Bed - Sereta Sofa Cum Bed Online @ Wooden Street
 0:00:15
Solid teak wood Dining Furniture at factory prices
 0:22:54
My Minimalist Computer Desk Setup & Build DIY!
 0:01:59
T Posts vs Wood Posts | Tractor Supply Co.
 0:02:21
How to identify a high quality engineered hardwood plank?
 0:20:44
The Best Bookshelves for Your Home [How to build your own]
 0:00:15
Ferguson Sheesham Wood Hydraulic Bed With Storage | WoodenStreet
 0:05:59
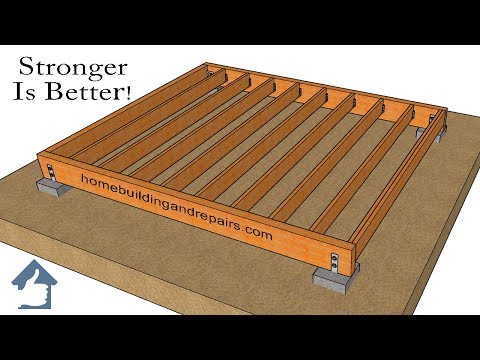
Two Ways To Make Stronger Wood Framed Shed Foundations – Design And Building Ideas
 0:20:40
Super Simple Modern Dining Room Table
Комментарии