filmov
tv
I can't believe building custom cabinets was this easy

Показать описание
✅️ TOOLS AND SUPPLIES IN THIS VIDEO:
📽️ WHAT TO WATCH NEXT
✅️ GET THE PROJECT PLANS:
✅️ HOW TO SUPPORT MY CHANNEL
*Disclaimer – As an Amazon Associate I earn from qualifying purchases
✅️ Other Affiliate Partners
✅️ MWA WOODWORKS ON SOCIAL
---------------------------------------------------------------------------------------------------------------------------------------------
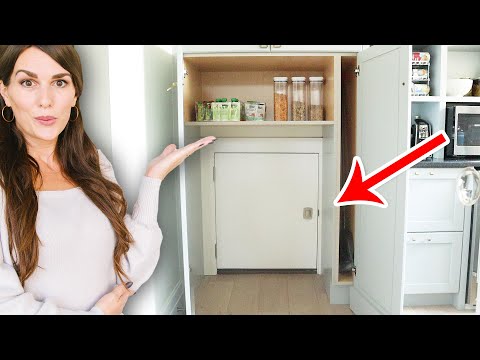
Cabinets For Storing Larger Items
Learn how to build a cabinet from start to finish
⏱️ Chapters
00:00 Intro
00:28 Cutting Cabinet Parts
03:13 Assembling a Cabinet Carcass
06:00 How to Make Drawers
07:56 How to Make Drawer Fronts
09:10 How to Make Face Frames
09:59 Tips For Undermount Drawer Slides
11:40 Tips For Installing Drawer Fronts
#cabinets#carpentry#woodworking
📽️ WHAT TO WATCH NEXT
✅️ GET THE PROJECT PLANS:
✅️ HOW TO SUPPORT MY CHANNEL
*Disclaimer – As an Amazon Associate I earn from qualifying purchases
✅️ Other Affiliate Partners
✅️ MWA WOODWORKS ON SOCIAL
---------------------------------------------------------------------------------------------------------------------------------------------
Cabinets For Storing Larger Items
Learn how to build a cabinet from start to finish
⏱️ Chapters
00:00 Intro
00:28 Cutting Cabinet Parts
03:13 Assembling a Cabinet Carcass
06:00 How to Make Drawers
07:56 How to Make Drawer Fronts
09:10 How to Make Face Frames
09:59 Tips For Undermount Drawer Slides
11:40 Tips For Installing Drawer Fronts
#cabinets#carpentry#woodworking
 0:11:18
I can't believe building custom cabinets was this easy
 0:08:27
I Can't Believe This Is So Easy Now!
 0:10:49
I cant believe people used to like these
 0:26:12
This is what $2000 gets you in 2024 - PC Build Challenge!
 0:45:11
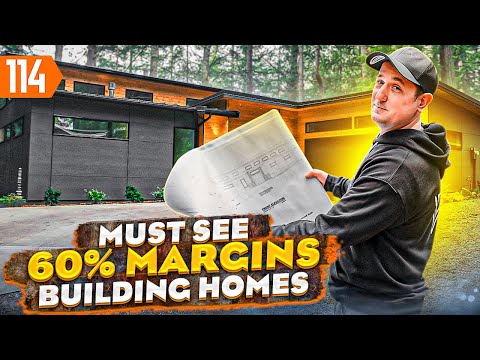
You Won’t Believe His Construction Business Profit Margins
 1:00:05
I can't believe this worked | Cities Skylines 2
 0:51:26
Building a Custom Transit System from the Ground Up! | MC 33
 0:01:37
Wow! I can't believe I got this one! CUSTOM Minifigure unboxing!
 0:52:11
I Built 4 EXTREME Rooms in My House!
 0:01:00
Why hasn't Apple invented this yet?!
 0:17:22
You Won't Believe These INCREDIBLE Custom Cars in LEGO 2K Drive!
 0:00:25
Henry Cavill building a gaming PC 💪
 0:00:13
Welcome to K&T Custom Builds! We believe in the magic of smart, sustainable renovations.
 0:04:41
Clever Custom Home IDEAS and HACKS you won't believe!! - Interior Designer
 0:04:33
Magnet Power! Making Awesome INFINITY GAUNTLET
 0:14:18
I can't believe how much I paid for this...
 0:12:31
I can’t believe it didn’t leak…
 0:00:15
You Wont Believe How BAD These Custom Lego Clones Are!! 🤮🤮 #shorts
 0:42:00
Building a 'Custom' Central Hospital | Cities: Skylines 2
 0:08:04
I Built Bikini Bottom in a Fish Tank
 0:00:26
You will NOT believe this custom truck’s build #shorts
 0:01:00
Thomas & Friends Magic Trick Tutorial ✨ #Shorts
 0:00:10
Can you believe this is in Michigan?! 😍 #luxurylifestyle #mansion #dreampool #custom #home
 0:08:59
You Won't Believe These Custom Van Builds!
Комментарии