filmov
tv
How to install the DD E3 Direct Drive Kit by Basaraba Innovations on a Creality Ender 3

Показать описание
Follow Us On Social Media:
Our Address:
36 Ditton Dr., Unit #3
Hamilton, Ontario
L8W 0A9
Telephone:
+1 (905) 963-9066
Sales Email:
Ever thought of converting your Creality Ender 3 into a direct drive system but you don't want to spend the $200+ it costs to install a Titan Aero or similar unit? Look no further! The DD E3 by Basaraba Innovations is only $49.95 (Canadian dollars!). Jason walks us through the installation of this system on a Creality Ender 3 Pro.
Ask questions, stay informed and join the community.
Free Shipping US and Canada-wide On Order Over $99!
Follow Us On Social Media:
Our Address:
36 Ditton Dr., Unit #3
Hamilton, Ontario
L8W 0A9
Telephone:
+1 (905) 963-9066
Sales Email:
 0:13:16
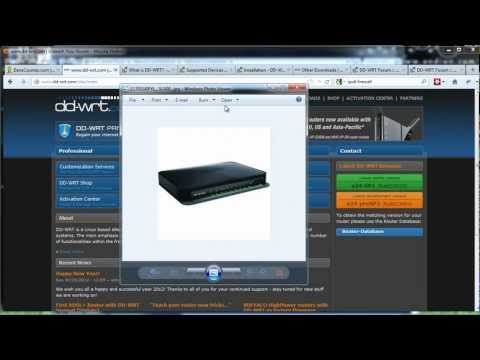
How to Install DD-WRT Firmware on a Router - No Steps Missed
 0:10:48
Creating a Forensic Image with dd
 0:20:03
DD tutorial - how to clone, backup and restore disks and partitions
 0:05:24
ClubSport DD Video Guide
 0:04:02
FANATEC QR2 - CSL DD / GT DD PRO Installation Guide
 0:08:54
How to Install DD-WRT Firmware Onto Almost Any Router
 0:14:54
How to Install DD-WRT on a Wireless Router - Techneek TV
 0:45:36
Astrill VPN Applet Setup on Wi-Fi Router through DD-WRT
 0:02:32
Installation the D.D. Servo Motor
 0:02:40
DD file installation in Hart 475
 0:03:32
MPEG4 BOX SETTING FOR ALL CHANNELS || DD FREE DISH MPEG4 BOX SETTING
 0:06:20
CSL DD Unboxing and Video Guide
 0:41:45
Supercharge Your Netgear R7000: Unleashing Its Full Potential with DD-WRT
 0:09:18
DD-WRT: Installing Optware
 0:13:22
How to install DD-WRT in D-Link Router Model Dir 600 B2 (Bx)
 0:02:45
DIY Kit - D-D Jumpguard Build and Installation
 0:25:36
How to install the DD E3 Direct Drive Kit by Basaraba Innovations on a Creality Ender 3
 0:15:22
How to install DD-WRT on your Router
 0:06:57
Install DD-WRT NETGEAR Nighthawk ( R8000 R7000 )
 0:06:52
Make Bootable Linux USB in any Linux Distro | dd command
 0:11:53
How To Install DD-WRT on the ASUS RT-AC66U
 0:06:49
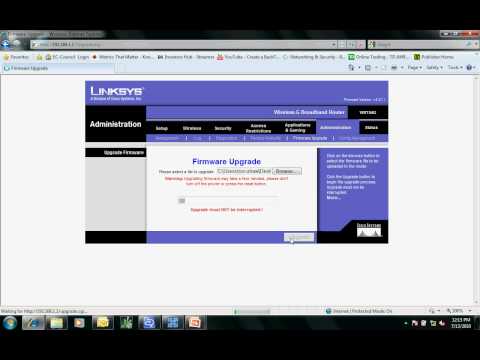
Install DD-WRT firmware on a Linksys Router
 0:12:12
How to install DD-WRT on a Wireless Router -Part1
 0:19:59
How to Install Ricoh dd 3344
Комментарии