filmov
tv
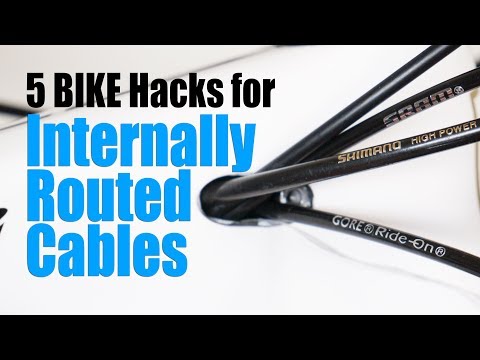
Internal Cable Routing Hacks | Road Bike Maintenance

Показать описание
Bikes with internal cables can be notoriously difficult to service. Here are our latest and greatest hacks for getting the job done.
Recabling a bike with internal cables can, depending on your bike, be a bit of a frustrating experience. Luckily for you, there are a few ways that you can hack this experience and make re-cabling your internal cables a simple, quick job.
Watch more on GCN...
Many thanks to Taylored Cycles for the use of their workshop
About GCN:
The Global Cycling Network puts you in the centre of the action: from the iconic climbs of Alpe D’Huez and Mont Ventoux to the cobbles of Flanders, everywhere there is road or pavé, world-class racing and pro riders, we will be there bringing you action, analysis and unparalleled access every week, every month, and every year. We show you how to be a better cyclist with our bike maintenance videos, tips for improving your cycling, cycling top tens, and not forgetting the weekly GCN Show. Join us on YouTube’s biggest and best cycling channel to get closer to the action and improve your riding!
Welcome to the Global Cycling Network | Inside cycling
Thanks to our sponsors:
Leave us a comment below!
 0:05:51
Internal Cable Routing Hacks | Road Bike Maintenance
 0:06:38
5 Bike Hacks for Internally Routed Cables - MTB, Road, Carbon, Pressfit BB
 0:09:33
Internal Bike Cable Hacks | How To Replace Internal Brake & Gear Cables
 0:15:41
TRICKY CABLE ROUTING?! Trying (and rating) internal cable routing hacks | Syd Fixes Bikes
 0:03:35
Internal cable routing trick - no magnets, no special tools
 0:03:21
No Hassle internal cable routing trick vid 01
 0:05:08
Easy Trick for Internal Routing Hydraulic Brake Hose using a Shift Cable and Ferrule
 0:19:03
How To Change A Mountain Bike Outer Cable/Gear Housing | Internal Routing Tips
 0:02:02
How To Thread Internal Cables - The Easy Way
 0:06:15
Route Internal Brake Hydro Line in Seconds!
 0:05:27
Internal dropper post cable routing hack
 0:00:16
Internal cable Routing Hack || tips #shorts #shortsvideo #youtubeshorts #bikemaintenance #jugaad
 0:01:47
Bike Mechanic Hacks - Internal Cable Routing Simplified
 0:01:02
HOW TO: Route internal gear cables - Park Tool vs Hack Tool
 0:02:22
Internal Cable Routing Headset
 0:11:02
Internal Cable Routing SUCKS! (Or Does It?)
 0:00:48
Easier Bicycle Internal Cable Routing Hack
 0:07:06
5 Quick Cable Management Tips | Tech Tuesday #207
 0:10:23
Internal routing tips for installing cables and housing for all components.
 0:01:33
Tweak Your Cable Routing
 0:04:26
Changing Internal Gear Cable hack (S-Works Tarmac)
 0:05:56
How to Use the IR-1 & IR-1.2 Internal Cable Routing Kit
 0:01:34
Ask a Mechanic: Internal Cable Routing Super Tip
 0:15:42
LEARN HOW TO FIT INTERNAL GEAR CABLES BEST HACKS FROM PROFESSIONAL MECHANIC
Комментарии