filmov
tv
DIY CHICKEN COOP BUILD // Start To Finish

Показать описание
This DIY chicken coop is all about how to build a chicken coop wooden from start to finish. This DIY predator proof chicken coop build shows the step by step process of building a coop and a chicken run with a lean to style roof line. Bring Your Own Tools (#BYOTools 165).
Apparel List:
Tool List:
Material List:
MUSIC:
0:00 - Venice Beach: Topher Mohr & Alex Elena
#byot #diy #howto
Apparel List:
Tool List:
Material List:
MUSIC:
0:00 - Venice Beach: Topher Mohr & Alex Elena
#byot #diy #howto
 0:01:00
DIY Chicken Coop Start to Finish
 0:00:14
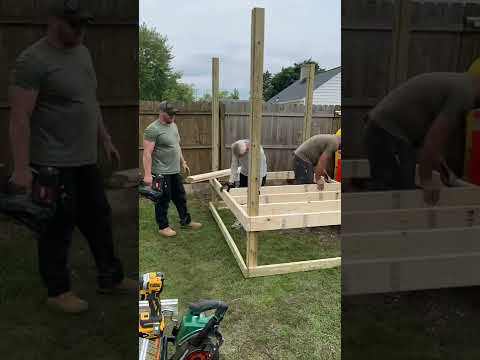
Framing up the chicken coop… stay tuned. This is gonna be great! #chickens #diy #build #shorts
 0:23:24
DIY CHICKEN COOP BUILD // Start To Finish
 0:18:00
Ultimate Backyard Chicken Coop Build | How To DIY
 0:04:59
CHEAP AND EASY DIY CHICKEN COOP!
 0:00:47
How to build a chicken coop 🐓
 0:00:59
Remember this hack as you start building your wife that chicken coop she wants… #coop #diy #hack
 0:00:19
Why a Chicken Coop is Your Best DIY Project
 0:43:27
Building a Chicken Tractor for Turkey Poults - DIY Mobile Coop for Homestead Poultry
 0:00:35
Is your chicken coop too big?
 0:13:57
DIY Backyard Chicken Coop Tour | How To Build | Easy to Clean
 0:00:30
Build the Perfect Chicken Coop With This Easy Design!
 0:00:59
my backyard chicken coop and run 🐔 #chickens #homestead #chickencoop #DIY
 0:05:38
Chicken coop build!
 0:14:32
DIY Backyard Chicken Coop
 0:01:01
Large Chicken Coop Build at Home DIY #shorts
 0:00:10
DIY Chicken Coop & Run Build
 0:09:10
DIY Chicken Coop 🐔🥚 | The Home Depot
 0:12:33
Designing and Building the Ultimate Sustainable Chicken Coop from Scratch - Part 1
 0:09:07
How to Build a Chicken Run Easy | DIY Predatory Proof | Building a Chicken Run
 0:00:47
How to build a moveable chicken coop 🐓
 0:01:00
my chicken coop was too small…so I built a *BIGGER* one! #diy #chicken #chickencoop
 0:21:52
DIY Chicken Coop! from free pallets
 0:01:00
DREAM CHICKEN COOP: Build Cost & FAQ #chickencoop #backyardchickens #cooptour
Комментарии