filmov
tv
Removing Rust In a Fuel Tank With Electrolysis - How To

Показать описание
Removing Rust In A Fuel Tank With Electrolysis How To! In this video I am using my CB750 fuel tank to show the process of using electrolysis to remove the rust from inside. This process works great for light to medium amounts of rust and is my go-to method more most cases. This process is very inexpensive, very easy, and far more safe that other rust rust removal options that use acid or more harsh chemicals.
"Electrolysis is the passing of a direct electric current through an electrolyte producing chemical reactions at the electrodes and decomposition of the materials."
"The main components required to achieve electrolysis are an electrolyte, electrodes, and an external power source."
"The electrolyte is a chemical substance which contains free ions and carries electric current (e.g. an ion-conducting polymer, solution, or a ionic liquid compound). If the ions are not mobile, as in most solid salts, then electrolysis cannot occur. A liquid electrolyte is produced by:
Solvation or reaction of an ionic compound with a solvent (such as water) to produce mobile ions
An ionic compound melted by heating
The electrodes are immersed separated by a distance such that a current flows between them through the electrolyte and are connected to the power source which completes the electrical circuit. A direct current supplied by the power source drives the reaction causing ions in the electrolyte to be attracted toward the respective oppositely charged electrode."
For the electrolyte I use hot water and sodium carbonate which is known in the pool industry as pH increaser and can be found at any pool store, Lowes, or even hardware stores.
For the anode I just use a piece of steel round bar and extend it into the tank as much as I can in a safe manner as any contact is bad. I keep them stable with a paint cap and tape.
If you found this video helpful or simply wish to support the channel further feel free to donate to the "Tip Jar" via the paypal link below! Anything is very much appreciated!
Brick House Builds Amazon Storefront
For updates on this project as well as others be sure to follow along on all the Brick House Builds social media platforms!
#brickhousebuilds #electrolysis #cb750
 0:16:37
Removing Rust In a Fuel Tank With Electrolysis - How To
 0:00:49
Clean up those rusty gas tanks with a few simple ingredients!
 0:07:38
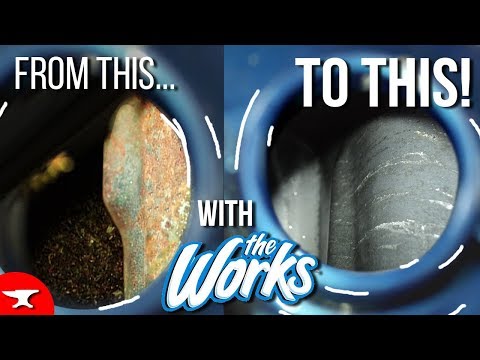
Rusty Gas Tank Cleaned For $3 !!!
 0:04:31
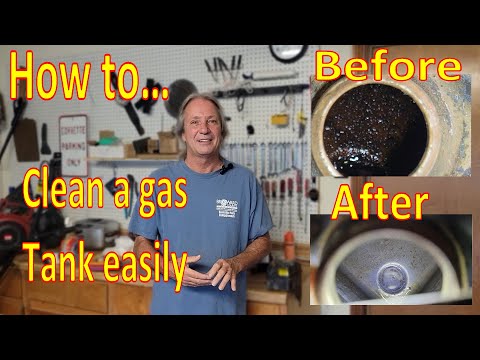
Clean a gas tank, Safe, fast and easy
 0:00:56
Simple way to clean out an old rusty fuel tank #baldeagle242
 0:00:17
Rusty gas tank is finally cleaned! #shorts #motorcycle #diy
 0:02:56
The Easy Way to Clean Rust out of a Gas Tank
 0:00:16
Fastest way to clean rust out a gas tank ⛽️🫧
 0:31:38
Cleaning 20 Years Of Fuel And Rust From My Tank | 1999 Gsxr 600 Barn Find Ep.3 Rusty Tank! #bikelife
 0:07:52
How to REMOVE RUST for $1- (HOW TO CLEAN A GAS TANK) - motorcycle gas tank pt.1
 0:00:54
How To Remove Rust From A Gas Tank Part 1 of 4 #HowTo #Clean #Remove #Fix #GCP #DIY #Repair #Easy
 0:15:19
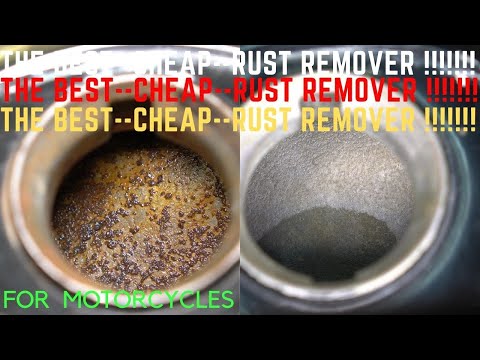
GAS TANK--CHEAP--RUST REMOVER !!!!!!
 0:00:50
Will vinegar clean rust out of a gas tank? #callahangarage #barnfind #willitrun
 0:00:14
fuel tank cleaning technic #automotive #howtodo#rust#rustremover
 0:35:32
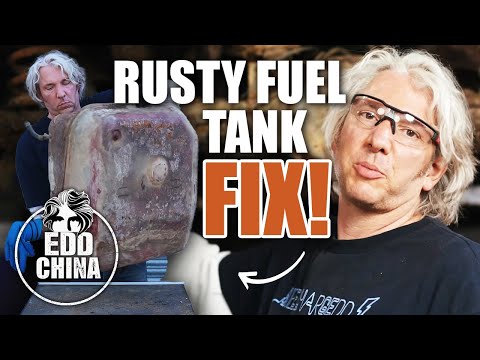
Fixing A Rusty Fuel Tank | 1986 Range Rover | Workshop Diaries | Edd China
 0:00:11
How To Clean Rust Out Of Gas Tank #motorcycle #Repair
 0:04:20
RUSTY GAS TANK!?! DIY RUST REMOVE AND SEAL! #rust #restoration
 0:00:24
Removing rust from a gas tank- Big mistake!! #shorts #work #motorcycle #diy #viralshorts #tips
 0:03:22
How To Restore A Rusted Motorcycle Fuel Tank With Vinegar
 0:01:00
Does Coke Actually Clean Rust?
 0:18:23
Removing Fuel Tank Rust With A Chain And Vinegar AMAZING RESULTS!
 0:03:27
Rusty Motorbike Tanks - Remove Rust Easily
 0:00:50
how to de-rust a metal gas tank
 0:00:58
How To Clean & Restore Motorcycle Fuel Tank - Permanently
Комментарии