filmov
tv
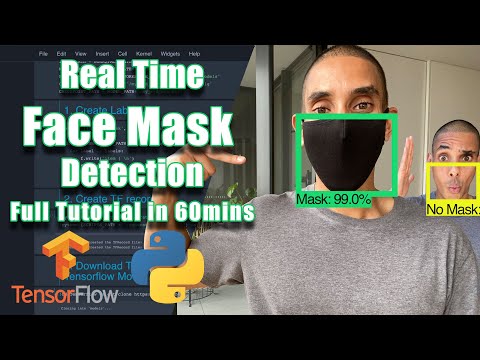
Real Time Face Mask Detection with Tensorflow and Python | Custom Object Detection w/ MobileNet SSD

Показать описание
Ever wanted to build your very own custom object detector?
Got lost with all the tutorials and installation?
Well…I hear you…I went through the
EXACT. SAME. THING.
So, let’s flip it up. In this video we’re going to go through how to build a custom object detection model that can be used to make detections in real time. Now whilst we’re using it for detecting face masks this can be easily repurposed to perform real-time detection for a whole range of use cases simply by updating the annotations and the label map.
In this video you’ll learn how to:
1. Install labelImg and label images from scratch for object detection
2. Train and run a custom object detector for face mask detection
3. Use transfer learning to train on top of existing SOTA models
4. Setup a proper workflow and directory structure for training
5. Make detections in real time using the trained model
Other Links Mentioned in the Video
Oh, and don't forget to connect with me!
Happy coding!
Nick
P.s. Let me know how you go and drop a comment if you need a hand!
 0:14:24
Realtime facemask detection | 100% accurately
 0:58:42
Real Time Face Mask Detection with Tensorflow and Python | Custom Object Detection w/ MobileNet SSD
 0:05:23
Real Time Face Mask Detection and Alert | Python | OpenCV | Computer Vision | Covid-19
 0:27:24
Face Mask Detection using Python, Keras, OpenCV and MobileNet | Detect masks real-time video streams
 0:00:49
Face Mask Detection using Python, Keras, OpenCV and MobileNet | Detect masks real-time video streams
 0:06:12
Real Time Face Mask Detection with OpenCV, Tensorflow and Python| With Source Code & complete gu...
 0:03:45
Real-Time Face Mask Detection
 0:00:29
Real time face mask detection with helmet detection
 1:15:53
Master Newborn Editing with Evoto AI | Webinar Replay - How to use Evoto to edit newborn images
 0:01:31
Real Time Face Mask Detection
 0:06:44
Face Mask Detection using Python, JavaScript | Detect masks real-time video streams | Deep Learning
 0:03:31
Real Time Face Mask Detection
 0:19:40
Real-time face mask detection
 0:41:31
Real-Time Face Mask Detection with PyTorch, Python, OpenCV, and MTCNN
 0:00:21
AI Real-time Face Mask Detector - (Proof of Concept using OpenCV, TensorFlow and Deep Learning)
 0:00:24
Demo video of the (Face Mask Detection) Real-Time
 0:01:04
Real-time Facemask Detection
 0:00:17
Real Time Face Mask Detection using YOLOv5, OpenCV and Python with Flask | Web Application
 0:00:39
Real-Time Face mask detection using deeplearning with Alert System
 0:00:16
Face Mask Detector using OpenCV, Keras, Tensorflow | COVID-19 | Google Colab
 0:04:12
Real Time Face Mask Detection using OpenCV, Python, Keras |Machine Learning
 0:19:55
Real-Time Face Mask Detection using TensorFlow | part 1
 0:08:45
Real-time Social Distancing and Face Mask detection tool
 0:01:52
EMOTYX : Face mask detection using AI
Комментарии