filmov
tv
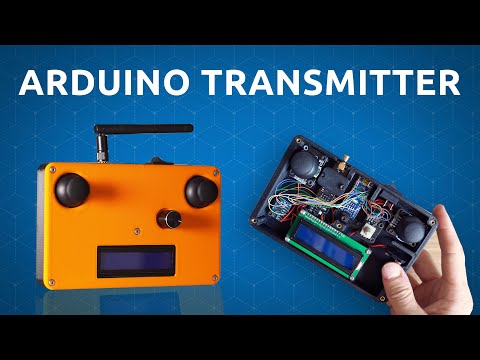
How to make an Arduino-based Transmitter

Показать описание
I want a cheap and easy-to-make transmitter so I can make all sorts of projects remote controlled. I then took the not so easy path by designing my own from scratch. But here it is, and I love it. It also ended up looking quite cool – which is a big bonus.
In this video I'll show you how to assemble the hardware and wire all the electronic components. In the next video I'll be doing a lot of programming to make it do all sorts of cool things. So stay tuned for that.
Enjoy!
-------------------------------------------------
OVERVIEW
0:00 – Intro
0:35 – 3D Printed Parts
1:16 – Threaded Inserts
1:43 – Electronic Components
3:48 – Optional Component: MPU6050
4:20 – Modifying the Components
5:26 – Wiring
7:02 – Testing the Connections
8:02 – The Final Product
9:09 – Next Steps
-------------------------------------------------
RESSOURCES
Files for 3D printed parts:
The electronic components used in this build:
Schematic for wiring everything up:
----------------------------------------
Make sure to SUBSCRIBE for more great videos:
And follow me on Instagram to get projects updates and much more:
 0:07:24
How to Make Arduino based Smart Vacuum Cleaner Robot Best for Science Project
 0:09:47
How to make an Arduino-based Transmitter
 0:00:08
Open lock with a RFID Reader using Arduino 🔐💳😲 #diy #arduino #arduinoproject #howto #how #electronic...
 0:01:05
Air Defense System- DIY Arduino Project - The X Lab
 0:00:24
Arduino Make Your Uno Kit
 0:00:17
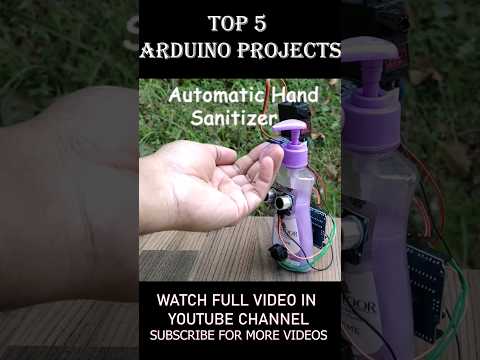
Top 5 Arduino Projects for Beginners. Full tutorial videos in Youtube Channel #arduino
 0:02:22
Arduino in 100 Seconds
 0:16:34
You can learn Arduino in 15 minutes.
 0:00:58
My First Arduino Project | Distance Based Light System | Simple Project | Ranjan Cndl #shorts
 0:06:59
Arduino Based RFID Door Lock - Make Your Own
 0:00:13
NEVER buy this JOYSTICK! #electronics #engineering #arduino
 0:00:25
I Built an Arduino Based Robotic Arm! #shorts #arduino #robot #robotarm #arduinorobot
 0:00:21
learn Arduino programming in 20 seconds!! (Arduino projects)
 0:11:52
DIY Vending Machine - Arduino based Mechatronics Project
 0:00:50
8 Cool Arduino Science Projects
 0:00:13
'Humanoid Face ' based on Arduino NANO
 0:06:10
13 Great Arduino Project Ideas for Beginners!!!
 0:00:17
What Doing Electronics Projects is Really Like 💀 #electronics #arduino #engineering
 0:00:17
When The Quiet Kid Does Your Homework 💀 #electronics #arduino #engineering
 0:15:21
DIY Arduino based RC Transmitter
 0:00:40
Arduino project 😎^ Arduino #arduino #2022 #2021 #2023 #dc #arduinoproject #diy #foryou
 0:04:32
How to Make a Radar with Arduino | Arduino Project | Indian LifeHacker
 0:00:16
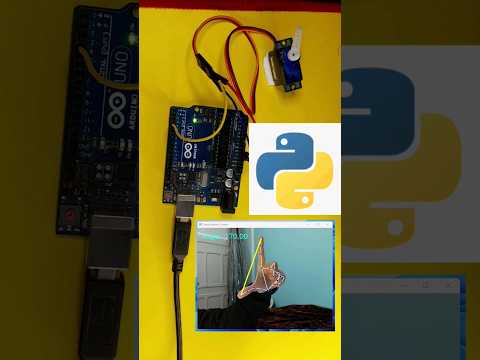
Gesture-Controlled Servo with Python and Arduino #electronics #arduinotraining
 0:25:27
SCARA Robot | How To Build Your Own Arduino Based Robot
Комментарии