filmov
tv
Error building OpenCV 3 0 0 rc1 on Windows 7 64 bit Cannot compile link cv2 pyd for Python 3 4

Показать описание
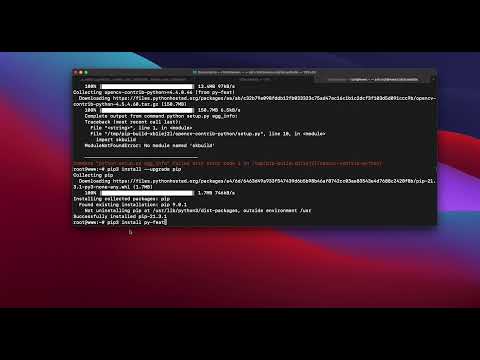
Title: Troubleshooting: Error Building OpenCV 3.0.0 rc1 on Windows 7 (64-bit) for Python 3.4
Before you begin, make sure you have the following prerequisites installed on your system:
Create a new folder for the build process (e.g., build_opencv).
Open CMake GUI and set the source code path to the location where you downloaded OpenCV and the build path to the folder created in step 1.
Click the "Configure" button, and select the appropriate Visual Studio version.
Check the "Advanced" checkbox and locate the PYTHON_INCLUDE_DIR and PYTHON_LIBRARY variables. Set them to the correct Python 3.4 include and libs folders, respectively.
Click "Configure" again and then click "Generate."
Navigate to the build folder and open the generated OpenCV solution in Visual Studio.
In Visual Studio, go to CMakeTargets - INSTALL and right-click on install.
Select "Build."
Build the entire solution by right-clicking on the solution in Visual Studio and selecting "Build."
Once you have successfully built OpenCV, you can use the following code example to test your installation:
 0:04:15
 0:01:32
 0:02:21
 0:02:22
 0:02:42
 0:02:37
 0:01:39
 0:05:23
 0:25:53
 0:29:46
 0:01:26
 0:02:06
 0:04:37
 0:02:37
 0:05:33
 0:19:54
 0:14:06
 0:05:03
 0:06:40
 0:00:50
 0:02:08
 0:22:26
 0:03:20
 0:01:56