filmov
tv
How to Build an Indoor Vertical Hydroponic System for Lettuce

Показать описание
Hoocho Shows Us How to Build an Indoor Vertical Hydroponic System for Lettuce
The SF600 can be found here:
Apply code HOOCHO for 3% discount.
Hoochos explores the worlds of Hydroponics, Aquaponics, Permaculture, Homesteading, Fermentation, Technology and DIY Builds to look at the world through a larger lens that can incorporate the best of everything into a rich and rewarding lifestyle.
Through self sufficiency we can reduce consumption and increase our hyperlocal household production.
------------------------------------------------------------------------
STL Files are Available on the Hoocho Patreon:
------------------------------------------------------------------------
Contributions to the Channel:
------------------------------------------------------------------------
Equipment I Recommend:
------------------------------------------------------------------------
High Quality Combo PH & EC Meter:
HI9813-6 Portable pH / EC /TDS /Temperature Meter-
EC Meters:
Bluelab Truncheon EC Meter-
PH Meters:
Bluelab PH Pen:
3D Printer:
Creality Ender-3 Pro-
Wyze Cams for Plant Time-lapsing:
Wyze Cam V3-
Wyze Cam Outdoor-
Physical Rain Gutter Grow System Ends:
Float Valves for RGGS:
Cheap Printer Filament AUS-
------------------------------------------------------------------------
Grow Light Discount Codes:
------------------------------------------------------------------------
Vipar Spectra Website-
10% discount for the XS1000: yt10Hoocho
5% discount for the XS1500/XS2000/XS4000: ytHoocho
8% off Coupon Code: HOOCHO
SpiderFarmer Lights:
Apply code HOOCHO for 3% discount.
Mars Hydro Lights:
Apply code HOOCHO for 3% discount.
Groplanner Website - 6% off Promo code:HOOCHO618
US Amazon - 5% off Promo code:HOOCHO618
------------------------------------------------------------------------
Merch:
------------------------------------------------------------------------
------------------------------------------------------------------------
Social Media & Contact
------------------------------------------------------------------------
------------------------------------------------------------------------
If you have personal queries about hydroponics or other matters please join me on Patreon for limited individual support or post in the Hoocho Reddit community or on the Hoocho’s facebook group and there are a lot of friendly helpful likeminded people that may have answers for you.
------------------------------------------------------------------------
Happy Hydroponicing!
 0:20:04
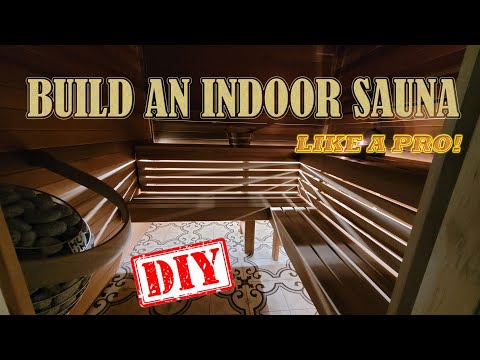
Build an indoor sauna yourself! Super easy, professional quality! Step-by-step instructions
 0:21:20
How to Build an Indoor Vertical Hydroponic System for Lettuce
 0:00:41
Pole Barn with Indoor Basketball Court
 0:06:20
How to build a DIY indoor or outdoor bar
 0:37:46
Building an AUTOMATED INDOOR GROW ROOM part 2
 0:13:41
$70 Easy to Build Indoor Playhouse with free plans!
 0:03:42
How to Build an Indoor Garden with Jeff Mauro | The Kitchen | Food Network
 0:07:50
How I built the indoor pond | The King of DIY
 0:01:37
How to Build an Indoor Climbing Wall in 90 Seconds
 0:10:32
Ultimate DIY Home Putting Green [] Indoor putting green [] Golf Green
 0:12:01
How to Make an Indoor Climbing Wall | I Like To Make Stuff
 0:01:06
How Do I Build a Home Indoor Shooting Range? | Webinar #5 Promo | Range Systems
 0:12:51
BUILDING AN INDOOR SWIMMING POOL Ep. 3 | Full Home Swimming Pool Build
 0:15:29
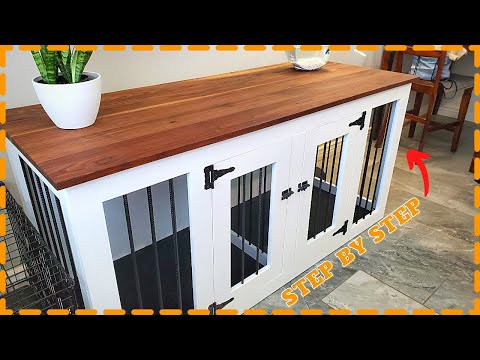
How to Build A Dog Kennel / Crate / Cage [ Indoor Furniture ]
 0:13:18
How to Build an Indoor Double Dog Kennel / Crate / Cage!
 0:19:09
BUILDING OUR OWN INDOOR POOL!
 0:13:24
DIY Indoor Pond: See How We Built a 1200-Gallon Aquarium in Our Store!
 0:14:34
How to Build an Indoor Grow Room Start To Finish Pt. 1
 0:19:43
How I built my indoor putting green/platform
 0:05:49
Indoor Swimming Pools 101: Cost, Construction, Advantages and More!
 0:00:52
How to build an indoor volleyball court in 1 minute - timelapse
 0:06:02
HOW TO BUILD INDOOR FISH POND DIY (CHEAP AND EASY)
 0:07:53
INDOOR POND BUILD | The King of DIY
 0:03:54
Sandy, Utah - Indoor Basketball Court - 40 x 65 x 18
Комментарии