filmov
tv
Sonoff 4 channel w/ Home Assistant Discovery and FlashEZ

Показать описание
FlashEZ:
TASMOTA:
IMPORTANT LINKS:
Get Help:
 0:18:59
SONOFF 4 Channel Wi-Fi Switch - Review | Setup | Demo | 🏠🎛️💡📴
 0:14:14
Sonoff 4 channel w/ Home Assistant Discovery and FlashEZ
 0:09:18
Everything about new Sonoff 4CHR3 and 4CHPROR3
 0:00:54
New Matter Smart Switch Experience! Unboxing and Installing the SONOFF MINIR4M #sonoff#matter
 0:06:47
sonoff 4 channel pro R2 detailed wiring setup with TV units, like, TV, setup box, Modem, etc.
 0:19:40
Sonoff 4CH Pro WiFi RF Smart Switch Installation DEMO with manaul 2 way switch wirring.
 0:17:44
Sonoff 4 channel Pro R2 full set up, working with sonoff 4 channel remote, working with alexa.
 0:00:05
Demonstração uma Cena com Sonoff 4CH
 0:06:51
How to Install ESPHome on Sonoff 4ch Pro R2 and Home Assistant
 0:12:34
Sonoff 4CH Review - 4 Channel Din Rail Mounting WiFi Switch
 0:19:16
Sonoff 4 CH PRO
 0:00:23
Sonoff Gate & Garage Smart WiFi Switch #untamedtech #sonoff #ewelink #smarthome #homeautomation
 0:04:14
WIFI SMART HOME Control - SONOFF 4CH PRO R2 - ewelink - DIY
 0:04:17
Sonoff 4CH R2 & PRO R2 - Smart WiFi 4 channel switch
 0:09:53
SwitchIoT 4CH | Home Automation DIY Project IoT | DIY Sonoff 4 Channel
 0:16:06
Automate Speakers with Sonoff 4CH and Home Assistant
 0:14:05
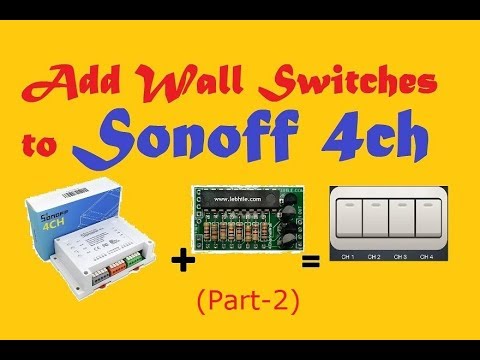
Sonoff 4Ch Channel Wall Switch Module installation tutorial Part-2
 0:14:12
Sonoff 4 Channel Smart Switch | Works with Alexa & Google Assistant | Full Installation
 0:00:58
Sonoff 4ch Pro Issue, stopped working
 0:09:41
Sonoffs can work with Home Assistant without changing the Firmware!
 0:11:08
Sonoff 4CH Pro - Non-mains switching at last
 0:21:43
Sonoff 4CH Pro - Pt1 -First Look - Setup - Amazon Echo Control
 0:05:07
Install Two-Way Switch Sonoff 4CH Pro
 0:01:24
SONOFF TH Elite Smart Temperature and Humidity Monitoring Switch 4
Комментарии