filmov
tv
Easy Blender Lighting HACK [Blender Tutorial]

Показать описание
Affiliate Link
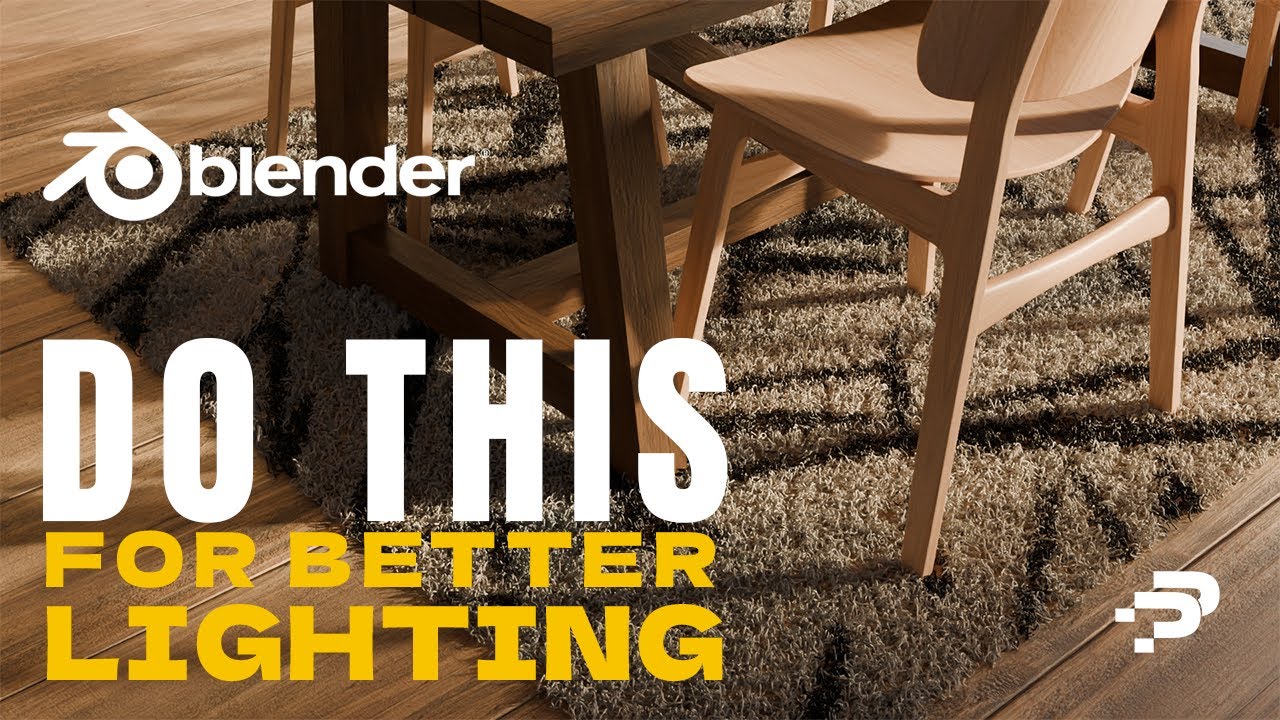
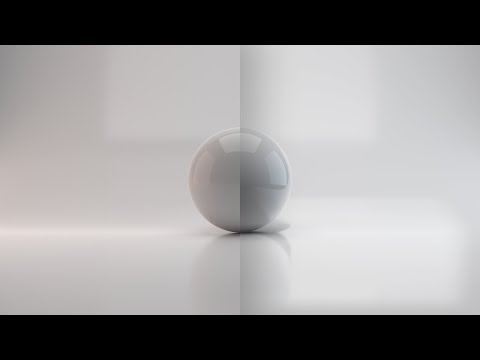
Dive into the art of dynamic lighting in Blender with our latest tutorial. Uncover the secrets to transforming your 3D scenes from flat and lifeless to vibrant and full of depth. Whether you're a beginner or an experienced artist, this guide provides you with easy-to-follow steps to significantly enhance the realism and mood of your renders.
What You'll Learn:
• Navigating the Shading tab to switch from 'Object' to 'World' settings.
• Skillfully adding and adjusting dual Sky Textures for depth and atmosphere.
• Fine-tuning sun intensity and size for the perfect lighting contrast.
• Utilizing Mix Color and Blackbody nodes to control texture blending and temperature.
• Creating a comprehensive node setup for a final touch of realism.
Key Highlights:
Simple yet powerful techniques to upgrade your lighting game.
Practical steps for adding complexity and nuance to your scenes.
Hands-on approach to node manipulation for temperature and color control.
Who This Tutorial Is For:
This tutorial is tailored for anyone eager to elevate their Blender projects. Whether you're looking to improve your architectural renders, animate scenes, or just add a professional polish to your models, these lighting techniques will set your work apart.
Join us as we explore the limitless possibilities of lighting in Blender, and see just how much of a difference the right setup can make. Let's bring your 3D scenes to life together!
#BlenderTutorial #DynamicLighting #3DRendering #BlenderLighting #SkyTextures #NodeSetup #Blender3D #blendertip #VisualEffects #BlenderTips
Remember, this tutorial is just the beginning. There's an entire world of lighting techniques and node configurations waiting for you in Blender. Stay tuned for more advanced tutorials, and don't hesitate to share your progress and questions in the comments. Happy blending!
Комментарии
 0:02:01
 0:00:34
 0:00:44
 0:00:28
 0:08:20
 0:01:49
 0:08:12
 0:16:25
 0:00:26
 0:03:03
 0:05:58
 0:01:33
 0:00:58
 0:06:53
 0:01:14
 0:07:56
 0:09:51
 0:12:12
 0:10:59
 0:01:01
 0:18:25
 0:00:54
 0:00:20
 0:00:32