filmov
tv
CNC Checkering!!

Показать описание
CNC checkering using Mach4's Surface Mapping.
And a hammer. Always a hammer.
---
Music: Fiesta de La Vida - AaronKenny
And a hammer. Always a hammer.
---
Music: Fiesta de La Vida - AaronKenny
 0:08:03
CNC Checkering!!
 0:00:15
Satisfying CNC machining diamond checkering on a handle
 0:02:36
Gunstock Checkering
 0:00:59
Laguna CNC - Cutting out a pair of 1911 compact grips
 0:00:16
aluminum door window processing cnc
 0:00:14
Satisfying drilling in Steel on CNC Router
 0:02:34
Checkering Head on Tormach
 0:00:16
CNC Lathe Machining wood handle🤠
 0:00:14
Medieval dagger making on CNC machine - Baselard Dagger
 0:00:16
Idea for 1911 front strap on cnc
 0:01:01
using checkering file to add grip to this skinner.
 0:00:16
ENGRAVING honey comb pattern on 1911 Grips. CNC ROUTER #cnc #woodworking #machine
 0:00:17
Doing some checkering in the shop today
 0:00:19
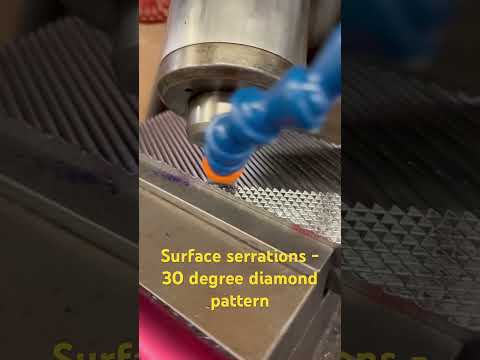
Surface serrations - 30 degree diamond pattern #cncmachinist #machinist #shop #machineshop #shorts
 0:02:09
Gunstock checkering done by a professional
 0:01:00
Purple Knife handles milled on a CNC Machine | #Shorts
 0:00:20
wood carving cnc router
 0:00:08
CNC machining hight speed machining 3D machining roughing
 0:00:37
Cnc cutting stainless handles for a pocket Knife
 0:00:49
Bolly Stocks CNC Machining Sako 85 inlet
 0:00:11
Satisfying Adaptive machining Strategy on CNC
 0:00:57
White Knife Handles milled on CNC Machine | #Shorts
 0:08:46
Power Checkering with The Titan
 0:00:15
CNC Finish milling on Rondel Dagger disk
Комментарии