filmov
tv
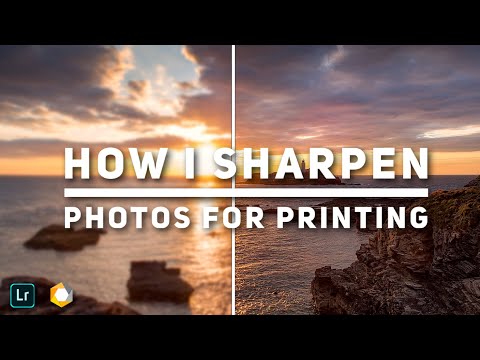
Experimenting with Sharpening for print - Fotospeed | Paper for Fine Art & Photography

Показать описание
This week we are looking at sharpening for print and experimenting to see if we need to add any extra sharpening to an image for print. Or can we get away with sharpening for screen?___________________________________________________________________________________________________
Fotospeed – Whatever your photographic requirements, let our passion for image-making provide the solution.
___________________________________________________________________________________________________
Fotospeed, inspired by image makers around the world, Fotospeed began life manufacturing quality darkroom chemistry and specialist fine art printmaking processes.
With 35 years of the photo trade dealing with printing paper and chemicals. The wide selection of papers available range from the everyday photo glossy to the Fine Art textured paper that can turn a photo into a painting. Lots of research and development have helped Fotospeed to create the perfect paper no matter what final result is needed and the ability of the paper to receive the photo inks has been fine tuned to perfection, giving even coverage whatever the subject matter.
With a respected reputation for quality and service, Fotospeed is now an established distribution company for worldwide market leading brands such as Hahnemuhle Fine Art Papers, Kaiser Photographic equipment, Herma Adhesives and Canson Infinity Papers.
Whatever your photographic requirements, let our passion for image making provide the solution.
Meet the team. Everyone at Fotospeed is dedicated to ensuring that your requirements are met. From the moment your order is placed to the point it is dispatched. If you need technical support, advice or information we are available for help.
____________________________________________________________________________________________________
#Fotospeed #FotospeedTips #PhotoEditing #SharpeningForPrint
 0:29:37
Experimenting with Sharpening for print - Fotospeed | Paper for Fine Art & Photography
 0:12:22
Sharpening for Print
 0:27:29
Print sharpening choices when making an A2 landscape fine art print
 0:08:14
How to Sharpen Photos for Print - Lightroom and Nik Sharpener Pro
 0:22:43
Image sharpening - why use different software - what is it for - what works best
 0:05:42
Can you sharpen a dull file in Acid? Sharpening metal files - Experiment
 0:08:03
Only the Pros know this Top Secret Sharpening Technique in Photoshop
 0:29:58
Making Big Prints from low megapixel images - resizing and sharpening (A2 from 6.6MP)
 0:24:08
Soft Proof and Sharpening - Printing for Pixel Peepers Pt. 2
 0:07:38
Optimal Print Sharpening in Adobe Lightroom and Photoshop
 0:28:43
What is creative sharpening? - Fotospeed | Paper for Fine Art & Photography
 0:00:06
sharpening machine. DC motor#DC #diy #simple experiments #science experiments #simple project
 0:15:36
Tips for Better Prints / Get More Out of Your Printer!
 0:01:00
This is the sharpest knife in the world!
 0:00:58
Taking on the challenge to sharpen an Obsidian Knife with Tumbler Rolling Sharpener
 0:26:05
The Most Comprehensive Sharpening Test Ever Done
 0:05:04
Why we're finally adding a sharpening choil
 0:12:43
Sharpening and Resizing Pt 2
 0:13:07
The Internet’s BIGGEST Sharpening Stone SCAM
 0:00:53
How I Etch My Name Into My Knives!
 1:26:56
Intro to Fine Art Digital Printing
 0:00:10
Pencil Sharpening Speedrun WR #speedrun #shorts
 0:00:42
I Learned to Throw a Pencil
 0:00:54
PAPER CUTTING BLADE SHARPENING|| PRINTING PRESS PAPER CUTTING BLADE
Комментарии