filmov
tv
How to Etch Glass Perfectly: Tips and Tricks for BETTER Results!

Показать описание
Etching is a fun way to make personalized gifts. And if you combine a glass etching cream like Armour Etch with the precision cutting of a Cricut cutting machine, you can get really amazingly crip and beautiful results. Over the years, I've shared six tutorials on how to etch glass -- everything from the basics of etching to how to specifically etch ornaments, cookie jars, glasses, and wine bottles. Collectively, we've all made tens of thousands of etching projects, and we've learned many tips and tricks for getting our etched projects to turn out great from the start. So let's talk today about how to increase your chances of getting a beautiful etch when you use Armour Etch and a vinyl stencil!
First, let's just talk about our materials needed for etching and what's important to know about each one.
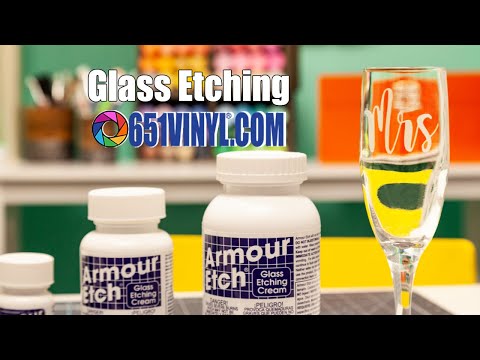
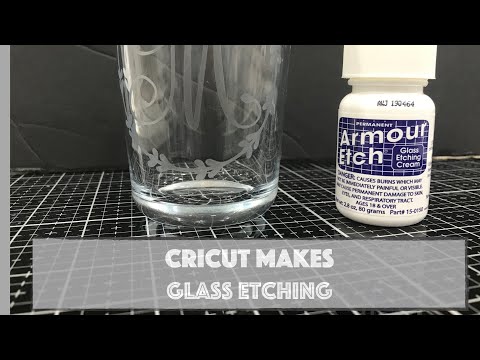
Etching Cream Matters -- I use Armour Etch, and only Armour Etch. Armour Etch is a brand of etching cream that is used to etch designs into glass and other surfaces. It's a thick cream that is applied to the surface, where it reacts with the glass to create a permanent, frosted effect. There are other etching creams out there, but what I've heard from those that have used them are mixed results. So I will always recommend what I know works, and that's Armour Etch.
Shelf Life -- Armour Etch claims not to have an expiration date, but in our experience, the older it is, the thicker it gets and the harder it is to get a smooth etch. So while there is expiration date, sure, there is a shelf life to it. If it's more than a couple of years old or just seems REALLY thick, get a new bottle. If you can't get a new bottle, store your bottle upside down for a while before you use it, then shake it SUPER WELL to get it mixed as well as possible.
The temperature of your Armour Etch matters, too. It needs to be at at least 70 degrees Farenheit, as well as whatever you're etching.
Surface Matters -- First, you should know that Armour Etch works on glass and a few other surfaces like slate and some glazed ceramics, but NOT plastic and not metal. Most people use it to etch glass. But not all glass is going to be etchable with etching cream. Some people will tell you that Pyrex won't etch, but I've etched Pyrex successfully as well as other brands. Some were new, some were old. It's not the brand or age that matters , but the glass composition. Not all glass compositions are the same, and thus not all react the same to the etching cream. In my experience, the higher quality glass that is "shatter resistant" are the ones the less likely to etch. Dishes made of Borosilicate WILL NOT WORK. Borosilicate glass is a tougher type of glass. If you see a note that your dish is very scratch and impact resistant to withstand rapid temperature changes, it’s possible it may not work to etch correctly.
But -- good news -- you can test in advance if your glass will etch! Just put a VERY small amount of etching cream on the bottom of your casserole dish. You can use a small paintbrush or even a toothpick to do it to make sure you’re putting just a dot. Leave it there for a few minutes, then wash and dry and examine. If it etched well, you’re good to go. If you can barely see it, or can’t see it at all, your glass casserole dish is not a good candidate for etching.
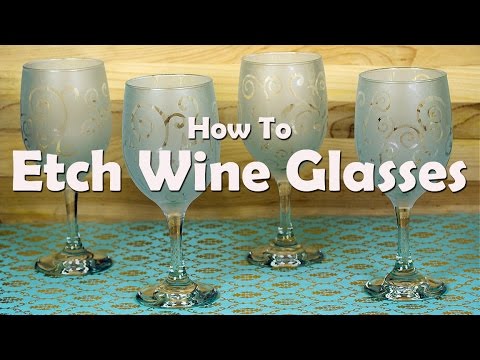
Vinyl Types -- A vinyl stencil allows us to etch beautiful designs with crisp edges, but the type of vinyl you use matters. You want permanent vinyl that is not over its shelf life of a couple of years. Do not use removable vinyl, as it won't form as a tight a seal when etch. Just use permanent vinyl, any color, that is not terribly old.
00:50 - Glass etching materials and tools
9:30 - How to apply a vinyl stencil decal to a curved surface for glass etching
13:30 - Applying etching cream to glass
18:00 - How long should I leave etching cream on glass? Compare examples
23:00 - Glass etching practice and troubleshooting
25:35 - Q&A on How to Etch Glass
First, let's just talk about our materials needed for etching and what's important to know about each one.
Etching Cream Matters -- I use Armour Etch, and only Armour Etch. Armour Etch is a brand of etching cream that is used to etch designs into glass and other surfaces. It's a thick cream that is applied to the surface, where it reacts with the glass to create a permanent, frosted effect. There are other etching creams out there, but what I've heard from those that have used them are mixed results. So I will always recommend what I know works, and that's Armour Etch.
Shelf Life -- Armour Etch claims not to have an expiration date, but in our experience, the older it is, the thicker it gets and the harder it is to get a smooth etch. So while there is expiration date, sure, there is a shelf life to it. If it's more than a couple of years old or just seems REALLY thick, get a new bottle. If you can't get a new bottle, store your bottle upside down for a while before you use it, then shake it SUPER WELL to get it mixed as well as possible.
The temperature of your Armour Etch matters, too. It needs to be at at least 70 degrees Farenheit, as well as whatever you're etching.
Surface Matters -- First, you should know that Armour Etch works on glass and a few other surfaces like slate and some glazed ceramics, but NOT plastic and not metal. Most people use it to etch glass. But not all glass is going to be etchable with etching cream. Some people will tell you that Pyrex won't etch, but I've etched Pyrex successfully as well as other brands. Some were new, some were old. It's not the brand or age that matters , but the glass composition. Not all glass compositions are the same, and thus not all react the same to the etching cream. In my experience, the higher quality glass that is "shatter resistant" are the ones the less likely to etch. Dishes made of Borosilicate WILL NOT WORK. Borosilicate glass is a tougher type of glass. If you see a note that your dish is very scratch and impact resistant to withstand rapid temperature changes, it’s possible it may not work to etch correctly.
But -- good news -- you can test in advance if your glass will etch! Just put a VERY small amount of etching cream on the bottom of your casserole dish. You can use a small paintbrush or even a toothpick to do it to make sure you’re putting just a dot. Leave it there for a few minutes, then wash and dry and examine. If it etched well, you’re good to go. If you can barely see it, or can’t see it at all, your glass casserole dish is not a good candidate for etching.
Vinyl Types -- A vinyl stencil allows us to etch beautiful designs with crisp edges, but the type of vinyl you use matters. You want permanent vinyl that is not over its shelf life of a couple of years. Do not use removable vinyl, as it won't form as a tight a seal when etch. Just use permanent vinyl, any color, that is not terribly old.
00:50 - Glass etching materials and tools
9:30 - How to apply a vinyl stencil decal to a curved surface for glass etching
13:30 - Applying etching cream to glass
18:00 - How long should I leave etching cream on glass? Compare examples
23:00 - Glass etching practice and troubleshooting
25:35 - Q&A on How to Etch Glass
 0:34:55
How to Etch Glass Perfectly: Tips and Tricks for BETTER Results!
 0:10:15
How to Etch Glass with Armour Etch Cream and Vinyl
 0:28:24
The BEST Color Etching on Glass - Three Different Methods Tested!
 0:08:15
How To Etch Wine Glasses: DIY Craft Tutorial
 0:13:29
How to Etch Glass with Cricut & Armour Etch Cream | Etching Glass
 0:17:10
🍷 How to Etch Dollar Tree Wine Glasses | How to Etch Glass With Etching Cream
 0:11:27
🍷 How to Etch Glass the Easy Way
 0:09:15
Learn How to Quickly Etch Glass the EASY Way with Armour Etch and Cricut Vinyl.
 0:05:42
How to Etch Glass DIY Easy Glass Etching
 0:09:29
How to Etch Glass the easy way (Glass etching cream)
 0:04:23
Easy Glass Etching Under 5 Mins using Armour Etch Cream and Cricut Vinyl Stencil || Great Gift Idea
 0:17:15
GLASS ETCHING WITH CRICUT | HOW TO ETCH GLASS AT HOME | GLASS ETCHING CREAM
 0:07:45
Etch Glasses with Reusable Stencils & Etchall | Ikonart
 0:22:50
How to Etch Glass With Cricut | Cricut Tutorial
 0:11:23
How to Etch Glass with Cricut
 0:13:44
How To ETCH GLASS with ARMOUR ETCH Etching Cream and ANY CRICUT
 0:08:34
The perfect gift! How to etch glass!
 0:06:46
Glass Etch How To! Glass Ethch Antique Door!
 0:06:03
How to Etch Wine Glasses | Personalized Gifts | HSN Gets Crafty
 0:22:05
HOW TO ETCH GLASSES
 0:11:17
ETCHING GLASS with Cricut and Dies - How to etch glass using either a Cricut or a Die
 0:15:54
Easiest Way to Etch Glass Without Etching Cream | Frosted Vinyl on Glass
 0:11:02
How to Etch Glass using Etching Cream
 0:12:42
How to Etch Glass More Vibrant | Etching Glass With Color | Etching Glass
Комментарии