filmov
tv
Make This Circular Saw Track Saw Guide....With a Circular Saw!

Показать описание
This is the simplest and easiest beginner-friendly circular saw track saw guide you will find. This video explains why you need it and how to make it!
Check out all of the Free Out of the Woodwork project plans:
Don't waste your hard-earned money on unnecessary tools. My Free checklist will show you exactly what tools and accessories you need for the beginner to advanced woodworking shop. Download it Free:
Step-by-step details of this project:
Discounts on great products (Affiliate Links - I make a small commission at no extra cost to you):
Save 10% on TotalBoat epoxy with code 'otw10'
Save 15% on Starbond CA glues with code 'OUTOFTHEWOODWORK15'
Save 10% site-wide on great INTOTHEAM shirts and other clothing:
Circular saw crosscut and rip station:
Circular saw jig to cut bevels greater than 45 degrees:
Full circular saw tips and tricks explanation video:
Tools and other accessories I use:
Follow Out of the Woodwork on these channels:
Music:
About this video:
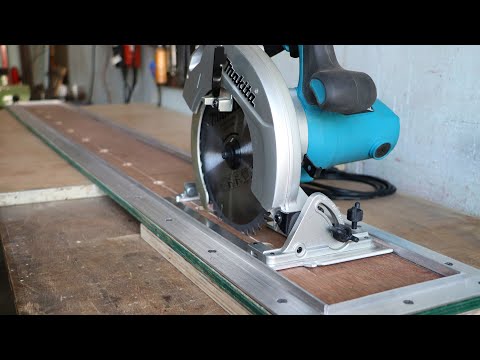
Breaking down plywood is an issue for most hobbyist woodworkers. I've done it on my table saw, but it's a 2 person job and even then it's a pain. The best I’ve found is to use a circular saw and some sort of straight-edge. So, I'm showing you how to build one yourself, as I build mine. I'll also explain the other options out there, their problems, and why you really need this jig.
Check out all of the Free Out of the Woodwork project plans:
Don't waste your hard-earned money on unnecessary tools. My Free checklist will show you exactly what tools and accessories you need for the beginner to advanced woodworking shop. Download it Free:
Step-by-step details of this project:
Discounts on great products (Affiliate Links - I make a small commission at no extra cost to you):
Save 10% on TotalBoat epoxy with code 'otw10'
Save 15% on Starbond CA glues with code 'OUTOFTHEWOODWORK15'
Save 10% site-wide on great INTOTHEAM shirts and other clothing:
Circular saw crosscut and rip station:
Circular saw jig to cut bevels greater than 45 degrees:
Full circular saw tips and tricks explanation video:
Tools and other accessories I use:
Follow Out of the Woodwork on these channels:
Music:
About this video:
Breaking down plywood is an issue for most hobbyist woodworkers. I've done it on my table saw, but it's a 2 person job and even then it's a pain. The best I’ve found is to use a circular saw and some sort of straight-edge. So, I'm showing you how to build one yourself, as I build mine. I'll also explain the other options out there, their problems, and why you really need this jig.
 0:08:52
Make This Circular Saw Track Saw Guide....With a Circular Saw!
 0:06:57
DIY Circular Saw Track Saw Guide | Limited Tools
 0:13:19
Make a Circular Saw Track | DIY Circular Saw Guide
 0:10:16
How To Make a Circular Saw Guide | DIY Circular Saw Track
 0:01:16
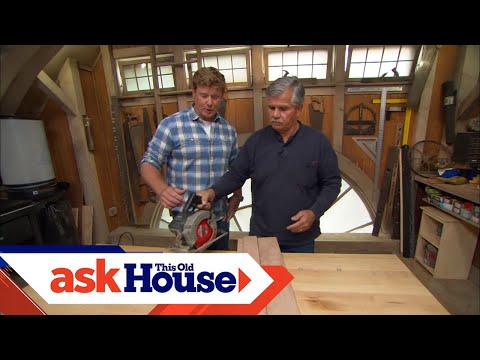
How to Build a Homemade Track Saw | Ask This Old House
 0:06:19
Track Saw Hack: How to Build Your Own for a Fraction of the Cost!
 0:09:18
Festool doesn't want you to see this DIY track saw
 0:05:00
DIY Circular Saw Track | Build with ONE Tool!
 0:04:11
Shop talk : 3/8 lopro raker gage from Westcoast Saw. Quickly dial-in raker height .025,.030,.035
 0:05:46
Super Simple Track Saw
 0:09:34
How to Make a Circular Saw Guide / Track Saw Guide
 0:08:47
Making A Simple DIY Circular Saw Guide Rail - Best Circular Saw Ideas
 0:12:31
DIY Simple Circular Saw Track Saw Guide - Homemade track saw
 0:07:56
No Track Saw? No Problem! Make Any Circular Saw a Track Saw!
 0:15:37
How to Make a Circular Saw Guide
 0:12:09
🟢 Homemade Track Saw - DIY Guide Rail for Circular Saw
 0:07:45
Make A Circular Saw Guide Track | DIY Cutting Guide For Circular Saw
 0:02:51
Making a Self Clamping Circular Saw Guide - Kendinden Yapışkanlı Kesim Kılavuzu
 0:04:14
Ⓕ DIY Track Saw - Quick, Cheap & Easy - Door Board (ep60)
 0:14:17
diy simple circular saw track saw guide || plywood version.
 0:08:35
D.I.Y Track Saw JIG… You can EASILY make!
 0:05:52
PRO'S Recommend THIS Circular Saw Guide!
 0:17:14
DIY Multi Guide Slide Track with self locking for Circular saw, Jigsaw and Router
 0:00:27
How to Make A Cheap and Easy Track Saw!
Комментарии