filmov
tv
Supply and demand zone not working? How to trade using supply and demand zones explained.

Показать описание
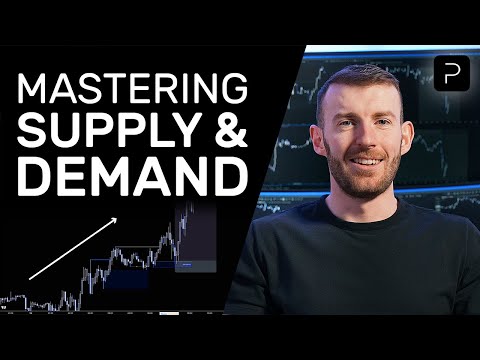
Supply and demand zones are key areas in trading where significant buying or selling activity occurs, leading to price reversals or continuations. However, traders often struggle when these zones don’t seem to work as expected. Here’s a guide to better understanding and trading supply and demand zones effectively:
Why Supply and Demand Zones May Not Work
Poor Zone Identification: Misidentifying zones, drawing them too wide or too narrow, or failing to differentiate between strong and weak zones can lead to poor trade setups.
Market Context Ignorance: Ignoring the broader trend or market context can result in false signals. Zones are more effective when aligned with the prevailing market trend.
Lack of Confirmation: Entering trades purely based on zones without waiting for confirmation (like candlestick patterns or volume changes) increases the risk of failure.
Zone Saturation: Repeated touches to the same zone weaken its strength. As a zone is tested multiple times, it becomes more likely to break.
How to Trade Supply and Demand Zones
Identify Zones Correctly: Look for sharp moves in price followed by consolidation or quick reversals. Strong zones are often created by impulsive moves after a consolidation period.
Align with the Trend: Trade in the direction of the dominant trend. In an uptrend, focus more on demand zones; in a downtrend, focus on supply zones.
Wait for Confirmation: Instead of placing trades immediately at the zone, wait for confirmation, such as reversal candlestick patterns (pin bars, engulfing patterns), or a break-and-retest strategy.
Refine Entry and Exit: Use smaller timeframes to refine your entry near the zone and set a stop loss just outside the zone. Look for clear exit points, either near the opposite zone or based on a trailing stop.
Zone Strength Analysis: Prioritize zones formed after strong breakouts with significant volume or after the price fails to break a significant level multiple times.
Socials:
Disclaimer:
This video doesn't contain any financial advice. The video is made for educational and entertainment purposes only. The Trading Academy can't be held responsible for any decision or investments made based on the ideas in the video.
Always do your own research before investing or starting trading. Trading is financially risky and there is the possibility of losing money.
Комментарии
 0:00:38
 0:01:00
 0:09:44
 0:00:57
 0:09:09
 0:00:55
 0:09:57
 0:00:50
 0:00:59
 0:23:07
 0:16:49
 0:09:45
 0:25:56
 0:12:59
 0:00:58
 0:00:35
 0:05:36
 0:10:47
 0:12:35
 0:23:16
 0:16:38
 0:14:45
 0:17:23
 0:06:16