filmov
tv
Installing Estes Igniters Without Pain or Disappointment

Показать описание
Ever had a misfire using an Estes igniter? Sure you have! After years of replacing igniters at youth outreach launches, I resolved to create a short tutorial video to help show how these little boogers can be prepared and installed for reliable use. Hopefully this little epic will help make your next launch a bit more "oooh!" and a lot less "awww."
 0:04:13
Installing Estes Igniters Without Pain or Disappointment
 0:05:49
Modified Estes Igniters #2 (12V Controller)
 0:05:14
Estes Model Rocket Igniters/ Starters What Happened?
 0:00:09
Model rocket engine igniter test with 0,30g of blackpowder. #alpha #space #rocket
 0:00:26
Estes Riptide model rocket launch! 🚀 #estes #rocket #aerospace #rocketlaunch #modelrockets
 0:09:50
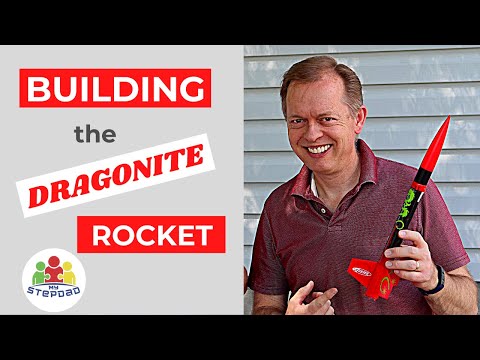
How to Build the Estes Dragonite Model Rocket | My Stepdad
 0:00:11
Failed Model Rocket | Tsilvosky Equations |Rocket candy | with igniter
 0:00:16
Estes Rocket parachute failure
 0:01:38
launch Estes Rocket
 0:12:09
Easy Rocket Motor Igniters - Great for Sugar Motors
 0:11:55
Estes Rocket Igniters/Starters 'DO NOT TRY THIS' Fire or Misfire!
 0:13:00
How to Insert and Restrain an Igniter in a Composite Propellant Model Rocket Engine
 0:00:16
Fulfill dreams of becoming a rocket scientist this holiday season with Estes Rockets!
 0:00:14
Model Rocket Remote Ignition System using MOSFET
 0:06:30
Using Estes Rocket Motors in Kits with Screw-on Retainers
 0:00:06
Model Rocket Launch! 🚀 Carbon Fiber Madcow Mongoose, Aerotech H550- Super Thunder
 0:09:22
How To Make Electric Matches (Model Rocket Engine Igniters) - STEP BY STEP!
 0:00:05
slo mo video of Mg Ti rocket motor igniter
 0:02:03
Compare Solar, Sonic, and First Fire Mini Rocket Motor Igniters by Estes and Aerotech
 0:00:07
Estes blurzz rocket dragster! #estes#rocketcar
 0:34:24
Estes Big Bertha Build Part 1
 0:00:48
Hex-3 model rocket night launch Fresno, Ca. Friend joins to use the custom rig setup. #estes
 0:00:14
Custom Estes V2 Model Rocket Maiden flight!
 0:00:51
Electronic launch fireworks test #5 - Final
Комментарии