filmov
tv
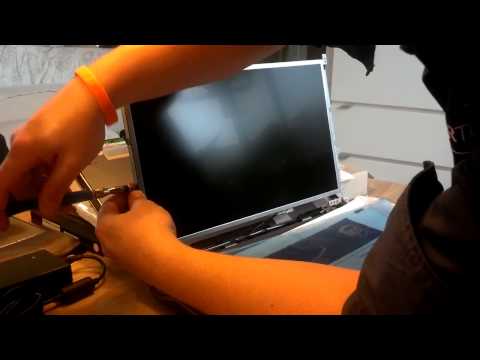
ASUS X551M Laptop Screen Replacement Procedure

Показать описание
free shipping + free tool kit (special pricing for schools/repair shops/IT Departments, POs accepted)
Step by step instructions to replace a cracked screen on a ASUS X551M laptop computer.
Step by step instructions to replace a cracked screen on a ASUS X551M laptop computer.
 0:17:54
ASUS X551M Laptop Screen Replacement Procedure
 0:07:28
HOW TO REPLACE ASUS X551M LAPTOP SCREEN
 0:03:00
How to replace laptop screen / Fixing LCD ASUS X551M
 0:04:27
ASUS Laptop Screen Replacement: A Step-by-Step Guide How To Fix Your Device!
 0:12:04
How to replace ASUS Model X551MAV laptop screen
 0:02:40
SCREEN ISSUE ASUS LAPTOP, SCREEN REPLACEMENT
 0:05:40
ASUS X551M Laptop Screen Replacement Procedure
 0:01:57
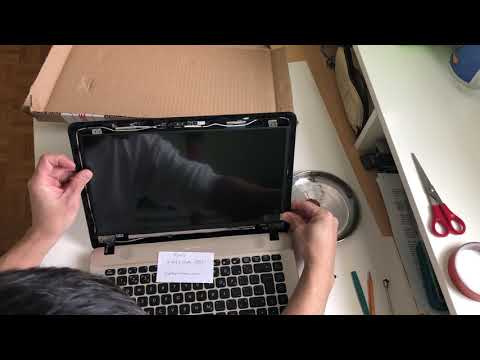
Laptop screen replacement / LCD repair [AsusX551M]
 0:07:02
ASUS X552L / X551 / X550 Laptop Screen Replacement Procedure. How to change the notebook screen.
 0:15:16
laptop screen replacement/ How to replace laptop screen ASUS Q551LA
 0:10:57
ASUS X501A Laptop Screen Replacement Procedure
 0:09:45
Laptop screen replacement / How to replace laptop screen ASUS X551C
 0:15:26
REPLACE ASUS LAPTOP TOUCH SCREEN
 0:00:21
Asus X551M laptop screen issues
 0:07:06
Laptop screen replacement Asus X551C
 0:10:26
Laptop screen replacement / How to replace laptop screen: Asus N53SV - SZ016V
 0:01:35
ASUS X551M X551MA X551MAV SERIES Replacement Laptop LED Screen Review
 0:12:55
Laptop screen Replacement / How to replace laptop Screen ASUS X441UA
 0:07:40
Asus X540 Laptop Screen Replacement
 0:09:53
How to Replace Laptop Screen (ASUS K55A)
 0:03:39
Asus Zenbook laptop display repair || Laptop display change
 0:09:28
Laptop screen replacement / How to replace laptop screen ASUS K501 UX-AH71
 0:09:42
Laptop screen replacement / How to replace laptop screen ASUS X555L Series
 0:25:25
How to replace your damaged ASUS laptop screen.
Комментарии