filmov
tv
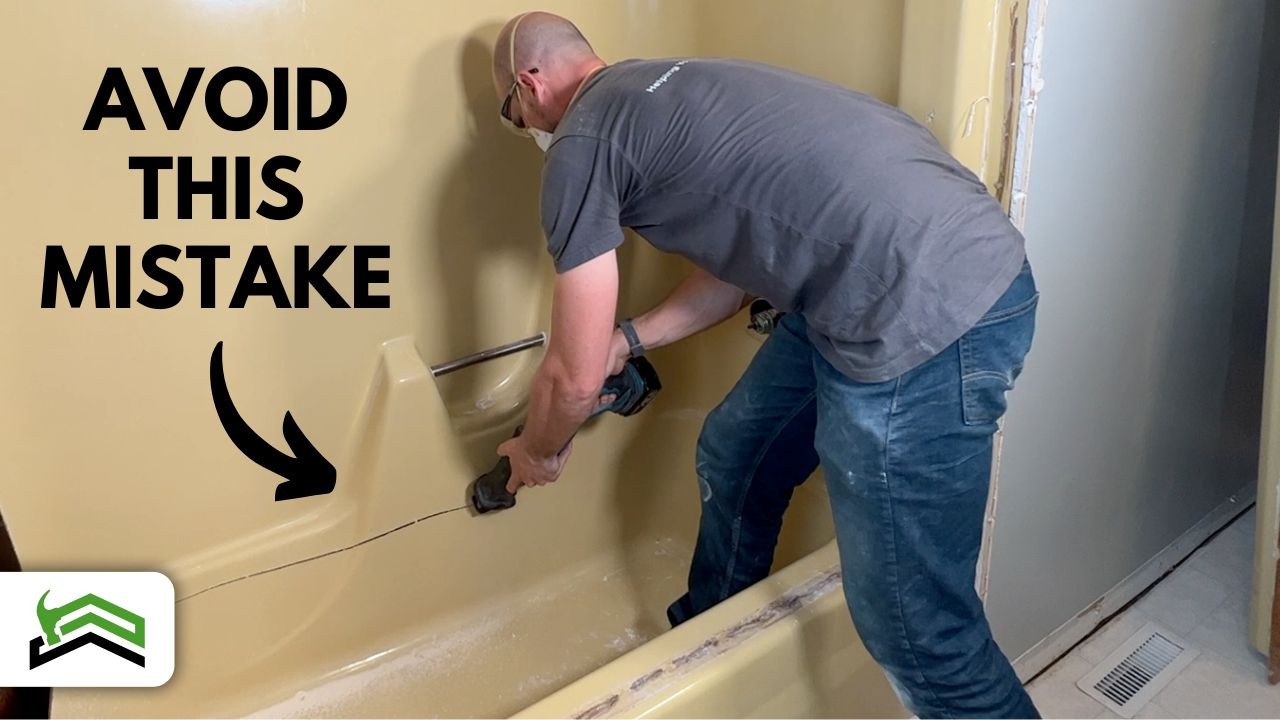
Removing A Fiberglass Bath And Surround
Показать описание
I will walk you through the complete process of repairing nail and screw pops in your drywall. This video is targeted at homeowners that like to do their own DIY repairs so I will include the minimum amount of tools to get the work done.
Free Home Maintenance Checklist:
DISCLAIMER: This video and description contain affiliate links, which means that if you click on one of the product links, I’ll receive a small commission.
 0:08:32
Removing A Fiberglass Bath And Surround
 0:11:58
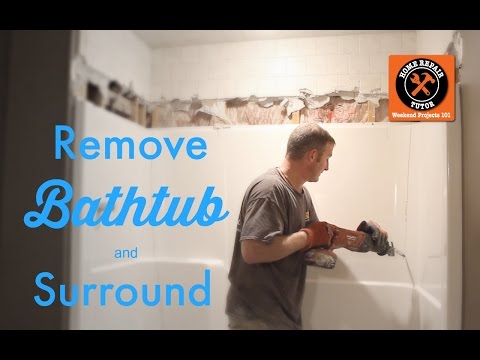
How to Remove a Fiberglass Bathtub and Surround -- by Home Repair Tutor
 0:07:27
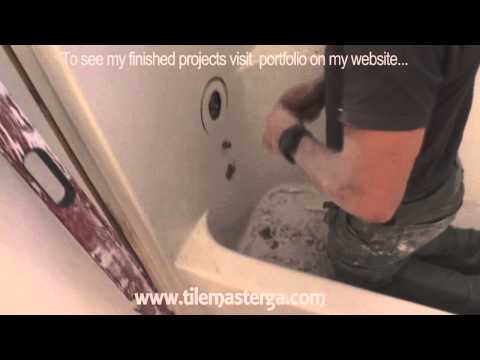
How To Remove a Fiberglass Shower Without Destroying the Bathroom
 0:09:21
How to SAFELY remove a One-Piece Fiberglass Shower / Tub #diy #home #howto
 0:06:24
How to Remove One-Piece Fiberglass Showers
 0:13:17
how to demo a fiberglass tub
 0:05:41
FiberGlass Shower Removal | How to Demo a Basic Shower
 0:04:54
How to Remove a Bathtub 🧐
 0:04:37
How to Remove and Replace a Bathtub 🛁 | The Home Depot with @thisoldhouse
 0:10:40
How to Tear-out a Fiberglass Tub and Shower
 0:02:38
Fiberglass tub shower removal no drywall repair
 0:09:42
How to remove a Fiberglass Shower DIY
 0:05:03
How to Remove a Shower Stall
 0:06:12
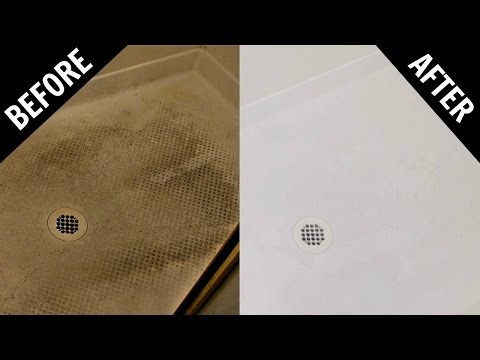
How to strip and restore a Fiberglass tub
 0:01:45
How To Remove Tough Stains From Fiberglass Tub [Step-By-Step]
 0:01:34
Healthy Skin Care : How to Remove Fiberglass From Skin
 0:09:26
How to Remove a Bathtub SAFELY!! (Step-by-Step) -- by Home Repair Tutor
 0:12:09
FIBERGLASS SOAKER TUB REMOVAL
 0:02:36
How To Clean Textured Fiberglass or Plastic Shower Floor - Baking Soda & White Vinegar
 0:13:25
how to remove a fiberglass bathtub shower combo
 0:34:01
How to remove tub, fiberglass shower enclosure demo, tear-out Small bathroom remodel
 0:06:40
Repairing a Fiberglass tub
 0:11:28
HOW TO FIX FIBERGLASS BATHTUB EASY DIY
 0:04:26
How to Install a Fiberglass Tub and Surround | Ask This Old House
Комментарии