filmov
tv
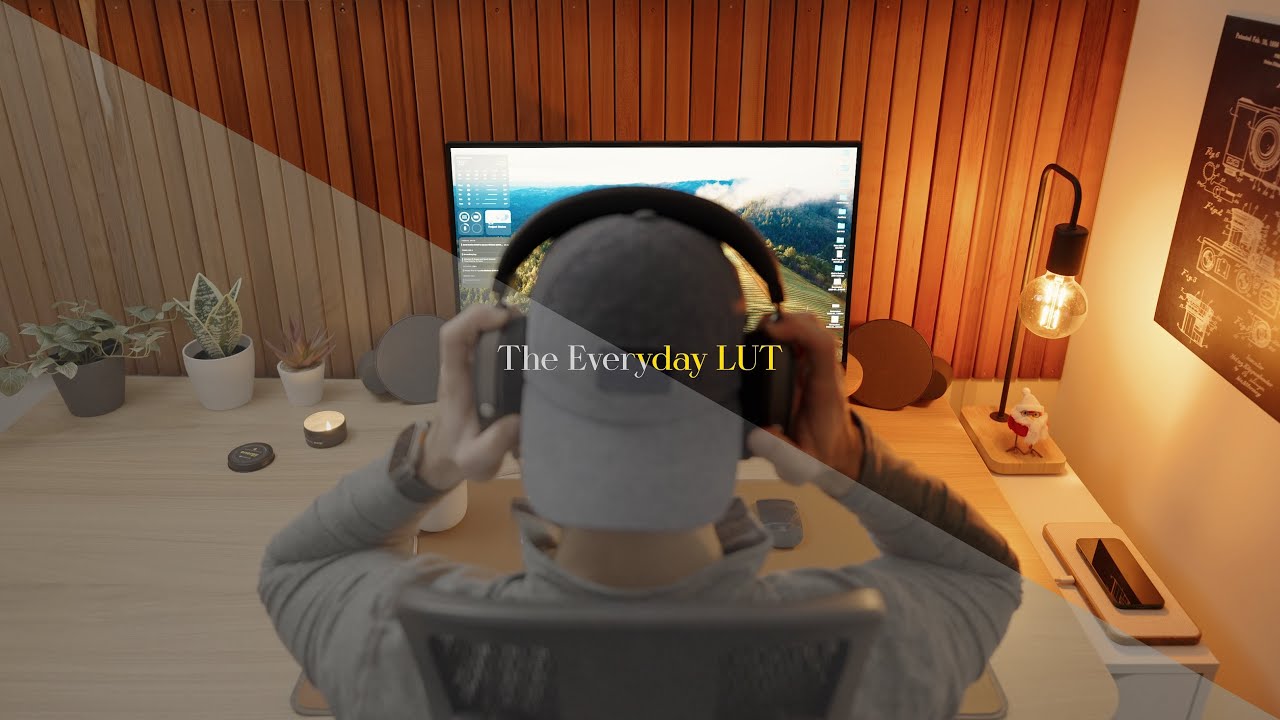
The Everyday LUT | ToldbyNick
Показать описание
This is the LUT I use across all of my videos. I’ve been refining this specific look for nearly two years and I’ve finally gotten it to a place of consistency and high versatility across scenes.
It’s what allows me to get crisp mid-tone contrast, warm, soft highlights, and accurate skin tones, and now you can get the same look as me.
This LUT was developed around 10-bit 422 as well as 8-bit footage, and is designed to be non-destructive to your colors / luma values.
My primary uses for this LUT has been content creation, real estate, and weddings and as a result, it is remarkably versatile across indoor, outdoor, daylight, and lowlight footage.
This is a creative LUT and is meant to apply a stylistic grade to your footage after proper color correction and rec 709 transformation. I've tested this LUT on log (after rec 709 conversion), hlg (after rec 709 conversion), and standard profile footage from various Sony, DJI, and Canon cameras.
NOTES:
• Apply this LUT after your conversion LUT (log to rec 709) for the best results. Each example image shown has The Everyday LUT applied after a factory log to rec 709 conversion LUT (example: footage shot in Sony SLOG 3 ➡ SLOG 3 to rec 709 conversion LUT ➡ The Everyday LUT).
• Follow color grading best practices when using this LUT (Base corrections ➡ Conversion LUT ➡ The Everyday LUT ➡ Finishing grade / style adjustments).
• In many scenarios, this LUT is a 'one-and-done'. In others, this LUT will act as an excellent base look for you to make refined adjustments on top of.
HOW TO INSTALL (FCPX):
In Final Cut Pro, navigate to your video effects window and search for 'Custom LUT'.
Drag and drop the 'Custom LUT' directly onto your timeline clip, or onto your adjustment layer.
In the 'Video Inspector' window, navigate to the 'Custom LUT' effect you applied, and select 'Choose Custom LUT' in the dropdown menu.
Select the 'The Everyday LUT.cube' file. Now, the LUT is saved as a useable look for all future videos.
HOW TO INSTALL (DaVinci Resolve):
Open up 'Project Settings' and select 'Color Management' on the left hand side.
Select 'Open LUT Folder'. This opens the DaVinci LUT library into which you place your LUT or LUT packs.
Drag and drop the 'The Everyday LUT.cube' file into your DaVinci LUT library and choose 'Update Lists'.
Tip: Change '3D lookup table interpolation' to 'tetrahedral' for best results and choose 'Save'.
Head over to the 'LUTs' panel and drag and drop 'The Everyday LUT' onto your video node.
HOW TO INSTALL (Premier Pro):
Select the 'Color' tab and choose 'Color Workspace'.
Choose the clip you'd like to work with, open the 'Basic Correction' tab in the 'Lumetri' panel.
Select the 'Input LUT' dropdown menu and choose 'Browse'.
Navigate to the 'The Everyday LUT.cube' file and select it for use.
 0:00:59
The Everyday LUT | ToldbyNick
 0:00:31
The NEW Everyday LUT 🎨 🎥
 0:00:15
BTS w/ The Everday LUT 🎥 🖥️ ✨ #contentcreation #bts #colorgrading #cinematic
 0:00:54
How I Grade 95% of my videos 🎨 🎥
 0:06:34
Why I’ve waited so long to release a LUT
 0:00:26
This is how wide you need to shoot 🎥
 0:05:23
A not so in-depth review of Nick Di Giugno's 'The Every Day Lut' | I had 6 minutes to...
 0:00:35
My Workflow ✍️→👨💻→🎥→🎬→🤳
 0:00:18
Why I shoot Sony - Lens Selection 📷/🎥
 0:00:49
This Lens made me Love APSC 🎥
 0:00:39
Get Better Bokeh 3 (1/2) Ways 📷/🎥
 0:00:58
(un)Pack My Camera Bag w/Me 📸
 0:00:19
My Apple Airpods 💀 - What’s Next? 🎧
 0:01:01
Tech I Brought on My Travels 🛩️ 📸
 0:00:46
New Sony Camera Essential Settings 🎥 Part 2!
 0:00:58
The NEW Sony 85mm f1.4 GM MK II 🤌
 0:00:30
What Lens I shoot Content with 📸/🎥
 0:00:14
The A7C still packs a punch in 2024 📸/🎥
 0:00:17
The best light tubes out there? 💡🎥
 0:00:38
How I Choose a Camera Monitor 🎥
 0:00:17
ZV-E10 II from EDC to mini Video Rig 📸/🎥
 0:00:34
32-bit Float Shotgun Mic 🎥 🎤
 0:00:27
This is why I shoot on CFexpress 💨 🎥
 0:00:21
Sounds of an A7C + 24-105 🎧 🎥
Комментарии