filmov
tv
Hidden Secrets Of Valve Lash

Показать описание
PLEASE SUBSCRIBE!!
Hope yall enjoyed the video, thank you guys for the recent support!
Thank you for your continued viewership !
Stay tuned for more!
Hope yall enjoyed the video, thank you guys for the recent support!
Thank you for your continued viewership !
Stay tuned for more!
 0:32:09
Hidden Secrets of Valve Lash PT 2
 0:02:53
COMP Cams How to Set a Valve Lash
 0:00:44
90% Jeep owners don’t know this 🤯 #jeep #jeepwrangler #jeepgladiator
 0:05:14
Biggest Mistake You Will Make When Adjusting The Valves On A Generator
 0:00:15
Adjusting truck valves #video #shorts #how #tractor #amazing
 0:00:13
POV: You Fall For A FAKE CODE In Dress To Impress #roblox #dti #dresstoimpress
 0:18:22
The Engine Tuning Issue You Didn't Know You Had
 0:10:46
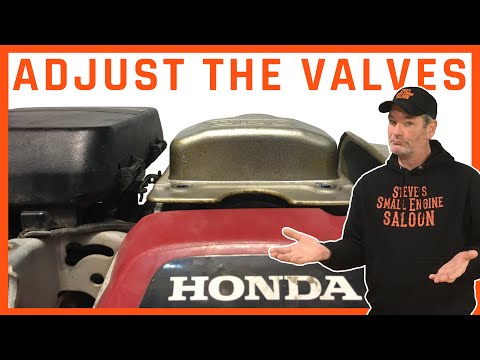
How To Adjust Or Set The Valves On A Honda GC Engine
 0:00:50
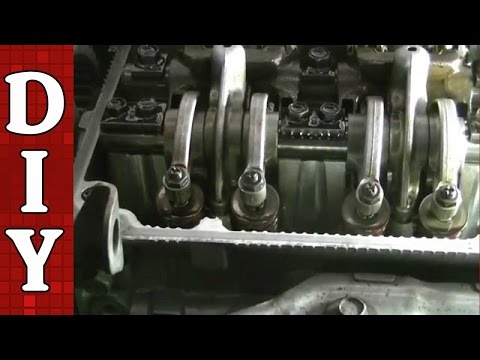
How To: check and adjust valve clearances
 0:00:24
Roll down your Ram windows with your Key fob! #ramtrucks #shorts #ramtrx #keyfob @zautomotive
 0:13:06
How to Adjust Your Valves
 0:00:50
When a Nissan is suspected of having a bad CVT. Perform this quick test to confirm your findings.
 0:05:16
A Corvette Secret I Just Learned Today! C4 - C7
 0:20:40
1997 - 2001 Honda CRV Valve Lash Adjustment | B20B B20Z B18B
 0:03:23
VALVE CLERANCE ADJUST FOR DELICA
 0:30:00
Big Block 440 Valve Train Assembly - Nick's Build Tips
 0:21:22
WORLD Racing Presents: Descendant Engine Build
 0:00:34
Common to the Splitport Injection Engine on Ford Focus
 0:06:38
BMW R1250 Cam Timing and Valve Clearance Tool Overview
 0:02:23
Mitsubishi 4D56 Valve Clearance
 0:01:01
ADJUST VALVE CLEARANCE MITSUBISHI DELICA
 0:24:40
TOP OVERHAUL -MITSUBISHI TRITON L200 4D56U (Part 6) -Adjust Valve Clearance / Valve Lash /Tappet
 0:02:13
GONE IN 20 Seconds - Auto Stop Start ALL GM Vehicles
 0:16:52
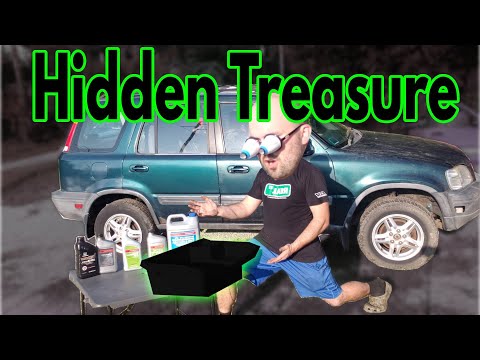
Hidden Features & Treasures of the 97-01 Honda CRV RD1 RD2
Комментарии