filmov
tv
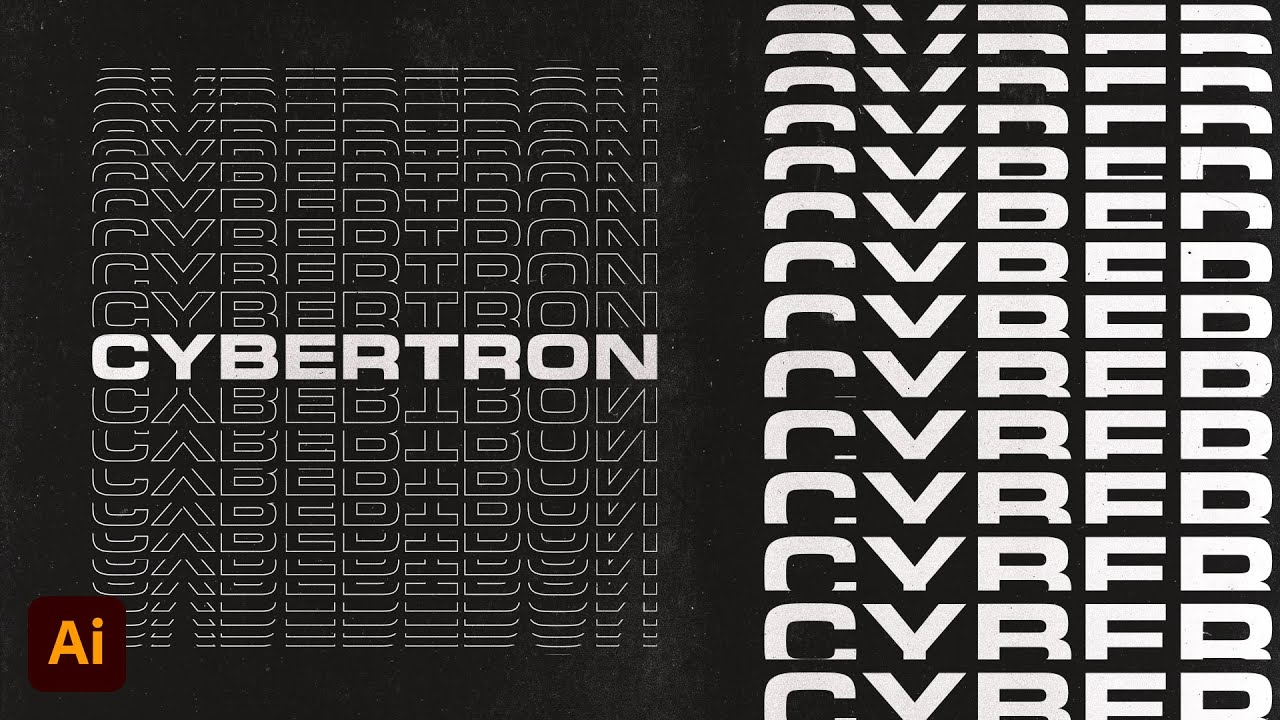
Retro Text Effects with Illustrator's Blend Tool (+ FREE Textures!)

Показать описание
Follow along with today's Adobe Illustrator tutorial to create a simple but effective text effect with somewhat of a retro vibe, featuring stacks of text elements that are progressively spaced further apart. It reminds me of the kind of design you might see on an old VHS tape box or an ad for an 80s technology brand. Illustrator's Blend Tool will be used to create the basic effect, but I will also show you a trick to alter the spacing of the text with a cool easing effect and show how variations of the artwork can be created by combining different combinations of solid and outlined text styles.
Deals & Discounts:
Tools & Resources I Use:
Watch more of my content:
#Illustrator #IllustratorTutorial #AdobeIllustrator
Adobe Photoshop & Adobe Illustrator design tutorials from Chris Spooner of Spoon Graphics. Subscribe to learn how to create stunning artwork as I share my tips and tricks in video format.
Retro Text Effect in Adobe Illustrator | Striped Text | Graphic design
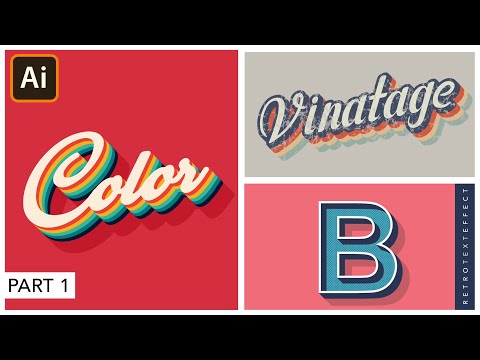
Vintage Retro Text Typography - Adobe Illustrator
Retro Text Effect in Adobe Illustrator | Vintage | Graphic design
This is HOW to Design Live Text Effects in Illustrator
Retro Text Effects with Adobe Illustrator's Appearance Panel
Adobe Illustrator Tutorial - How to Create Custom Typography (HD)
Create Editable Text Hard Long Shadow in Adobe Illustrator (Better than Blend & Offset Path Tool...
Vintage/Retro Text Effect Tutorial | Adobe Illustrator
How to design 70-s inspired retro text effect in Adobe Illustrator
Illustrator Tutorial: Retro Text Effect with Concentric Stripes
EASY rustic text effect in illustrator!
Create outline of the text in Adobe illustrator #outline #offset #illustrator
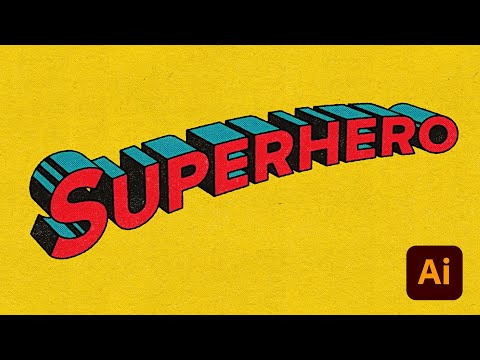
🦸♂️ Superman Comic Book Text Effect Illustrator Tutorial
Adobe Illustrator Tutorial - Create Custom Typography (HD)
how to create retro text in #adobeillustrator #graphicdesign #graphicdesigntutorial #illustrator
Make This RETRO TEXT EFFECT in Illustrator 🌈
Vintage Text Effect in Adobe Illustrator | Alternate Letters | Graphic design
Illustrator Text effect, Vintage Effect Illustrator
Retro Text Effect : Adobe Illustrator Tutorial
Halftone Line Letter Logo | Adobe Illustrator Tutorial
How to make a retro text effect in Adobe illustrator!
How to italicise any font in Adobe illustrator!
Adobe Illustrator 3D Text Effect Tutorial
Illustrator Trick : Scratch Lines Text
Комментарии
 0:25:06
 0:10:00
 0:37:04
 0:05:43
 0:07:22
 0:08:34
 0:01:59
 0:13:16
 0:11:55
 0:05:15
 0:00:27
 0:00:36
 0:08:17
 0:09:11
 0:00:58
 0:13:16
 0:29:37
 0:15:36
 0:01:57
 0:09:00
 0:00:31
 0:00:22
 0:03:55
 0:05:32