filmov
tv
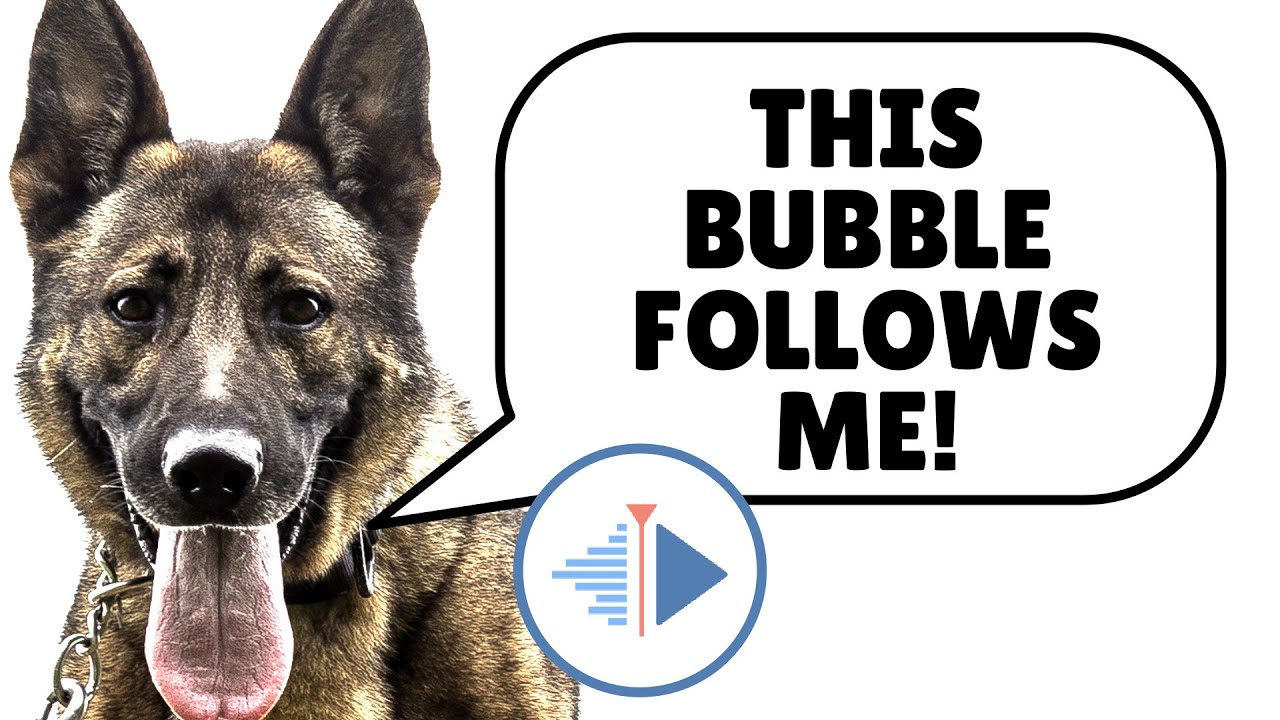
Kdenlive Motion Tracking: Auto Mask Tutorial
Показать описание
Make one object or image follow a head or person or character in your video with Kdenlive's automask feature!
Write a comment with your question or how-to request!
1. Cut your clip down to the region you want to track
2. Add the Auto Mask effect, increase both radius settings to maximum (as of making this video: 500px)
3. Press "Analyze" (If a popup appears, press merge)
4. Create a title clip, add an image, add the title clip to a track above the video
5. Select the video, then the transition and in the options of the transition, select to import keyframes.
6. Remove key frame limitation and press OK
7. Disable obfuscation in the Auto Mask effect
You're done!
More Kdenlive tutorials:
Could you follow the instructions? Got questions? Comment!
Want me to make more videos? Subscribe and like!
 0:03:54
Kdenlive Motion Tracking: Auto Mask Tutorial
 0:02:59
Kdenlive Lesson 21 - Obscure with Auto Mask Tracking
 0:02:10
Updated (2019) tutorial for motion tracking using Kdenlive
 0:04:43
Motion tracking with Auto Mask
 0:10:10
Tutorial: Motion Tracking in #Kdenlive
 0:01:57
Auto Mask #Kdenlive
 0:00:50
How to use Kdenlive Auto Mask effect
 0:04:43
Motion tracking with Auto Mask
 0:08:25
The Insider's Guide using Motion Tracking with AI Models in KDEnlive
 0:04:56
Kdenlive Motion Tracking
 0:04:48
Kdenlive tutorial about motion tracking with zoom
 0:00:41
Using the Kdenlive Motion Tracker #Shorts
 0:01:30
Using the Kdenlive Motion Tracker
 0:04:48
How to Masking Effects in Kdenlive
 0:02:55
Rotoscoping Mask to Hide / Reveal Text in Kdenlive
 0:03:33
A small Kdenlive tutorial about tracking objects and keep them centered on screen.
 0:08:47
Unexpected Uses for KDEnlive Motion Tracking
 0:07:54
How To Track Objects on Screen Kdenlive - Kdenlive Motion Tracking Effect
 0:03:42
Exploring Tracking Methods in KDENLIVE (Guest which is the BEST?)
 0:04:52
Motion Tracker #Kdenlive
 0:00:28
Kdenlive Auto Mask
 0:03:55
Creating Motion Tracking in Kdenlive
 0:00:28
Updated motion tracking example with Kdenlive.
 0:00:13
Kdenlive Motion Tracking #Shorts
Комментарии