filmov
tv
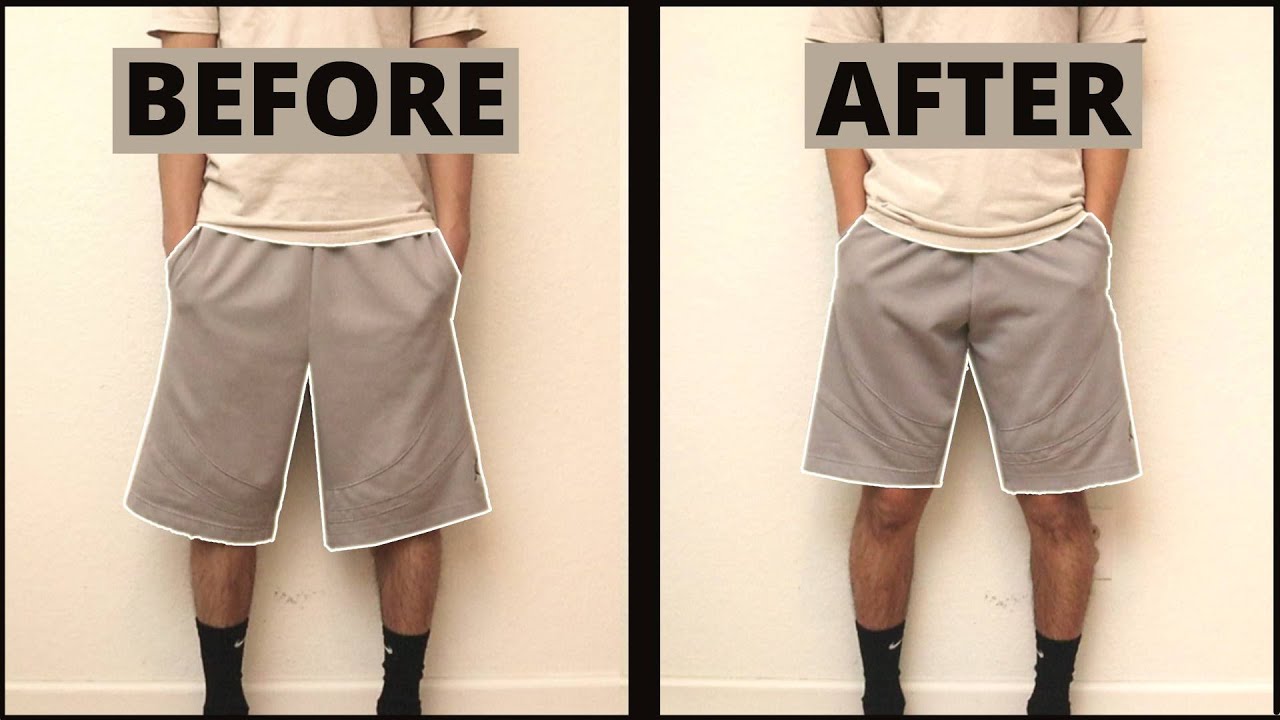
How To Alter Your Large Shorts / Pants To Be Smaller - Quick and Easy DIY
Показать описание
In this video, I show you guys my quick DIY method of how I turn my old, baggy shorts into a more slim and shorter fit.
I alter basketball shorts in this video, but these steps can apply to denim shorts, and even pants too, with of course some variations.
Pre-Requisite: for this video, you must already know how to use a sewing machine! If not, watch other Youtube tutorials first and then come back to this one, OR you can hand stitch it with a needle and thread.
Disclaimer: I am not a professional by any means at alterations; this is the method that I do, and it works for me. If you want a more professional job, consult a local tailor.
How To Taper Baggy Shorts To Be More Slim
How To Make Shorts More Fitted, Or Smaller
0:00 How To Re-purpose Bigger Shorts
0:29 Materials You'll Need
Make sure you pick the right color to match your garment!
Fiskars is a good and reliable brand IMO, but there are cheaper alternatives
Your Favorite Pair of Shorts
0:50 Step 1
Reverse Your Big Shorts Inside Out
0:58 Step 2
Align Your Template Shorts Over The Baggy Shorts
I personally align the outer ends, as well as the hems together, in preparation for measuring and cutting off the middle / inseam part of the big shorts
1:05 Step 3
Use a ruler / yardstick to measure distance from big shorts inseam, to template shorts inseam, and use a marker or fabric pen to make a mark
1:29 Step 3.5
Use the rule / yardstick to draw a line from the crotch of the inseam, to the mark on the hem that you made. Do this on both sides
1:47 Step 4
Use pins to secure both sides (front and back) of the shorts. Make sure that as you place the pins, that the inside part of the shorts that you are about to cut off, is ironed out and flattened
2:14 Step 5
Use sewing machine to create a straight line stitch along the lines and pins
2:41 Step 6
Use pinking shears to cut off excess fabric
Optional: leave a 1-2 inch seam allowance from the stitching you created, and this will help you proceed with steps 7 and 8. You don't have to perform this step, as the 'unprofessional' serrated finish is going to be hidden inside the shorts anyway. This step and the next two simply allow for a more 'professional' / closed off finish and protect the fabric a little better with excess wear and tear
3:05 Step 7 (Optional)
With the seam allowance, fold the flaps towards the stitching. Use pins to secure flaps in place.
3:39 Step 8 (Optional)
Stitch flaps together
How To Make Shorts Shorter in Length
3:49 Step 9
Fold the hem upwards to desired height / length
You can also refer to your template shorts
CAUTION: this step is only most effective if you are only altering no more than 1 inch off. For anything shorter, you might want to cut excess fabric first, as the stitching if too big (i.e. more than 2 inches) will show on the front side of the garment, and it won't look good
4:11 Step 10
Sew the fold together as shown
4:18 Style Hack
Fold your waist band 1 or 2 times
4:31 Final Result
4:43 Before and After
Equipment I Use For My Youtube Channel:
Disclaimer: I only recommend products that I personally have used myself and all opinions expressed here are our own. None of these products are sponsored, nor am I paid directly by the company to advertise these products. The links above are affiliate links; meaning that they are at no additional cost to you, but I may earn a small commission. Thank you.
If you made it this far, don't forget to subscribe!
Thanks for watching!
 0:05:38
How To Alter Your Large Shorts / Pants To Be Smaller - Quick and Easy DIY
 0:10:52
How To Alter And Tailor A Dress That's Too Big To Make It Smaller! 3 Easy Steps!
 0:15:35
How To Easily Take In (Alter) Pants That Are Too Big At The Waist and Seat
 0:02:31
How to Alter a Swimsuit That Is Too Big : Swimsuit Fashion
 0:12:19
How to Alter A Blouse or Shirt That's Too Big To Fit Perfectly! Sew Anastasia
 0:07:37
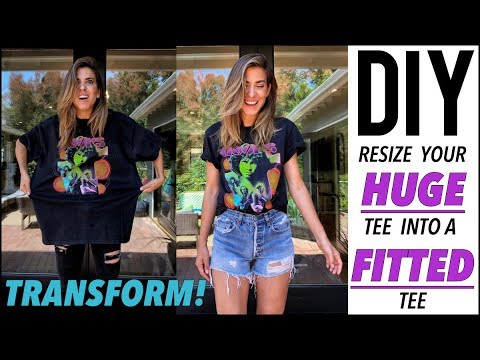
DIY: How To Alter a HUGE Shirt to a FITTED Shirt! - by Orly Shani
 0:00:29
neckline too big to change #shorts #sewingtips #diy #sewinghacks #sewing
 0:05:33
Alter Clothes that are Too Big // Denim Sew Tutorial
 0:14:28
Dream Big: The Speech That Will Change Your Life | DENZEL WASHINGTON MOTIVATIONAL SPEECH
 0:13:35
HOW TO ALTER A TOO BIG DRESS // Shorten Straps & Take in Side seams 👗✂️
 0:02:29
Alter Clothes that are Too Big Denim Skirt Sew Tutorial
 0:06:00
How To Alter A Dress Thats Too Big| How To Shorten A Dress Without Cutting
 0:04:31
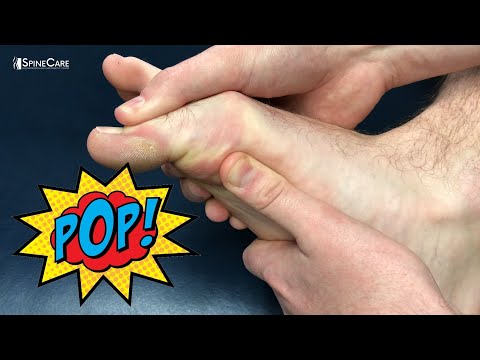
How to Self Adjust Your Big Toe
 0:09:51
How to alter big size men's short pants (from 38' to 31' waistline)
 0:00:54
If your pants waist is too big, change it this way
 0:01:58
Make iPhone Text Larger Or Smaller By Changing iPhone Text Size
 0:00:15
DPI CHANGE CHANGE YOUR PHONE ICON(SMALL OR BIG)
 0:02:06
Fix Roku TV Picture TOO BIG Small Adjust Zoom Size Hisense TCL Onn RCA Phillips JVC Element Magnavox
 0:01:01
Adjust the size of too big Latex table
 0:00:34
Big brother's diaper change tutorial goes horribly wrong
 0:01:27
How to alter fitted sheets that are too big?
 0:00:14
big change? #kris8an
 0:00:58
Change Your Life - Small Actions, Big Changes ! | Dr Julie #shorts
 0:16:33
Tutorial - Alter a Sleeve Pattern for Large Upper Arms (Biceps)
Комментарии