filmov
tv
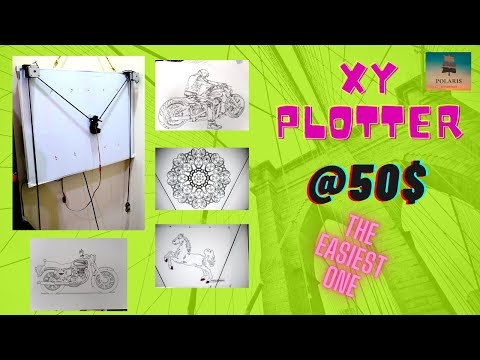
Make Arduino XY Plotter Drawing Robot

Показать описание
In this tutorial we will learn how to make Arduino XY Plotter Drawing machine. With Drawing Robot you can draw images on wall, panel or A4 paper. You can print pictures or print text. All required hardware for this project are listed below. We will learn how to install and use the Polargraph program for robot control. Motor drivers - Adafruit's Motoshield v1. A modern classic. It can drive two stepper motors each drawing up to 600mA and has pinouts for a servo too, so is perfect for this project.
Required Hardware:
1x Arduino UNO R3:
1x L293D Motor Drive Shield:
2x L293D Motor Drive IC:
2x 17 Stepper Motor:
1x MG90S Servo Motor:
1x GT2 Pulley 16 Teeth Set:
1x GT2 Rubber Belt (5M):
3 in 1 Jumper Wire:
1x 5V 2A Power Supply
* 3D Models:
* Motor Shield Upgrade for the High-Torque Stepper Motor:
In this tutorial we will learn how to use a high-torque stepper motor with the L293D motor drive shield. I used a high torque stepper motor with the L293D motor driver, so the L293D integration overheated. The cause is high current requirement. I modified the L293D Motor driver shield to solve this problem.
* polargraphcontroller: (Polargraph controller Copyright Sandy Noble 2018.)
- Polargraph Server for Arduino UNO and MEGA compatible boards using Adafruit motorshields.
- It also contains a folder called polargraph_server_a1. This is the polargraph firmware source code.
- Copy the contents of arduino-source/libraries into your Arduino/libraries/ folder
- Copy arduino-source/polargraph_server_a1 into your Arduino/ folder
- You should have created three new folders on your disk:
Arduino/polargraph_server_a1/
Arduino/libraries/Accelstepper/
Arduino/libraries/AFMotor/
- Start Arduino IDE:
- Go to File-Sketchbook-polargraph_server_a1
- Fourteen files will open up and be displayed as tabs in the IDE. This is the source code of the firmware.
- Press the "verify" button in the toolbar to try and compile it.
- If it compiles, press the "upload" button in the toolbar to upload it.
- Once you do that, you should confirm that it is working properly - use the serial monitor on the board, set to 57600 baud to make sure that it is issuing "READY" every couple of seconds.
* Processing v2.2.1:
- Run Processing, find where your sketchbook folder is: (File-Preferences, sketchbook location).
- Unzip the code bundle and copy the three code library folders out of Polargraph.2017-11-01\Polargraph 2017-11-01\processing-source\Processing libraries into your C:\Users\xxxx\Documents\Processing\libraries
- Copy the whole polargraphcontroller folder from Polargraph.2017-11-01\Polargraph 2017-11-01\processing-source\ into your Processing sketchbook folder. It'll look like: C:\Users\xxxx\Documents\Processing
- Restart Processing and go file-sketchbook-polargraphcontroller to open the app source code.
- Press the run button in the toolbar to run the sketch.
* Stepper motor and pulley settings (in Polargraph):
- Set the MM Per Rev value according to the pulley and belt you are using. For example, if the belt is GT2 the lue is 2mm. If the pulley has 16 teeth, 2x16 = 32mm. So, the belt will advance 2mm each turn.
- Adjust Steps Per Rev according to the stepper motor type. For example, if te step angle of the used stepper motor is 1.8 degrees the value is 200 steps. This value is adjust to 400 because dual motor is used.
* Check out these platforms for more:
--------------------------------------
Song: Fredji - Happy Life (Vlog No Copyright Music)
Music provided by Vlog No Copyright Music.
 0:10:15
Make Arduino XY Plotter Drawing Robot
 0:00:49
Arduino - Drawing Via Web using XY plotter
 0:06:10
the SIMPLEST cnc PEN PLOTTER | how to build it
 0:01:45
High Speed Pen Plotter (IV Projects build)
 0:11:37
DIY Arduino Writing/ Drawing Machine - 2D Pen Plotter
 0:19:29
Super Easy 3D Printed Arduino CNC Drawing Machine | GRBL Plotter Elegoo
 0:05:31
How to make - Wall drawing Robot
 0:00:45
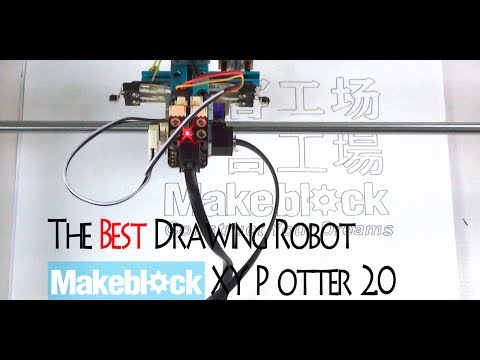
The Best DIY Drawing Robot -- Makeblock XY Plotter V2.0
 0:12:43
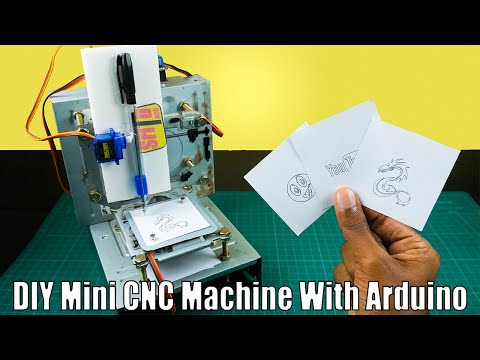
How to make Mini CNC Drawing Machine | Arduino Project
 0:07:16
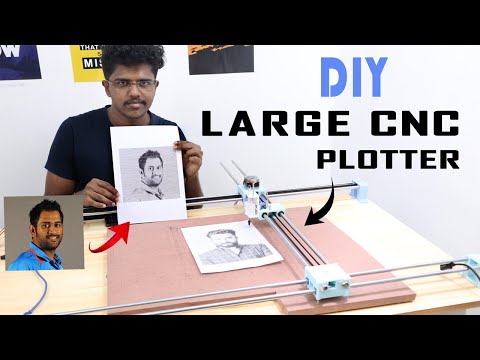
DIY Large CNC Plotter | Writing & Drawing Machine | Resizeable CNC Plotter | Coders Cafe
 0:13:15
Make XY plotter drawing robot
 0:18:45
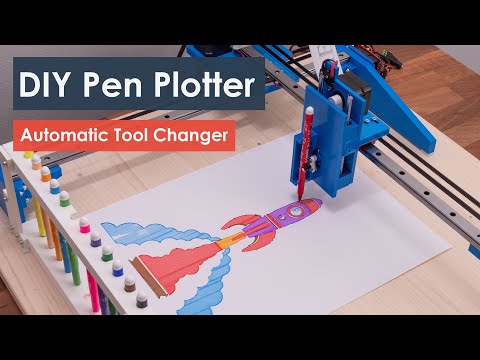
DIY Pen Plotter with Automatic Tool Changer | Arduino based CNC Drawing Machine
 0:13:09
GIANT DRAWING ROBOT | Wall Painting Machine
 0:13:36
How To Make Pen Plotter / Homework Writing Machine at Home
 0:01:00
DIY Plotter Demo
 0:10:01
VERTICAL PLOTTER - POLARGRAPH - BUILD & SETUP
 0:00:32
DIY mini Arduino CNC drawing machine
 0:03:25
I built an INSANE drawing machine powered by Arduino and Python code
 0:01:12
Makeblock Drawing Robot: XY Plotter to Draw Freely on Paper
 0:25:37
DIY Drawing Machine Low cost and Easy way to build
 0:12:55
XY Plotter / Polargraph /Makelangelo by Arudino UNO R3
 0:01:17
Scribit (Vertical Plotter) Turn your wall into an interactive canvas.
 0:25:20
How to Make CNC Machine Drawing Robot GRBL - ESP32 Wifi Drawbot Plotter Pen
 0:10:41
How to Make Homework Writing Machine at Home - V2
Комментарии